Alright my pot people, I will warn you now, I feel a long post coming...I'll break it down as we go.
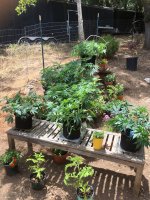
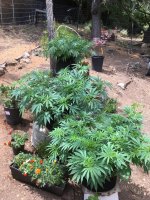
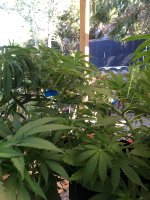
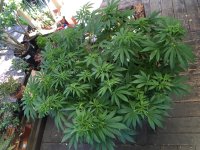
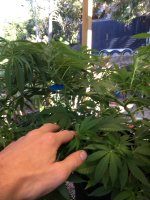
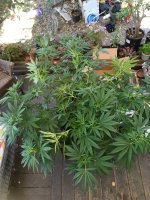
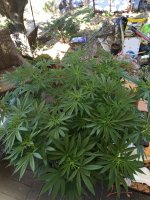
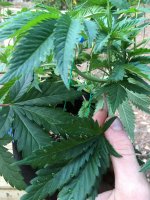
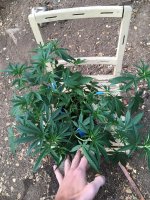
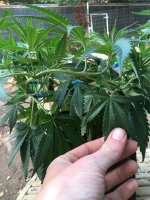
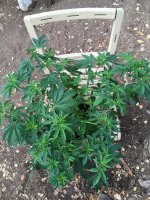
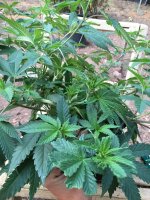
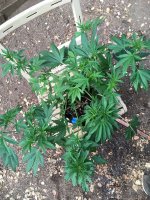
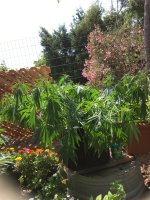
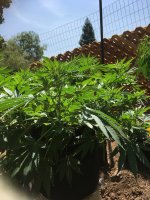
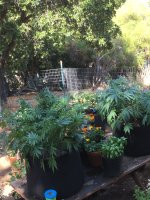
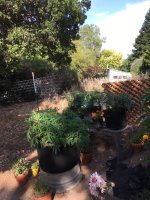
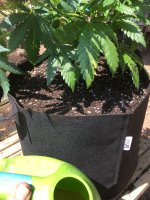
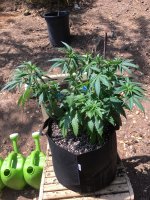
Transplanting! It can be a stressful time for both grower and plant alike. Let me say, I love it and have fun while repotting or up-potting! Ok, ok, let's look at how it went for me. This is Up-Potting with fabric pots. [July 6]
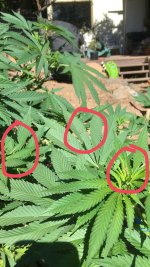
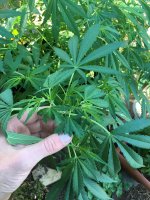
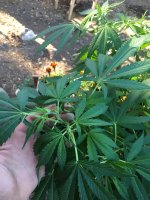
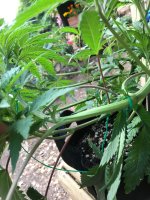
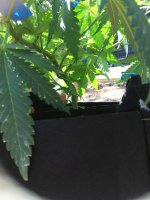
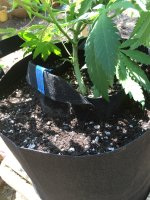
First off, gotta undo all of the training that you have in place. With twist ties, I undo my anchor point on the edge of the pot and then remove it from the branch/stem. This way there's no tension as you take them off. Some movement is fine, although the key to all of this is being gentle.
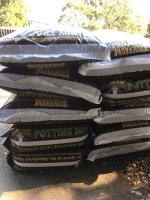
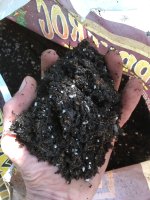
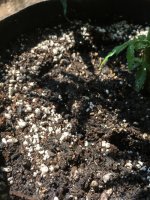
Once that's taken care of, go ahead and get that bag of soil you'll be using. I use a knife and cut the top completely off, create a nice open bag. Here's some fun, get in there!! Mix up the soil, break up clumps, turn it around with your hands. I use an old nursery pot to scoop soil out of the bag and into the new pot I will be using. Fill'r'up until you can set your current pot inside and you like the height. Don't fill in the edges yet, remove your current pot from where it's sitting in the new pot. Take your watering can (no nutes) and get your soil damp, not soaking (the soil in the new pot)...Get in the new pot with your hands! Mix it up, get down in the corners, turn it all around. Go ahead and level it off, do not pack down.
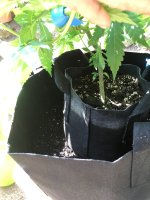
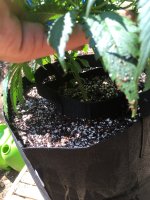
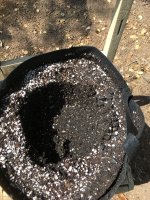
Now, place that current pot (with the plant still in it) into your new pot with its damp soil bottom layer. Get the pot situated in the center, or close, I'm a bit of a perfectionist at times. Take a cup/old nursery pot and slowly fill in the sides. By sides I mean the area between your current and new pot, let's call it the 'trench'. I fill in one smaller area, and after each pour of soil I lightly spread it around the 'trench' with my fingers. It takes time, continue doing so until you have reached near the same level as your current pot. Do not pack anything down.
Alrighty! We've got pot, inside a pot, inside a pot. 🤦*♂ï¸. Our next step is to remove the current pot, but if we do that right now, all the soil will fall into the void created when we lift our pot. So, what I do is water the 'trench' (and current pot lightly). Lightly is a relative term, I give my 7gal plants 2gal of water every watering. Watering the trench here, I gave 1/2 that, 1gal. Do keep in mind to water the current pot a little bit, however the 'trench' is the focus. I let the soil soak up the water, and drain a bit to allow the soil to take shape. I also at this point pull up on the edges of the new fabric pot to get rid of any sagging. I give nutes at half strength here, and the final watering.
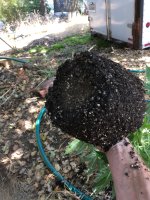
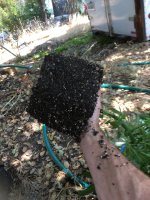
Now this is the real enjoyment of fabric pots. Pull the plant out, if done gently and your watering skills were on point, you'll have your current pot in hand, and a perfect void to place it in! I move to a shady area, and pull my old fabric pot off. Having one hand support the stem, I tip the plant just a bit more than 90*, I do not like going upside down. With my other hand I squeeze the bottom of the fabric pot, around the edges at first and then from the center of the bottom. Should come out no problem! Then you can go ahead and plop your lovely plant into their new home. *With fabric pots, the roots are pruned away from the edges and bottom of the pot. This allows for much easier transplants, in my opinion, as it's a simple fill, pull, drop.*
Our finals steps are as such, get a nice dressing of soil on top of our new transplant. Scoops at a time, spreading the soil gently and evenly. Once finished, administer your final watering (For me, it was my remaining 1gal w/ nutes). Let me add again, don't pack anything down! Your watering will do an excellent job at that, for you, over time.
Whoaaa, didn't expect my thought process to go there. 😂, I can only hope that someone finds this useful. Well, in my next post I'll get into the larger ones, more of what 'I' did, and how much fun it was. Thanks for stopping by, stay classy GWE community 😎.
-Meesta