What's new
GrowWeedEasy.com
You're browsing as a guest. Sign up to join the conversation, share your grows, and get help from thousands of fellow growers — it's free and takes less than a minute.

Meesta's Grow

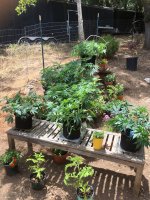
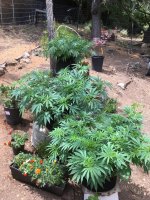
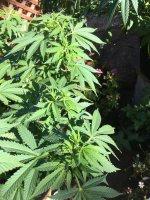
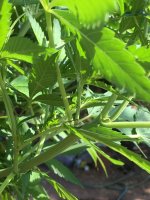
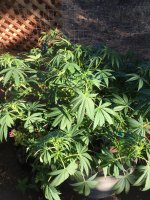
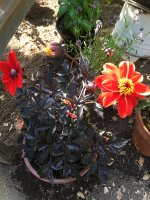
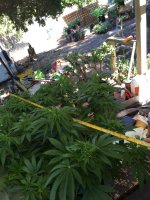
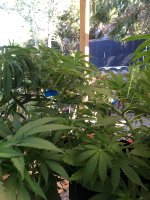
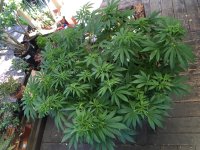
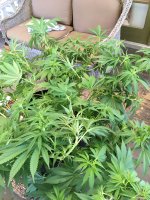
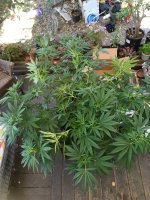
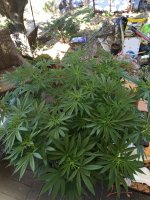
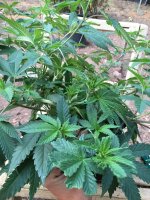
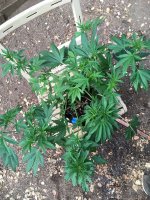
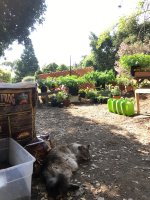
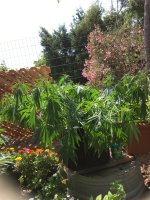
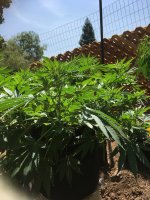
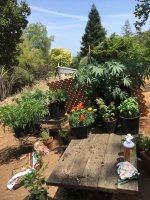
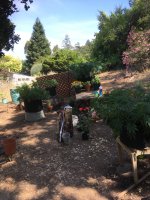
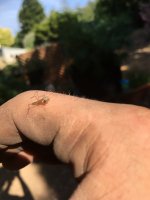
From the time of [June 22] until [July 1] I did not do much aside from watering w/ nutes every other time (Don't believe I'd mentioned that before). Letting the plants take their course. I did move the three younger plants outside. (Larry OG, Strawberry Diesel, Sugar Black Rose). On the 2nd, the mantis who had been hatching, were starting to show themselves more. I had also released ladybugs yet again, as they do tend to leave in order to find a more suitable location. Fun times in the garden corner.
 

Attachments

  • photo81461.jpg
    photo81461.jpg
    4.4 MB · Views: 0
  • photo81460.jpg
    photo81460.jpg
    2.5 MB · Views: 0
  • photo81462.jpg
    photo81462.jpg
    4.6 MB · Views: 1
  • photo81650.jpg
    photo81650.jpg
    2.1 MB · Views: 0
  • photo81651.jpg
    photo81651.jpg
    1.4 MB · Views: 0
  • photo81652.jpg
    photo81652.jpg
    1.6 MB · Views: 0
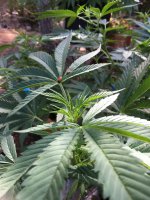
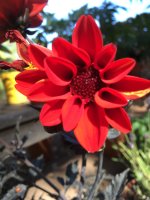
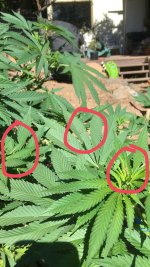
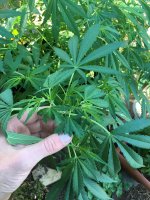
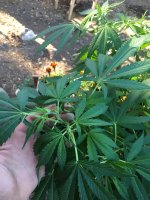
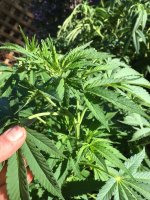
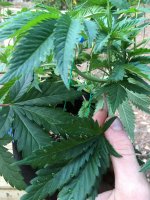
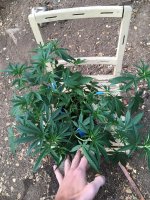
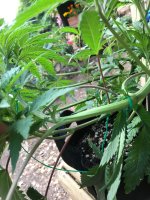
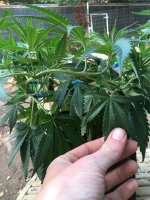
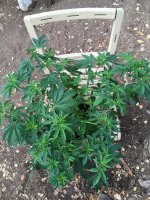
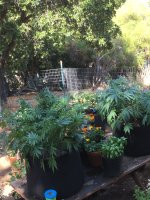
We're getting there! [July 3] Took a picture of the nutrient line-up, as well as some photos of the FIMing that occurred. I do not FIM the entire plant, I use it as a means to spread growth (as well as slow it) on healthy areas that have the space. This gives time for lower branches to catch up too. It's hard to tell, but in some spots it is a proper FIM, others it's more Topped. I had gone around with my fingertips, in some cases taking more care, but also keeping in mind the volume (density?) of the plant structure. There's a praying mantis on duty as well in the photos...I keep throwing that Dahlia in there, flowers are fun y'all!

Gonna get a quick post from the 4th to present, things are about to get moving here! As always, thank you for stopping by and taking a gander!
-Meesta
 

Attachments

  • photo81676.jpg
    photo81676.jpg
    2.6 MB · Views: 0
  • photo81677.jpg
    photo81677.jpg
    2.3 MB · Views: 1
  • photo81678.jpg
    photo81678.jpg
    2.8 MB · Views: 0
  • photo81679.jpg
    photo81679.jpg
    2.6 MB · Views: 0
  • photo81680.jpg
    photo81680.jpg
    1.6 MB · Views: 0
  • photo81681.jpg
    photo81681.jpg
    3.4 MB · Views: 0
  • photo81682.jpg
    photo81682.jpg
    3 MB · Views: 0
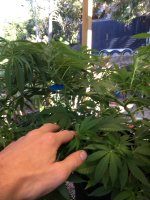
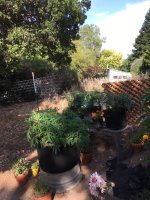
[July 4] Ohhh me ohhh my. I adjusted the twist wire for LST on the three WW, taking the canopy down a little so that I could train the main. In the process, I saw a lot of open areas towards the center of the plants. This is where I apply super cropping to a point where stems bend.

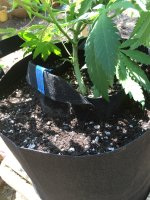
For super cropping, I do not use my fingernail, or immediately squeeze til I hear 'snap'. I gently squeeze (pinch) where I would like the branch to bend, and then also go above and below, not creating too much pressure. Once it's softened up a bit, reapply pressure where you would like your bend, and gently work the branch back and forth (a rocking motion) until it bends slightly. Gravity and wind will do the rest of the work for you. Keep in mind, you may still end up with tears in your stem wall. Apply tape as a band-aid, we all make mistakes, best to give your precious a better chance at healing.

Also measured these for the first time, smallest is ~40" round before most recent LST, largest is about ~46" round. Getting wider still.

I added some pictures as well, that show the LST of the larger WW and how I've worked branches around it's growth. Been trying to do the same on all, the opportunity for a photo does not always present itself.
 

Attachments

  • photo81683.jpg
    photo81683.jpg
    2.6 MB · Views: 1
  • photo81684.jpg
    photo81684.jpg
    2.4 MB · Views: 0
  • photo81685.jpg
    photo81685.jpg
    3.1 MB · Views: 1
  • photo81686.jpg
    photo81686.jpg
    2.8 MB · Views: 0
  • photo81687.jpg
    photo81687.jpg
    2 MB · Views: 0
  • photo81688.jpg
    photo81688.jpg
    3.2 MB · Views: 0
  • photo81689.jpg
    photo81689.jpg
    3 MB · Views: 0
Finally!! [July 6] Gonna be a fun day. 7:45ish and I've got a busy schedule. Supposed to go on a date to a Jazz festival, but something wonderful has happened. My over abundance of soil at the hardware store has shown up! Gonna go pick it up at 8 and get some transplants going. I'll try to take pictures but I'm a one man operation, and theory is easier than practice.

On another note, took some pictures as I watered the younger ladies this morning...they will be much happier in their new pots. I'm not sure it's visible in the pictures but they're pretty stressed in their tiny pots.

Will get some updates going through out the day, I'm excited and will be wanting to share. Been waiting to up-pot for a little while now.
 

Attachments

  • photo81690.jpg
    photo81690.jpg
    2.2 MB · Views: 0
  • photo81691.jpg
    photo81691.jpg
    3.7 MB · Views: 1
  • photo81692.jpg
    photo81692.jpg
    2.3 MB · Views: 0
  • photo81693.jpg
    photo81693.jpg
    2.4 MB · Views: 0
  • photo81695.jpg
    photo81695.jpg
    3.5 MB · Views: 0
  • photo81694.jpg
    photo81694.jpg
    2.6 MB · Views: 0
  • photo81696.jpg
    photo81696.jpg
    3.9 MB · Views: 0
Meesta your are killin it and your gardening skills are great. My WW photo in the garden outdoors has been spead with bamboo poles. She is not as full as yours but she is nearing 5ft. not including 10gal container. I'm so happy seeing all these out door grows doing well, you got the "green thumb" for sure.:)
 
Haha! Gotta give credit to my mother. I was her laborer (the only one) for her landscape staging business for some time while she still lived here in California. All about the thirst for knowledge and experience, lots of new things out there! Many more mistakes to make and learn from 😎
 
And so it begins. I hate it when people give excuses to get out of things they had planned, hope my date today doesn't feel that way when I let her know I'm not gonna make it! 😂🤘🌳
 

Attachments

  • photo81706.jpg
    photo81706.jpg
    2.2 MB · Views: 1
  • photo81707.jpg
    photo81707.jpg
    3.6 MB · Views: 0
I've been working here, 2 transplants down, 4 to go...will type up a whole thing once I'm finished. Just wanted to show an unwatered plant if people need a visual. Droopy, leaves slightly curling at the tips, can also be symptoms of being root bound (not 100% on that last tidbit)
 

Attachments

  • photo81722.jpg
    photo81722.jpg
    3.3 MB · Views: 0
  • photo81723.jpg
    photo81723.jpg
    2.8 MB · Views: 0
Moving along, slowly I will add. Progress is progress!

Edit: 2nd Pic added 3:50pm
 

Attachments

  • photo81738.jpg
    photo81738.jpg
    3.8 MB · Views: 0
  • photo81740.jpg
    photo81740.jpg
    3.5 MB · Views: 0
Last edited:
Good job, Meesta!! I can see a wee tiny bit of drooping, but I'll bet they have perked right back up today!! They are probably going to explode with growth for you = thank you for repotting us!!!!!
 
Today you need to sit and admire your work. I dig the tiny mantis and your plants & garden is beautiful. Boy I love this time of year :)
 
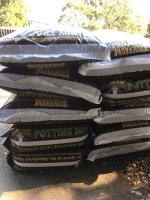
[July 6] They say if you enjoy/love what you do, you'll never work a day in your life. I love my work and hobbies! With that, yesterday there was not a ton to do, but it must be done carefully (and properly). I up-potted (3) plants from 1gal to 7gal and (3) from 7gal to 25gal. I use this soil volume chart to estimate the amounts that I will need at any point. I used 10cu ft yesterday, 5 bags. This leaves enough leftover to transfer the remaining (3) into 25gal should I choose, while still having 1.5 extra bags of soil.

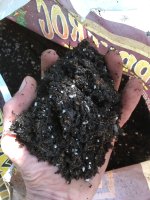
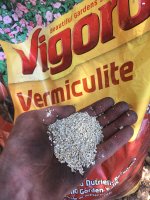
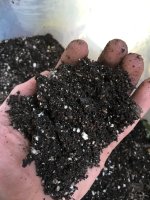
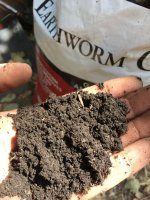
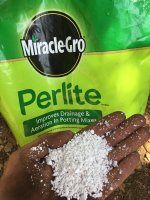
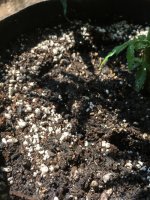
I'm gonna go over a few things here in this post. Soil. For us growing in it, the most important ingredient aside from genetics. In the photos, I've got shots of Happy Frog and then Premium Potting mix. I have added perlite, vermiculite and earthworm castings to the premium potting mix, but still do not use it for my plants. All plants require different things at different stages of their life, soils that are already catered to cannabis are an easy button that I chose to push this time round. If I were to use something else, it would be creating my own Super Soil, which will be a build to be utilized next year.

Just because I chose those route, doesn't mean all do the same, or will achieve sub par results doing differently. There's millions of different ways on how to do things, difficult to say who's right or wrong. So, let's talk a bit about the most important quality of a soil, in my opinion, is that its breathable for the roots, holds water and drains well.

Perlite is used in soil to increase aeration and drainage. Those little white things you see hold the soil apart. Vermiculite is used for water retention, so if you're pots are drying up too quickly (and it's not because of your pot size) you can look at adding it into your mix to assist. These are the two main things I mess with, being that I'm using Happy Frog, I've only added more perlite to the mix when they were seedlings. Let me say, I love perlite. Helped enough people who have used none in the past that I have started feeling like a broken record over the years.

Alright, what's a Meesta Morning Grow post without some rambling, coffee shop is almost open, and I'll dive into the sense of accomplishment from yesterday.
 

Attachments

  • photo81781.jpg
    photo81781.jpg
    2 MB · Views: 0
  • photo81782.jpg
    photo81782.jpg
    2.1 MB · Views: 0
  • photo81783.jpg
    photo81783.jpg
    2.4 MB · Views: 0
  • photo81784.jpg
    photo81784.jpg
    2.7 MB · Views: 0
  • photo81785.jpg
    photo81785.jpg
    2.3 MB · Views: 0
Last edited:
Thank you 😊, it's my plan as well.

It was hard waking up this morning...as it was before 5 and still dark, was antsy and had trouble falling back asleep!

It is a wonderful time of year (well, I'm kinda spoiled here compared to many others). As I assume you are too...in Southern Oregon? In other news, I figured out how to pronounce your name yesterday 😂
 
Yes exactly I am in the Umpqua valley. And I too learned gardening from my folks out of necessity and have learned to love it so I now grow veggies & weed indoors during winter. This site GWE has been my mentor for indoor growing and just great folks to learn from. I have a sister lives near Grants Pass visit her and we take drives out to vineyards, Selma is "growing" steadily. Rouge Valley is hot area, we love our forest home.
 
Alright my pot people, I will warn you now, I feel a long post coming...I'll break it down as we go.

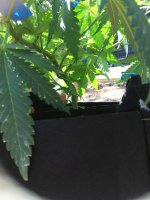
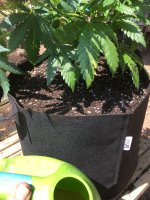
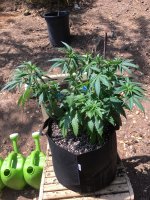
Transplanting! It can be a stressful time for both grower and plant alike. Let me say, I love it and have fun while repotting or up-potting! Ok, ok, let's look at how it went for me. This is Up-Potting with fabric pots. [July 6]

First off, gotta undo all of the training that you have in place. With twist ties, I undo my anchor point on the edge of the pot and then remove it from the branch/stem. This way there's no tension as you take them off. Some movement is fine, although the key to all of this is being gentle.

Once that's taken care of, go ahead and get that bag of soil you'll be using. I use a knife and cut the top completely off, create a nice open bag. Here's some fun, get in there!! Mix up the soil, break up clumps, turn it around with your hands. I use an old nursery pot to scoop soil out of the bag and into the new pot I will be using. Fill'r'up until you can set your current pot inside and you like the height. Don't fill in the edges yet, remove your current pot from where it's sitting in the new pot. Take your watering can (no nutes) and get your soil damp, not soaking (the soil in the new pot)...Get in the new pot with your hands! Mix it up, get down in the corners, turn it all around. Go ahead and level it off, do not pack down.

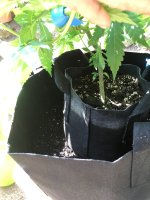
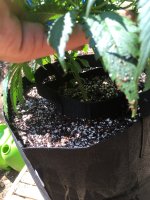
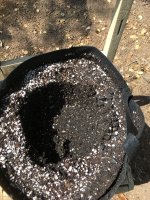
Now, place that current pot (with the plant still in it) into your new pot with its damp soil bottom layer. Get the pot situated in the center, or close, I'm a bit of a perfectionist at times. Take a cup/old nursery pot and slowly fill in the sides. By sides I mean the area between your current and new pot, let's call it the 'trench'. I fill in one smaller area, and after each pour of soil I lightly spread it around the 'trench' with my fingers. It takes time, continue doing so until you have reached near the same level as your current pot. Do not pack anything down.

Alrighty! We've got pot, inside a pot, inside a pot. 🤦*♂️. Our next step is to remove the current pot, but if we do that right now, all the soil will fall into the void created when we lift our pot. So, what I do is water the 'trench' (and current pot lightly). Lightly is a relative term, I give my 7gal plants 2gal of water every watering. Watering the trench here, I gave 1/2 that, 1gal. Do keep in mind to water the current pot a little bit, however the 'trench' is the focus. I let the soil soak up the water, and drain a bit to allow the soil to take shape. I also at this point pull up on the edges of the new fabric pot to get rid of any sagging. I give nutes at half strength here, and the final watering.

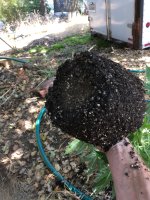
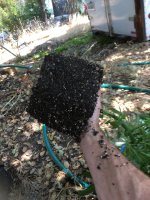
Now this is the real enjoyment of fabric pots. Pull the plant out, if done gently and your watering skills were on point, you'll have your current pot in hand, and a perfect void to place it in! I move to a shady area, and pull my old fabric pot off. Having one hand support the stem, I tip the plant just a bit more than 90*, I do not like going upside down. With my other hand I squeeze the bottom of the fabric pot, around the edges at first and then from the center of the bottom. Should come out no problem! Then you can go ahead and plop your lovely plant into their new home. *With fabric pots, the roots are pruned away from the edges and bottom of the pot. This allows for much easier transplants, in my opinion, as it's a simple fill, pull, drop.*

Our finals steps are as such, get a nice dressing of soil on top of our new transplant. Scoops at a time, spreading the soil gently and evenly. Once finished, administer your final watering (For me, it was my remaining 1gal w/ nutes). Let me add again, don't pack anything down! Your watering will do an excellent job at that, for you, over time.

Whoaaa, didn't expect my thought process to go there. 😂, I can only hope that someone finds this useful. Well, in my next post I'll get into the larger ones, more of what 'I' did, and how much fun it was. Thanks for stopping by, stay classy GWE community 😎.
-Meesta

 

Attachments

  • photo81798.jpg
    photo81798.jpg
    1.8 MB · Views: 1
  • photo81799.jpg
    photo81799.jpg
    1.8 MB · Views: 0
  • photo81800.jpg
    photo81800.jpg
    2.3 MB · Views: 1
  • photo81801.jpg
    photo81801.jpg
    2.4 MB · Views: 0
  • photo81802.jpg
    photo81802.jpg
    2.4 MB · Views: 0
  • photo81803.jpg
    photo81803.jpg
    3.1 MB · Views: 0
  • photo81804.jpg
    photo81804.jpg
    2.8 MB · Views: 0
  • photo81805.jpg
    photo81805.jpg
    4.2 MB · Views: 0
  • photo81806.jpg
    photo81806.jpg
    3.9 MB · Views: 0
  • photo81807.jpg
    photo81807.jpg
    2.9 MB · Views: 0
Last edited:
Back
Top