What's new
GrowWeedEasy.com
You're browsing as a guest. Sign up to join the conversation, share your grows, and get help from thousands of fellow growers — it's free and takes less than a minute.

oldjarhead100 asked to see my new cabinets ...

BaccaRacca

New member
I think I need to find an easier way to post these images. Anyway,


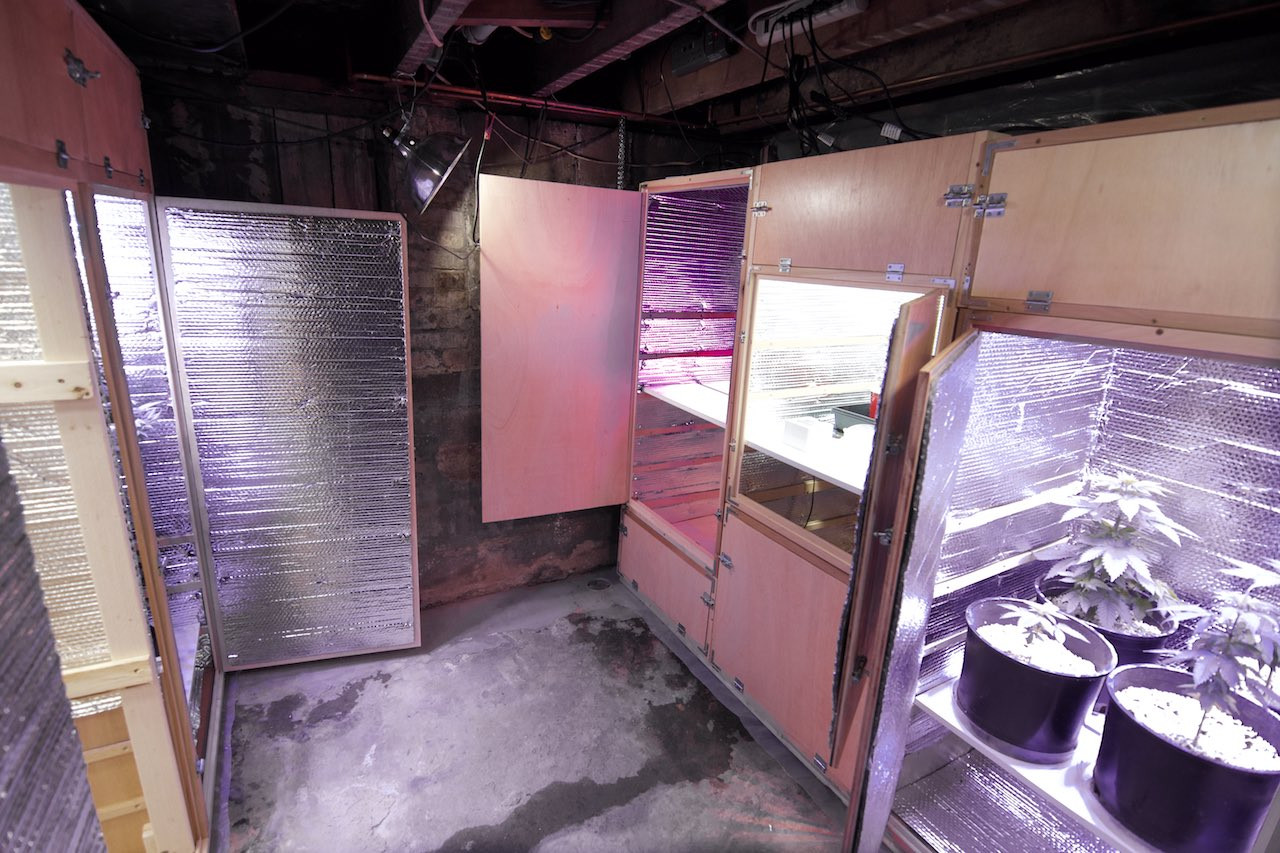
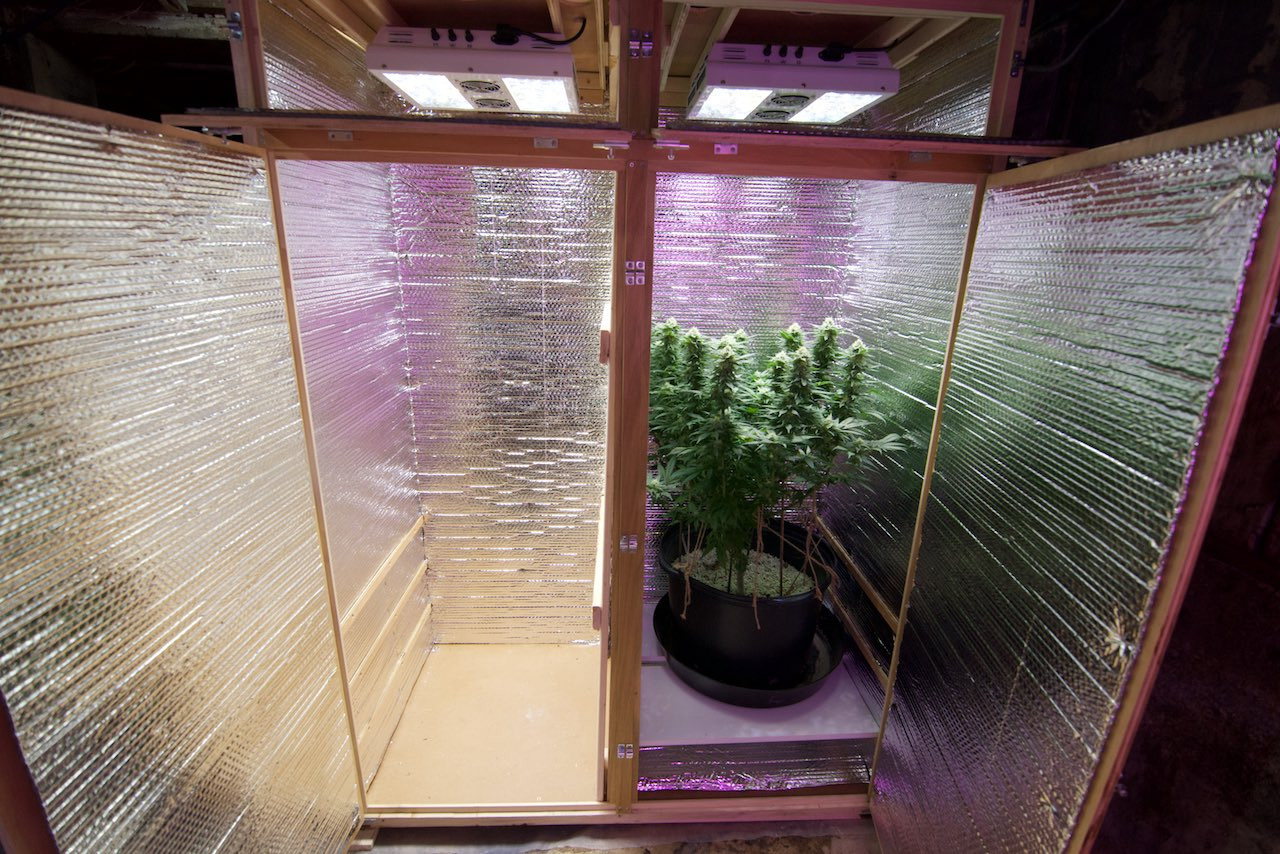
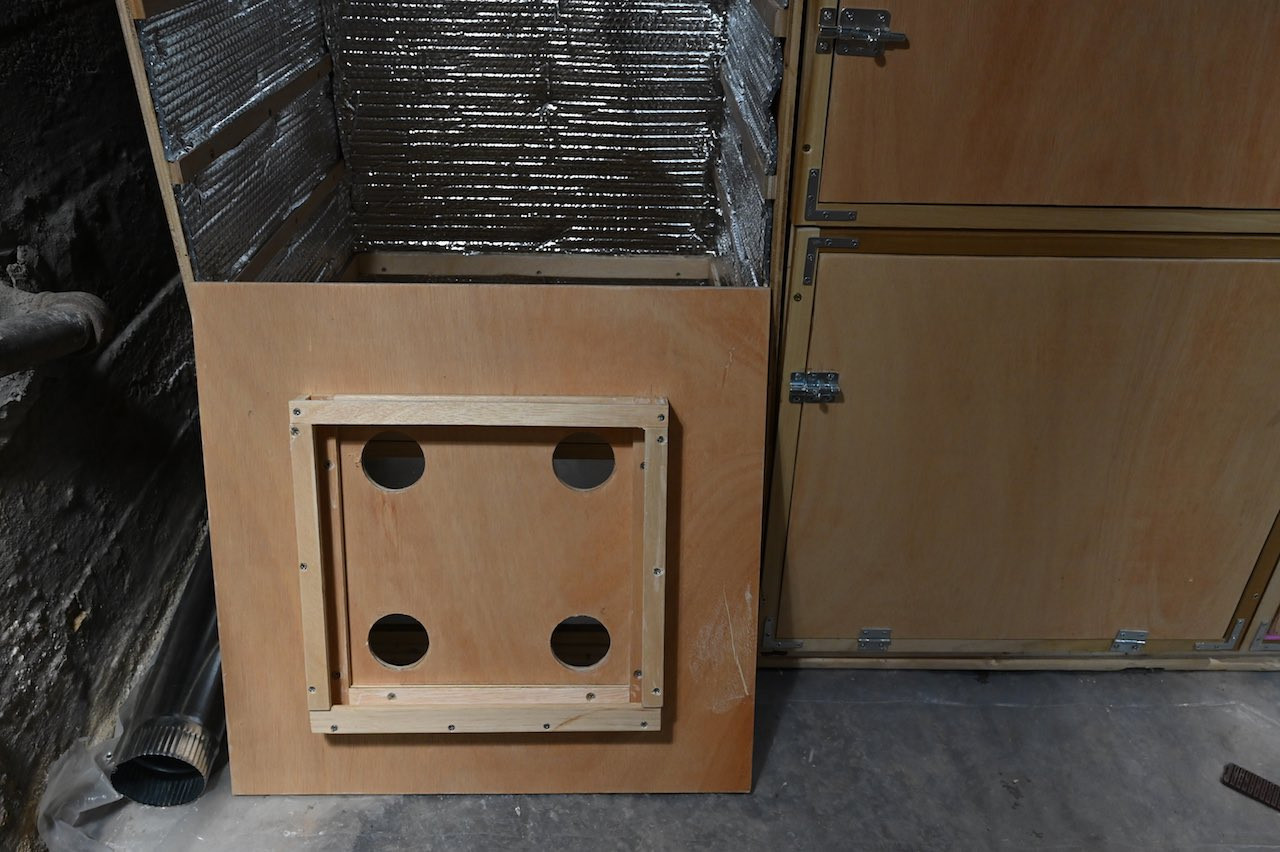
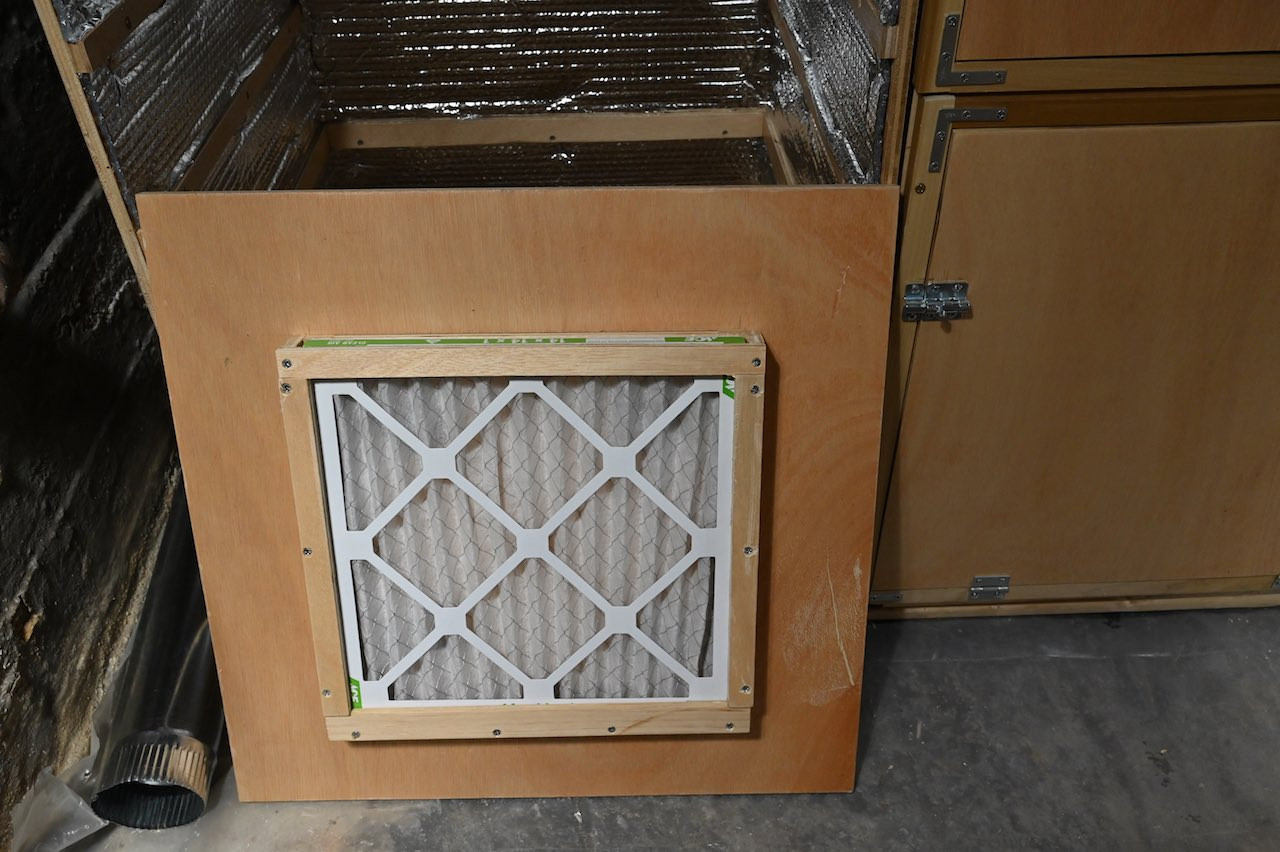
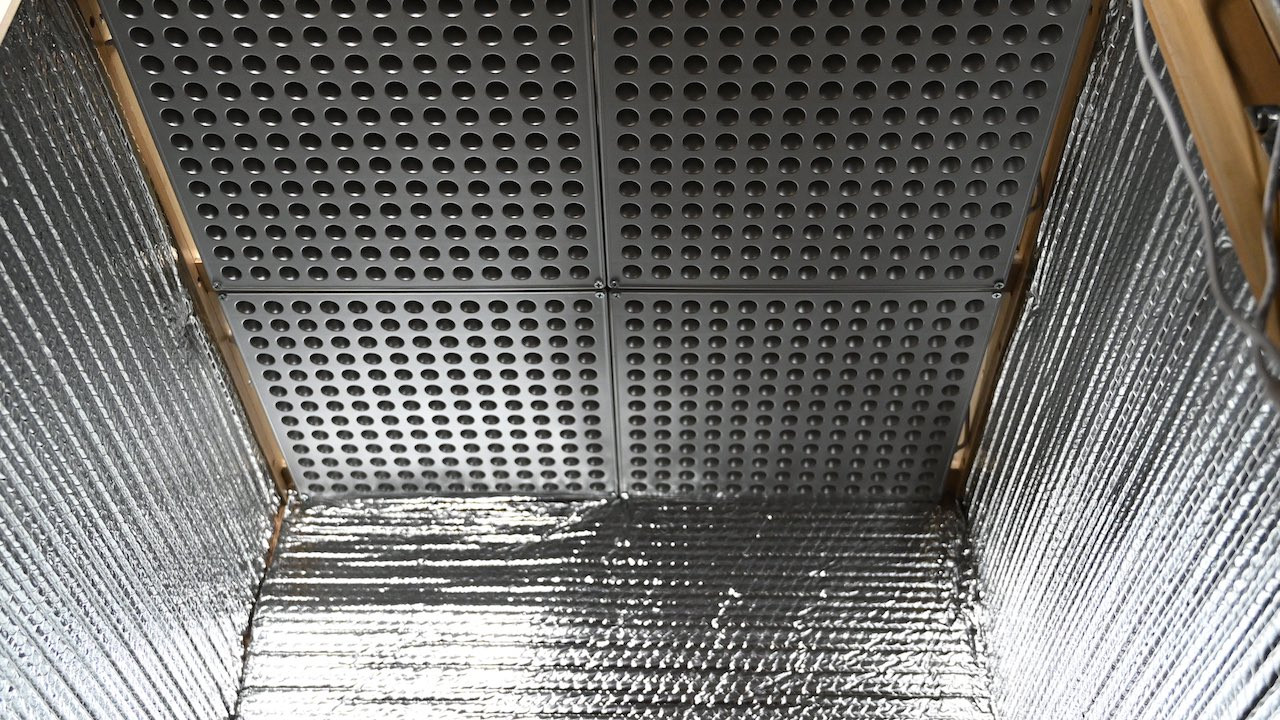
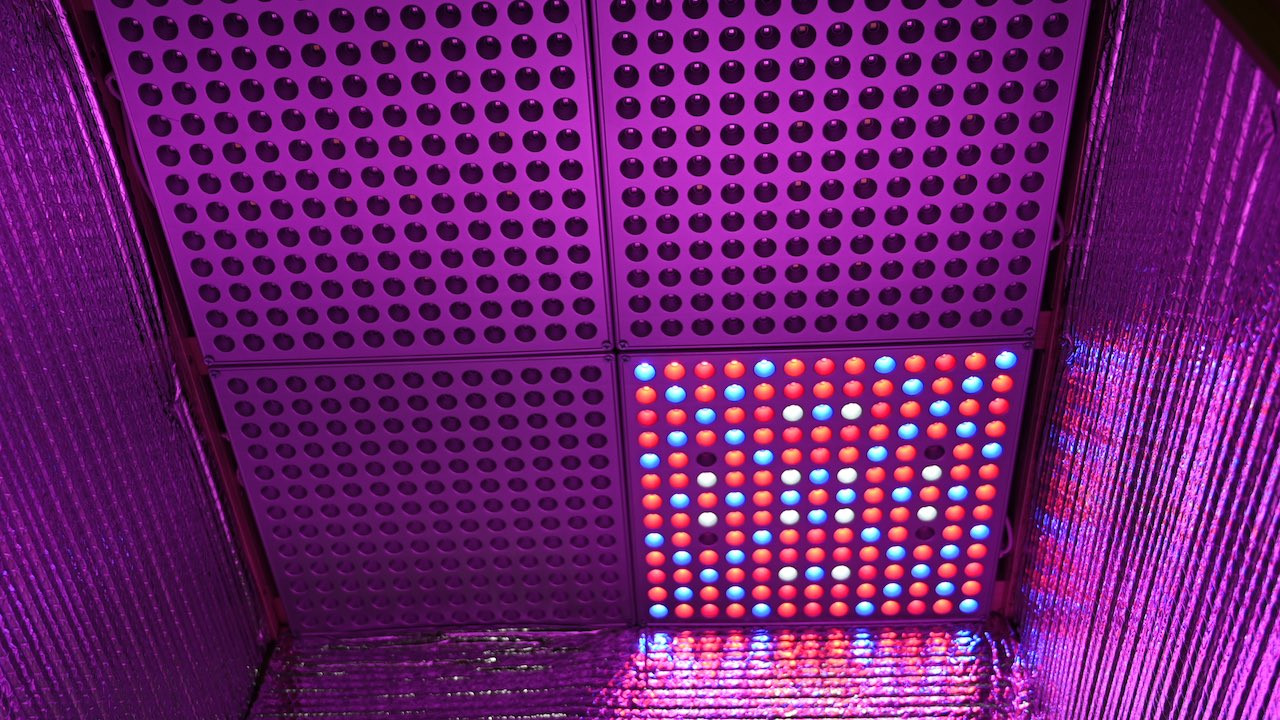
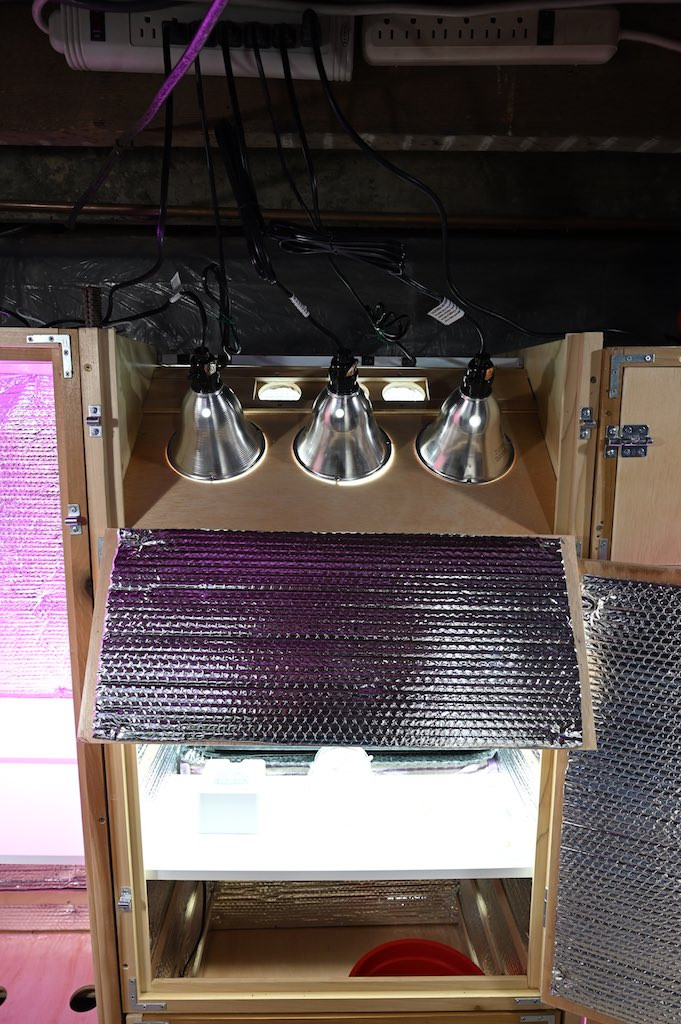
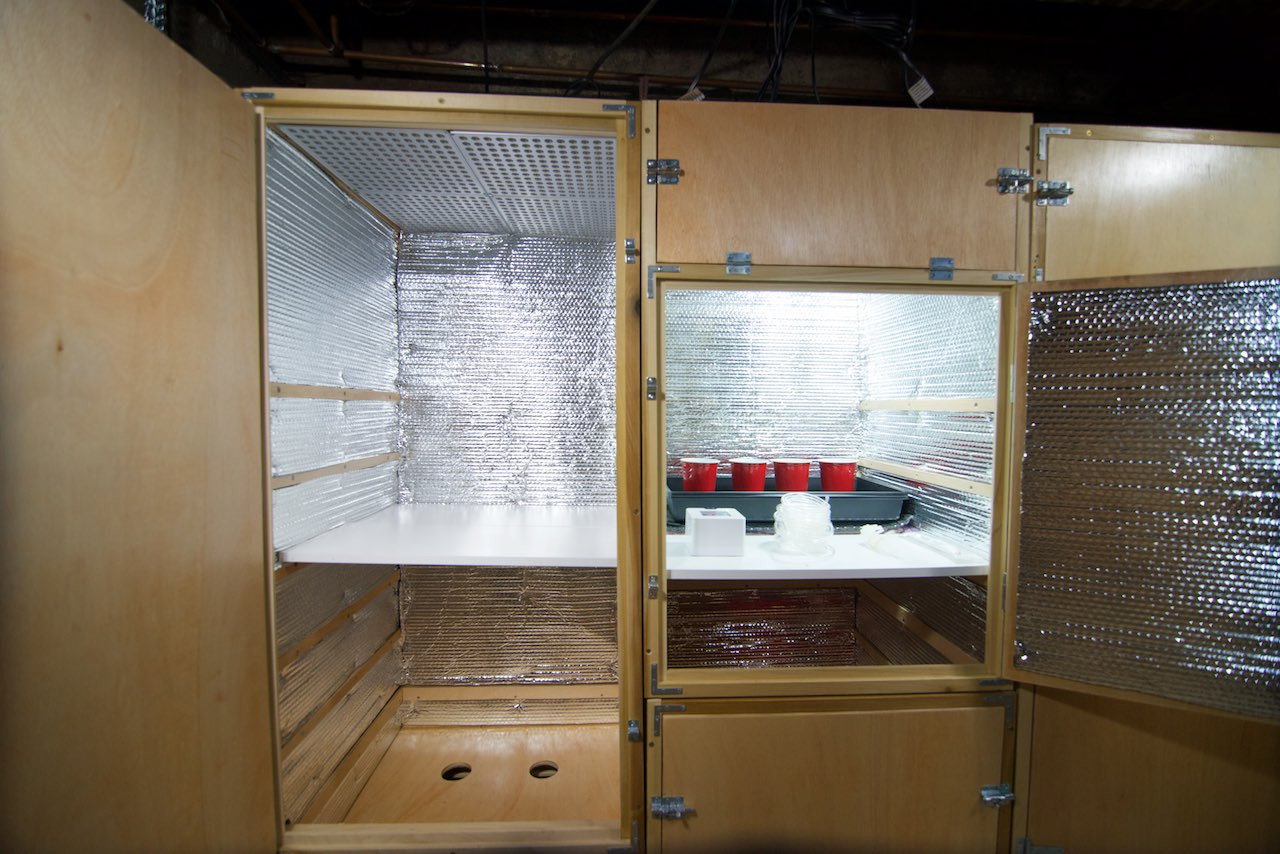
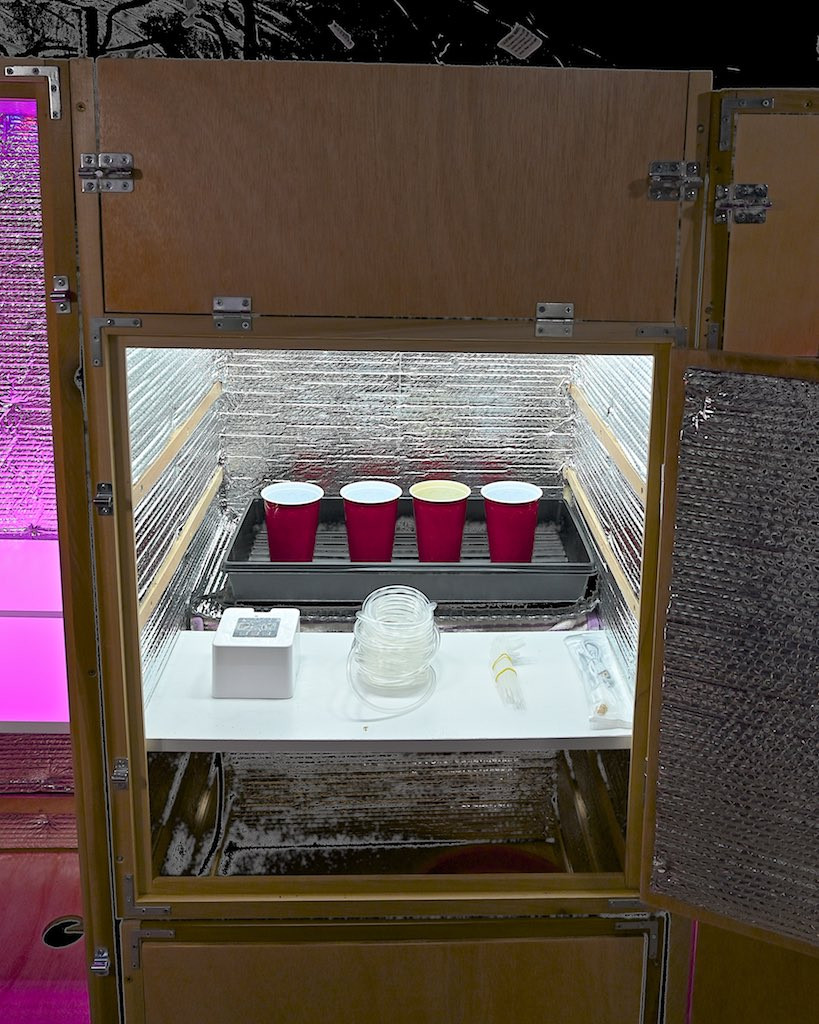
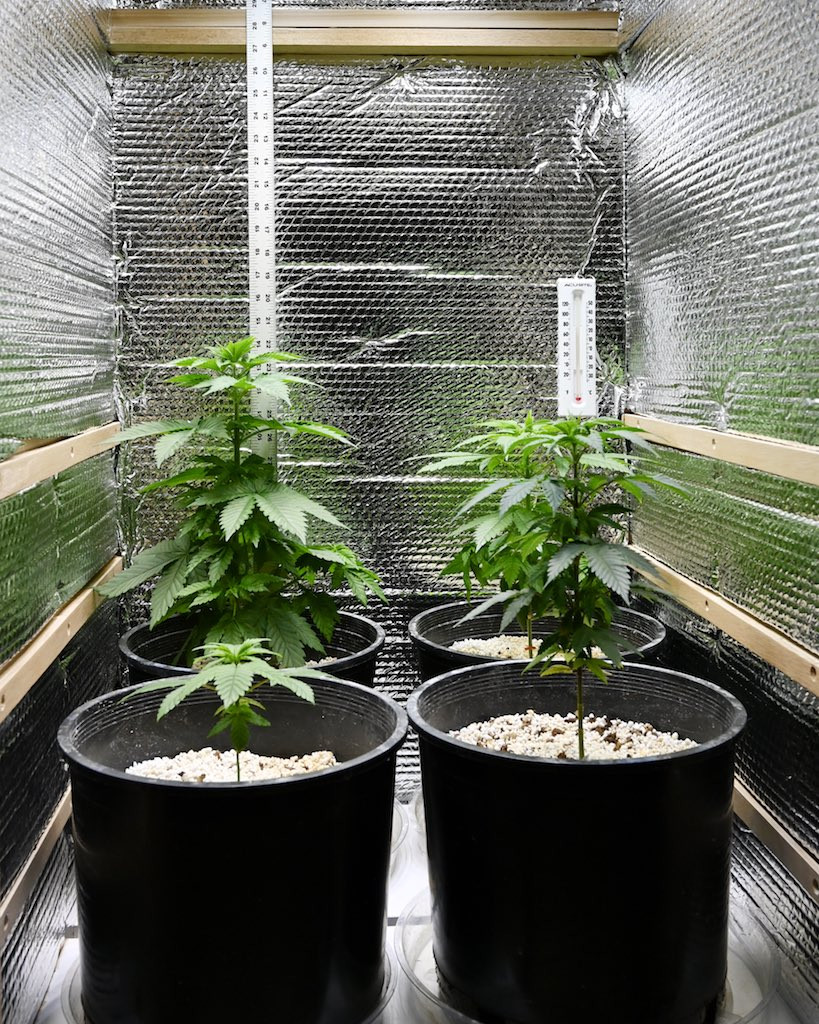
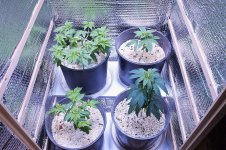
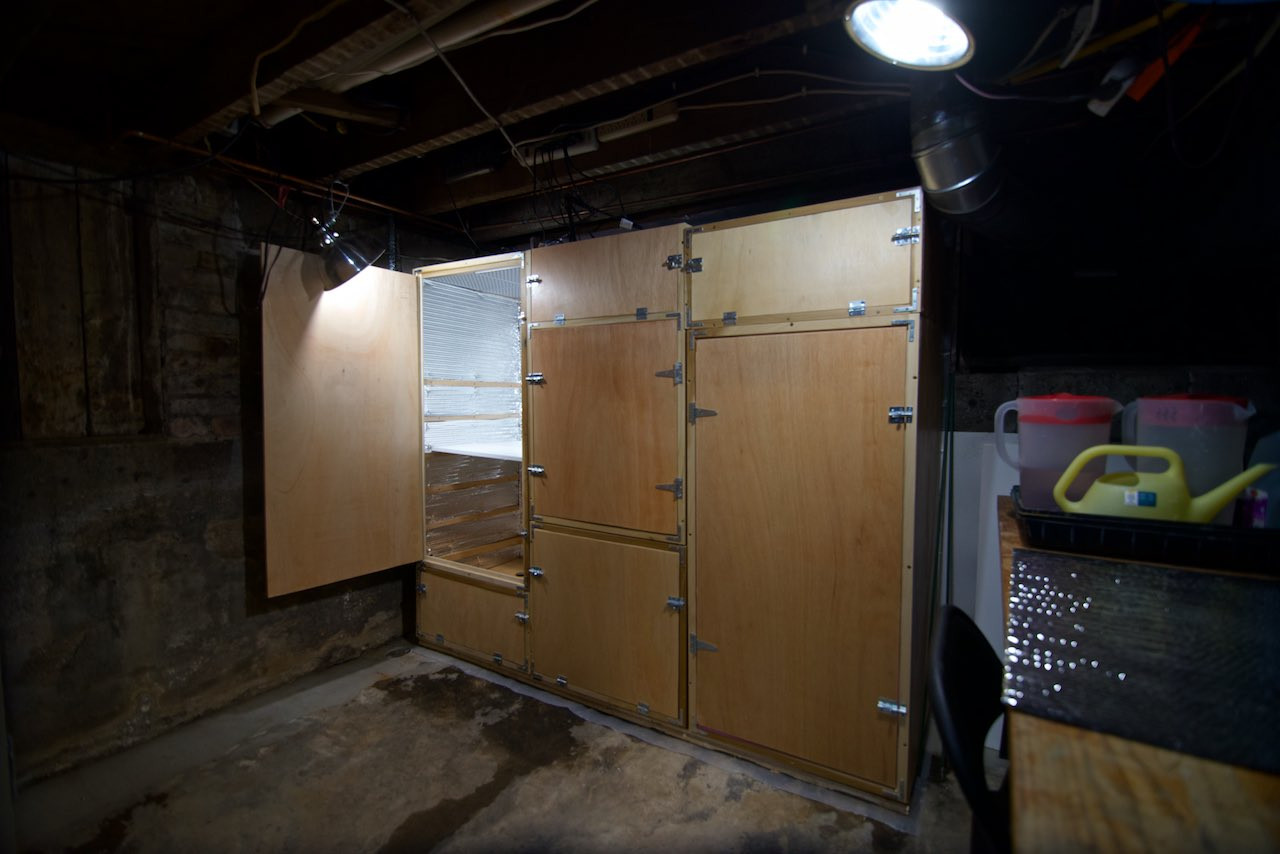
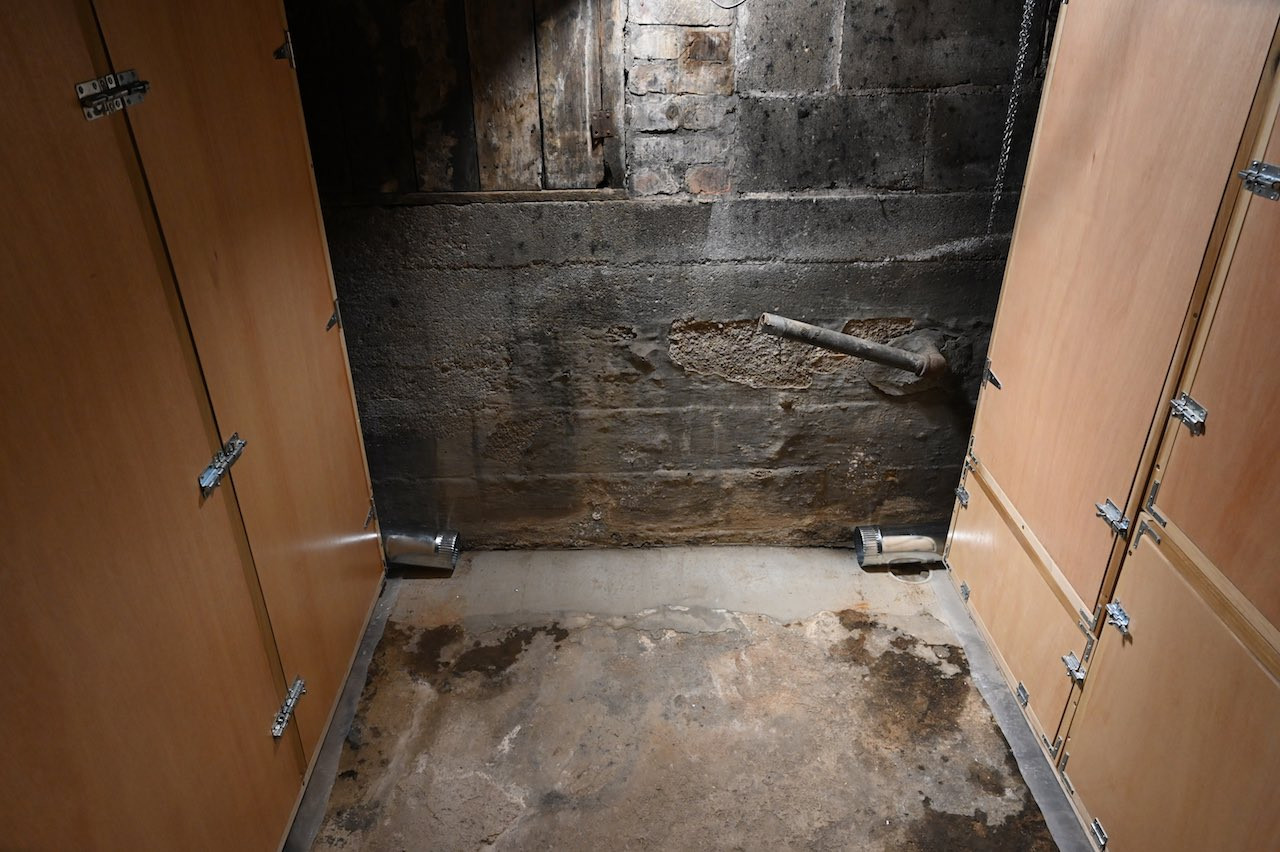
Cabinets started as 2'x2'x4' boxes that I could get cut out of a single sheet of 4'x8' plywood then carry home in my car (as well as a 2'x'2 MDF base and luan top. Then things got out of hand. Lights are fixed, shelving is adjustable using 6" o.c. cleats. Currently using the double cabinet on right w/ 1 or 2 Vipar Spectra 450s for flower. Upper cabinet doors provide access to light controls. Blurple box on far right for seeding/breeding has downdraft vent/filtration to suck up excess pollen during collection/pollination. I ganged 4- 11"x11" Rodealdro flat panels together. Seclect as needed. 1-2/2 Total thickness for light and support at top. I can get plants within 4" of these lights; surprisingly bushy, too. Middle box with blurple panels and cfl reflectors for seedlings and young veg (setting up for the Beer Cup Cup) -- note vent holes. Both these two boxes use a plenum downdraft system, pulling cold, root cellar air over warm lights. Far-right, near cabinet uses Vipar Spectra 450 for veg. I germinate in 4" peat pots, transfer to 10" 3-gallon pots (4 to a box) and finish in 1-gallon. Vent comes from plenum system in boxes to the left and collects at the bottom.
Custom Cabinets 3.jpg
Custom Cabinets 2.jpg
Custom Cabinets 4.jpg
Custom Cabinets 5.jpg
Custom Cabinets 6.jpg
Custom Cabinets 7.jpg
Custom Cabinets 11.jpg
Custom Cabinets 12.jpg
Custom Cabinets 13.jpg
Custom Cabinets 16.jpg
Custom Cabinets 14.jpg
Custom Cabinets 15.jpg
Custom Cabinets 19.jpg
 

Attachments

  • Custom Cabinets 1.jpg
    Custom Cabinets 1.jpg
    168.8 KB · Views: 0
  • Custom Cabinets 10.jpg
    Custom Cabinets 10.jpg
    345 KB · Views: 0
Last edited:
yes very nice well thought out ,I have one question and it comes from when I did my room ,Have you climbed in had someone close the door and check for light leaks ,if not I recommend it ,I had a lot of PITA's that first grow because of light leaks Other than that fantastic job
 
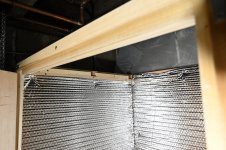
As a Lifelong DIY person, this is a fantastic job. And as mentioned A Labor of Love....in the 3rd row, middle photo, what is the material at the top of the picture? Are the metal tubes on the floor part of a vent system? Do you use a carbon filter or are smells not an issue? Is each cabinet vented separately or in series from one to another to another? Does the area get warm? Could you add sliding shelves or do you have them?

sorry for all the questions but MAN... they are really exciting options.

I was debating the benefits of a tent or to just create a room and a door...done both ..I find the tent limiting for me doing stuff in there when it’s filled with 5/7 gallon bags and not being as flexible any more, it just would be sweet to work in a more open style room somewhat pain free
 
Ooops, answer one of my questions....that 3rd row photo are LED’s.... photo next to it has one turned on. By plenum , you mean like a heating or cooling system in a house? All connected and then fixed to a blower?
 
Thank you, jarhead.

I "accidentally" tested the original prototype and it didn't interrupt the photocycle. Unlike most kitchen cabinets that have visible clearances between the face frame and cabinet doors, the 1/2"-thick doors of these cabinets fit inside a 1/2"x1/2" rabbet cut into the 1"x2" face frame. That helps create a good light seal. The seal will be closer to air tight once I add the weatherstripping.
 
Last edited:
Don't mind the questions at all, Farmall, thank you for asking.

I showed the LED panels to demonstrate some of the flexibility I tried to build into the system. I can sex and breed a single plant under a single panel, and add plants and light as needed. I like how thin the light panels are, plus I've grown within 3" of similar panels in the middle "seedling" box.

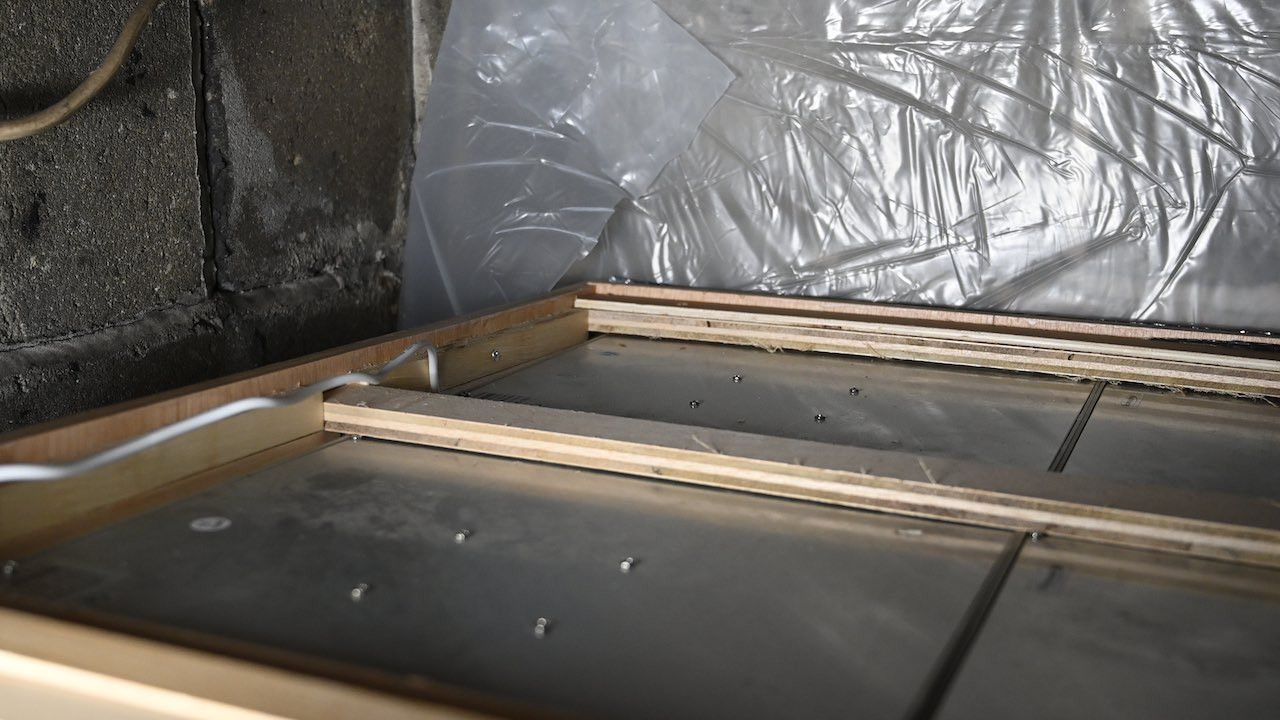
The metal tubes are for ventilation. At the moment I'm using convection ventilation, drawing cold air into the bottom, while the warm air from around the heating pads and lights escapes out the vent holes up top. I use sliders over the vent holes to control air flow and temperature. I plan to attach the vent pipes you see to a "T" joint that feeds a blower and charcoal filter system. When I work on pollen in the breed and seed box, I'd change to a HEPA filter bag. The three cabinets on the right are vented in series, with airflow controlled with a series of gates. The plenum box is comprised of the lower 6" of the left and middle cabinets. Just like in a home HVAC system, this plenum is a pressurized box that distributes air flow.. I can shut off ventilation to any box, just like you would shutting of a vent in an empty bedroom.

The room is cold. It's an old farmhouse coal bin turned root cellar turned temporary grow room. Wood helps insulate the boxes, and the foil-lined bubble wrap helps, too. I use the much villified heat from the Vipar Spectra 450 dimmable lights to warm the boxes, plus the previously mentioned seedling heat pads.

Permanent grow room is under construction, It will have additional room for a 32"x64"x 6'-tall flowering box lit with a couple of quantum boards. Better temp and humidity control. We'll have RO water set up, with a drain, and then seal the whole room up nice and tights so it will work as an atmosphere lock for the cabinet's future CO2 system. Granted, I'm geeking on this. It was between a home brewery and this.

All told, working within Michigan law, I'll have a 6-week harvest interval in the continuous grow, with two plants in flower, three in serious veg, and then seven left for seeding and breeding.

There is a bit of outdoor raised-bed thinking that went into the boxes. Virtually all work is done sitting down, with the canopy adjustable to eye level. As long as my lights are at a fixed level, the canopy will be, too. The 75% perlite/25% peat moss mix that I use keeps everything very light and easy to move around. The mix works great with my alkali hard water. No ph hassle. The roots seem to find the right ph on their own. Drilled holes in my plastic nursery pots make great tie-downs for training. Perfect for portability.

Oh, as for the sliding shelf, I could build a cabinet that way if somebody asked me to. I value the flexibility of using 10"x2' shelves, and the ability to use them on different levels. They are perfect for one seedling heat pad and a standard 9"x18" seedling tray. Or two 10"-wide pots, or when used on a single level. one 19"-wide pot. They are wide enough to support the desired load, yet narrow enough to allow plenty of ventilation around the pot.

I'll post a better view of the plenum system, in a bit, plus how I'm taking advantage of different shelf height in one box after a recent trim.
 
Here is a better view of the plenum setup. Plus I trimmed down a couple of the White Widow plants. The manifolded plant is next in line for flowering. Probably move to the larger pot in ten days, with the rest going to breed and seed.

Custom Cabinets  1.jpg
Custom Cabinets  2.jpg
Custom Cabinets  8.jpg
Custom Cabinets  3.jpg
Custom Cabinets  4.jpg
Custom Cabinets  5.jpg
Custom Cabinets  6.jpg
Custom Cabinets  7.jpg
 

Attachments

  • Custom Cabinets  1.jpg
    Custom Cabinets 1.jpg
    671.2 KB · Views: 0
BaccaRacca well It came out almost like you had a plan or something. I like the standardized sizing. It makes complete use of the space when a commercially available seed tray goes in without wasting great space and your isolation areas provide nice flexibility . HEPA filter will be enough to isolate pollen? Using the T in a power vent system eliminates multiple exhaust fans. You’ve made a real science out of it. Congratulations
 
that works I'm just relaying things I had issues with when I built mine ,sounds like you know what your doing and thought of everything
 
Back
Top