

UndergroundFarmer
New member
This is for those considering building their own RDWC system. In the grow journal posts I tend to leave out the mundane stuff but sometimes its helpful for me when someone does go ahead and detail the nuts and bolts of making something work. This is the setup being used for Project Psychonaut. It has a kitty litter bucket reservoir and six grow buckets. A pump in the reservoir keeps the nutrient solution circulating gently through the whole system. The nice thing about this is that the same pump that moves the nutes through the system is also good for pumping water out rapidly.
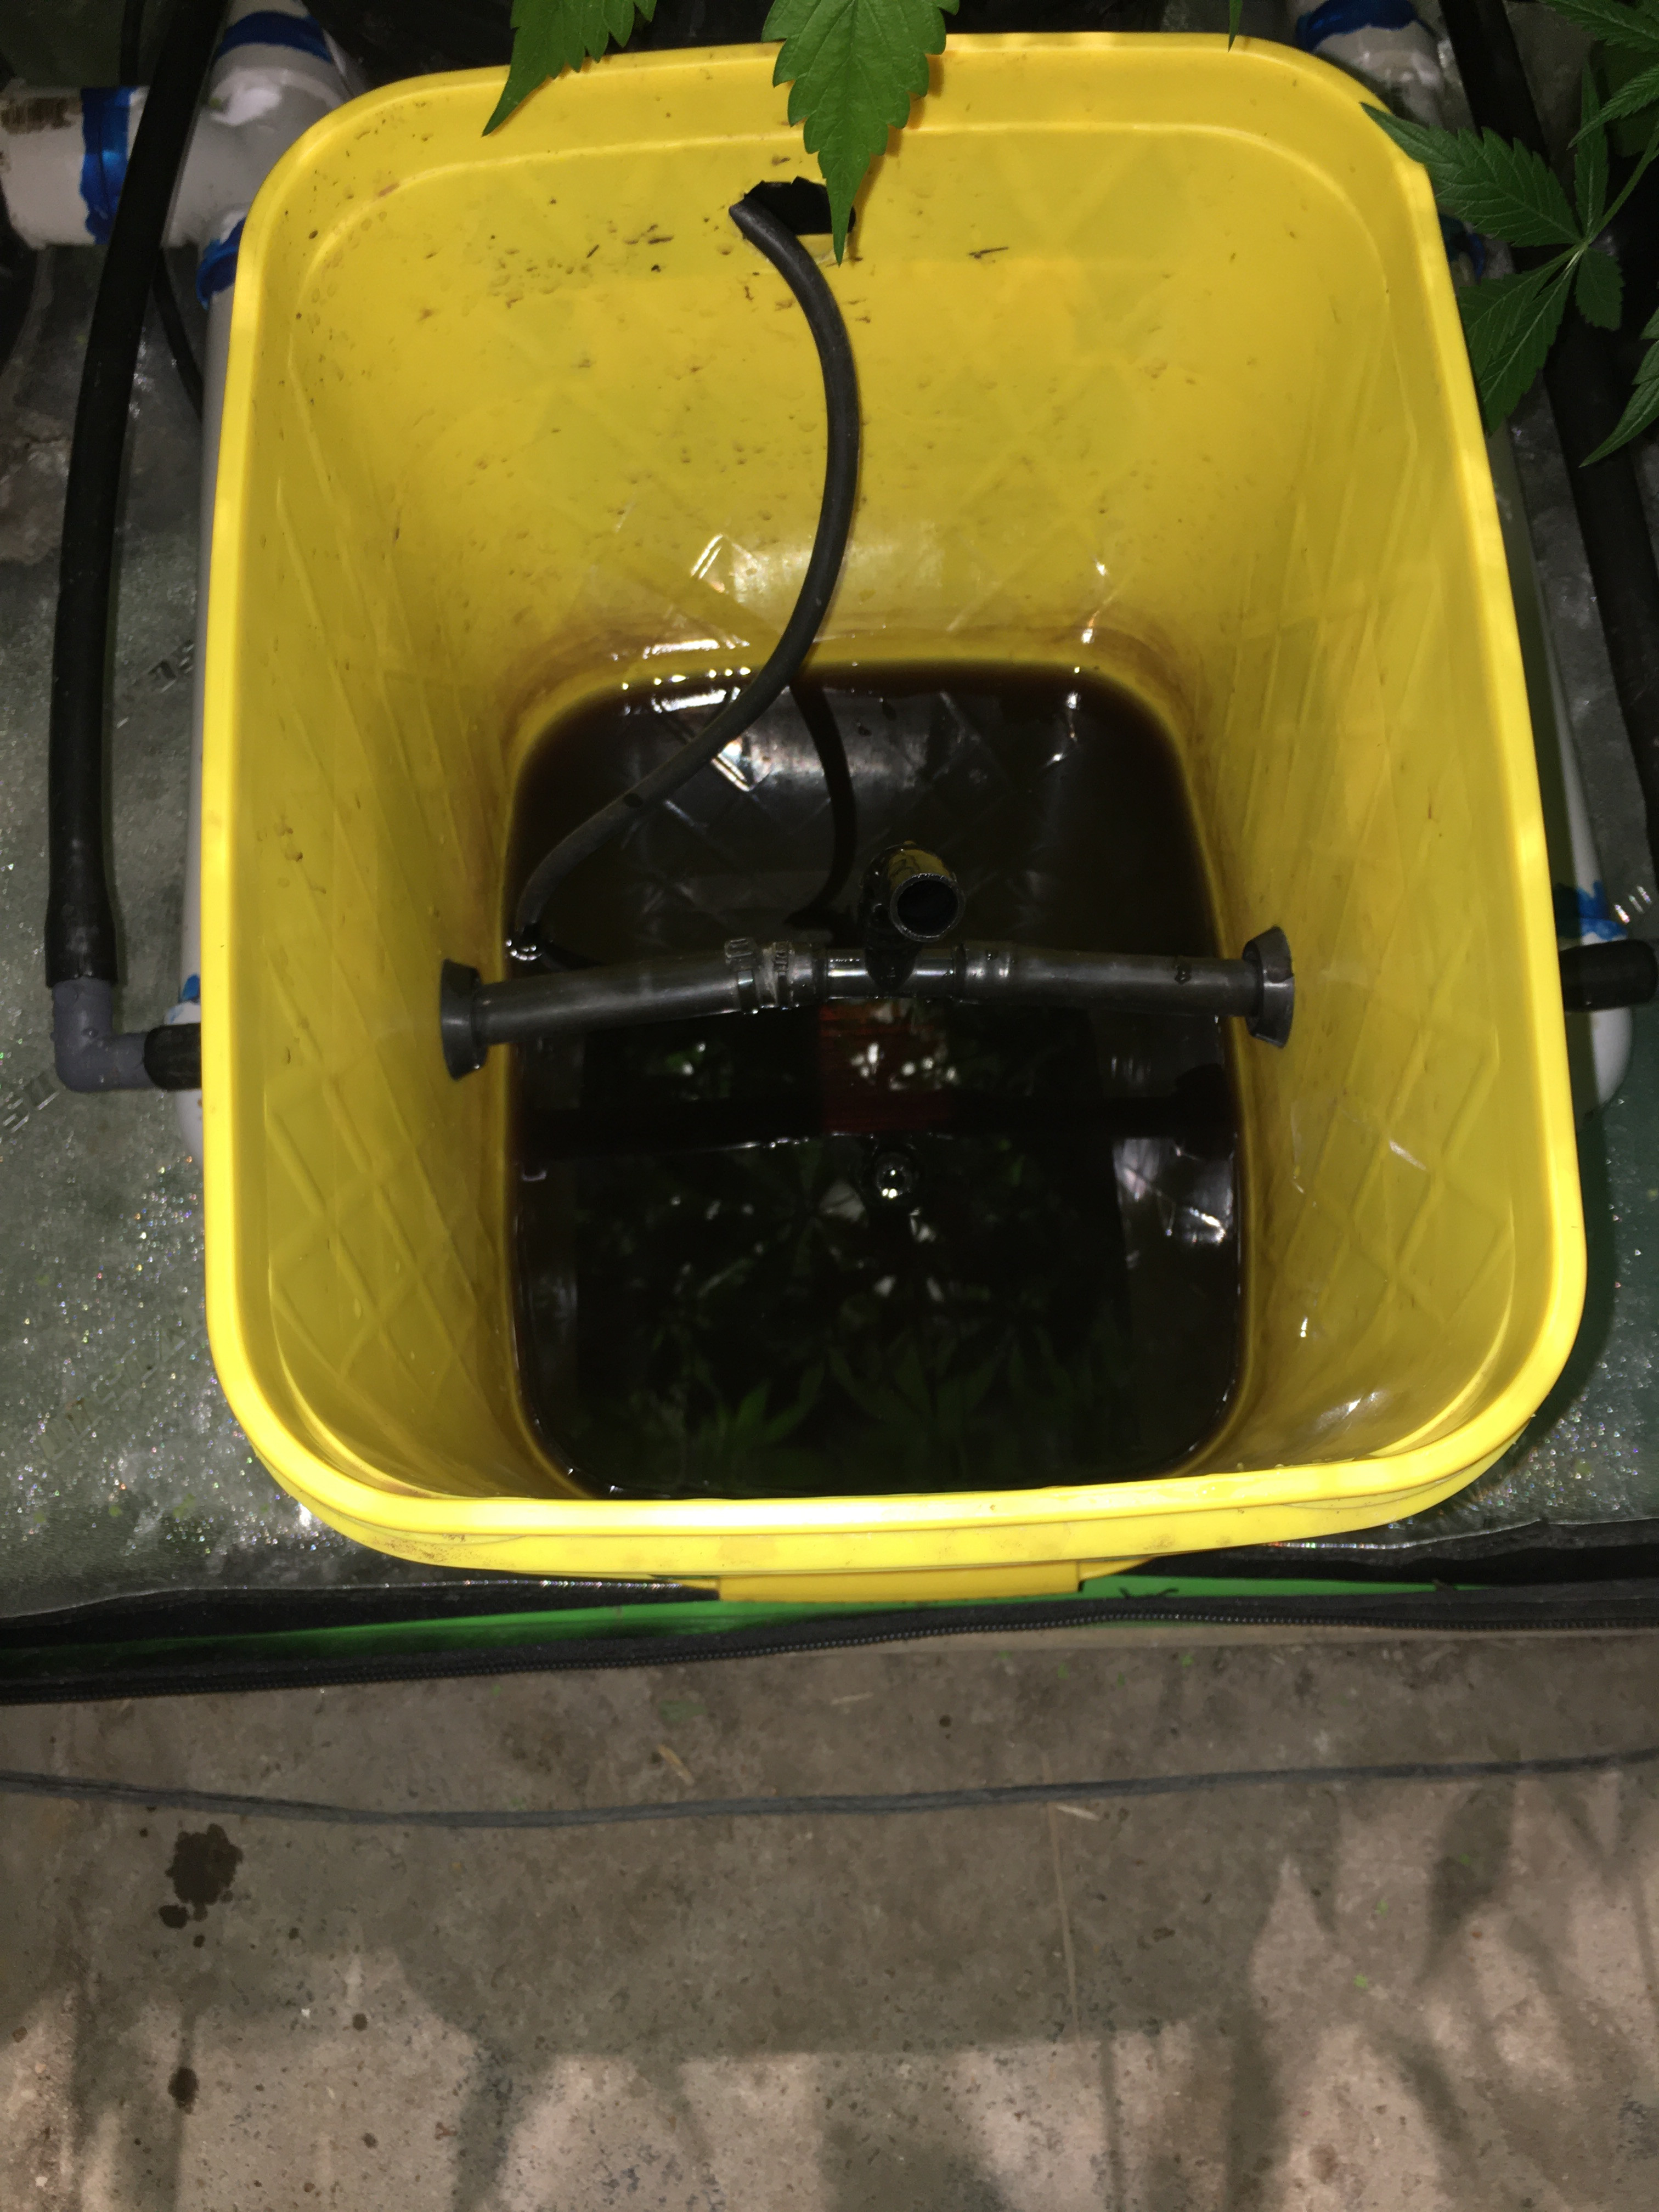
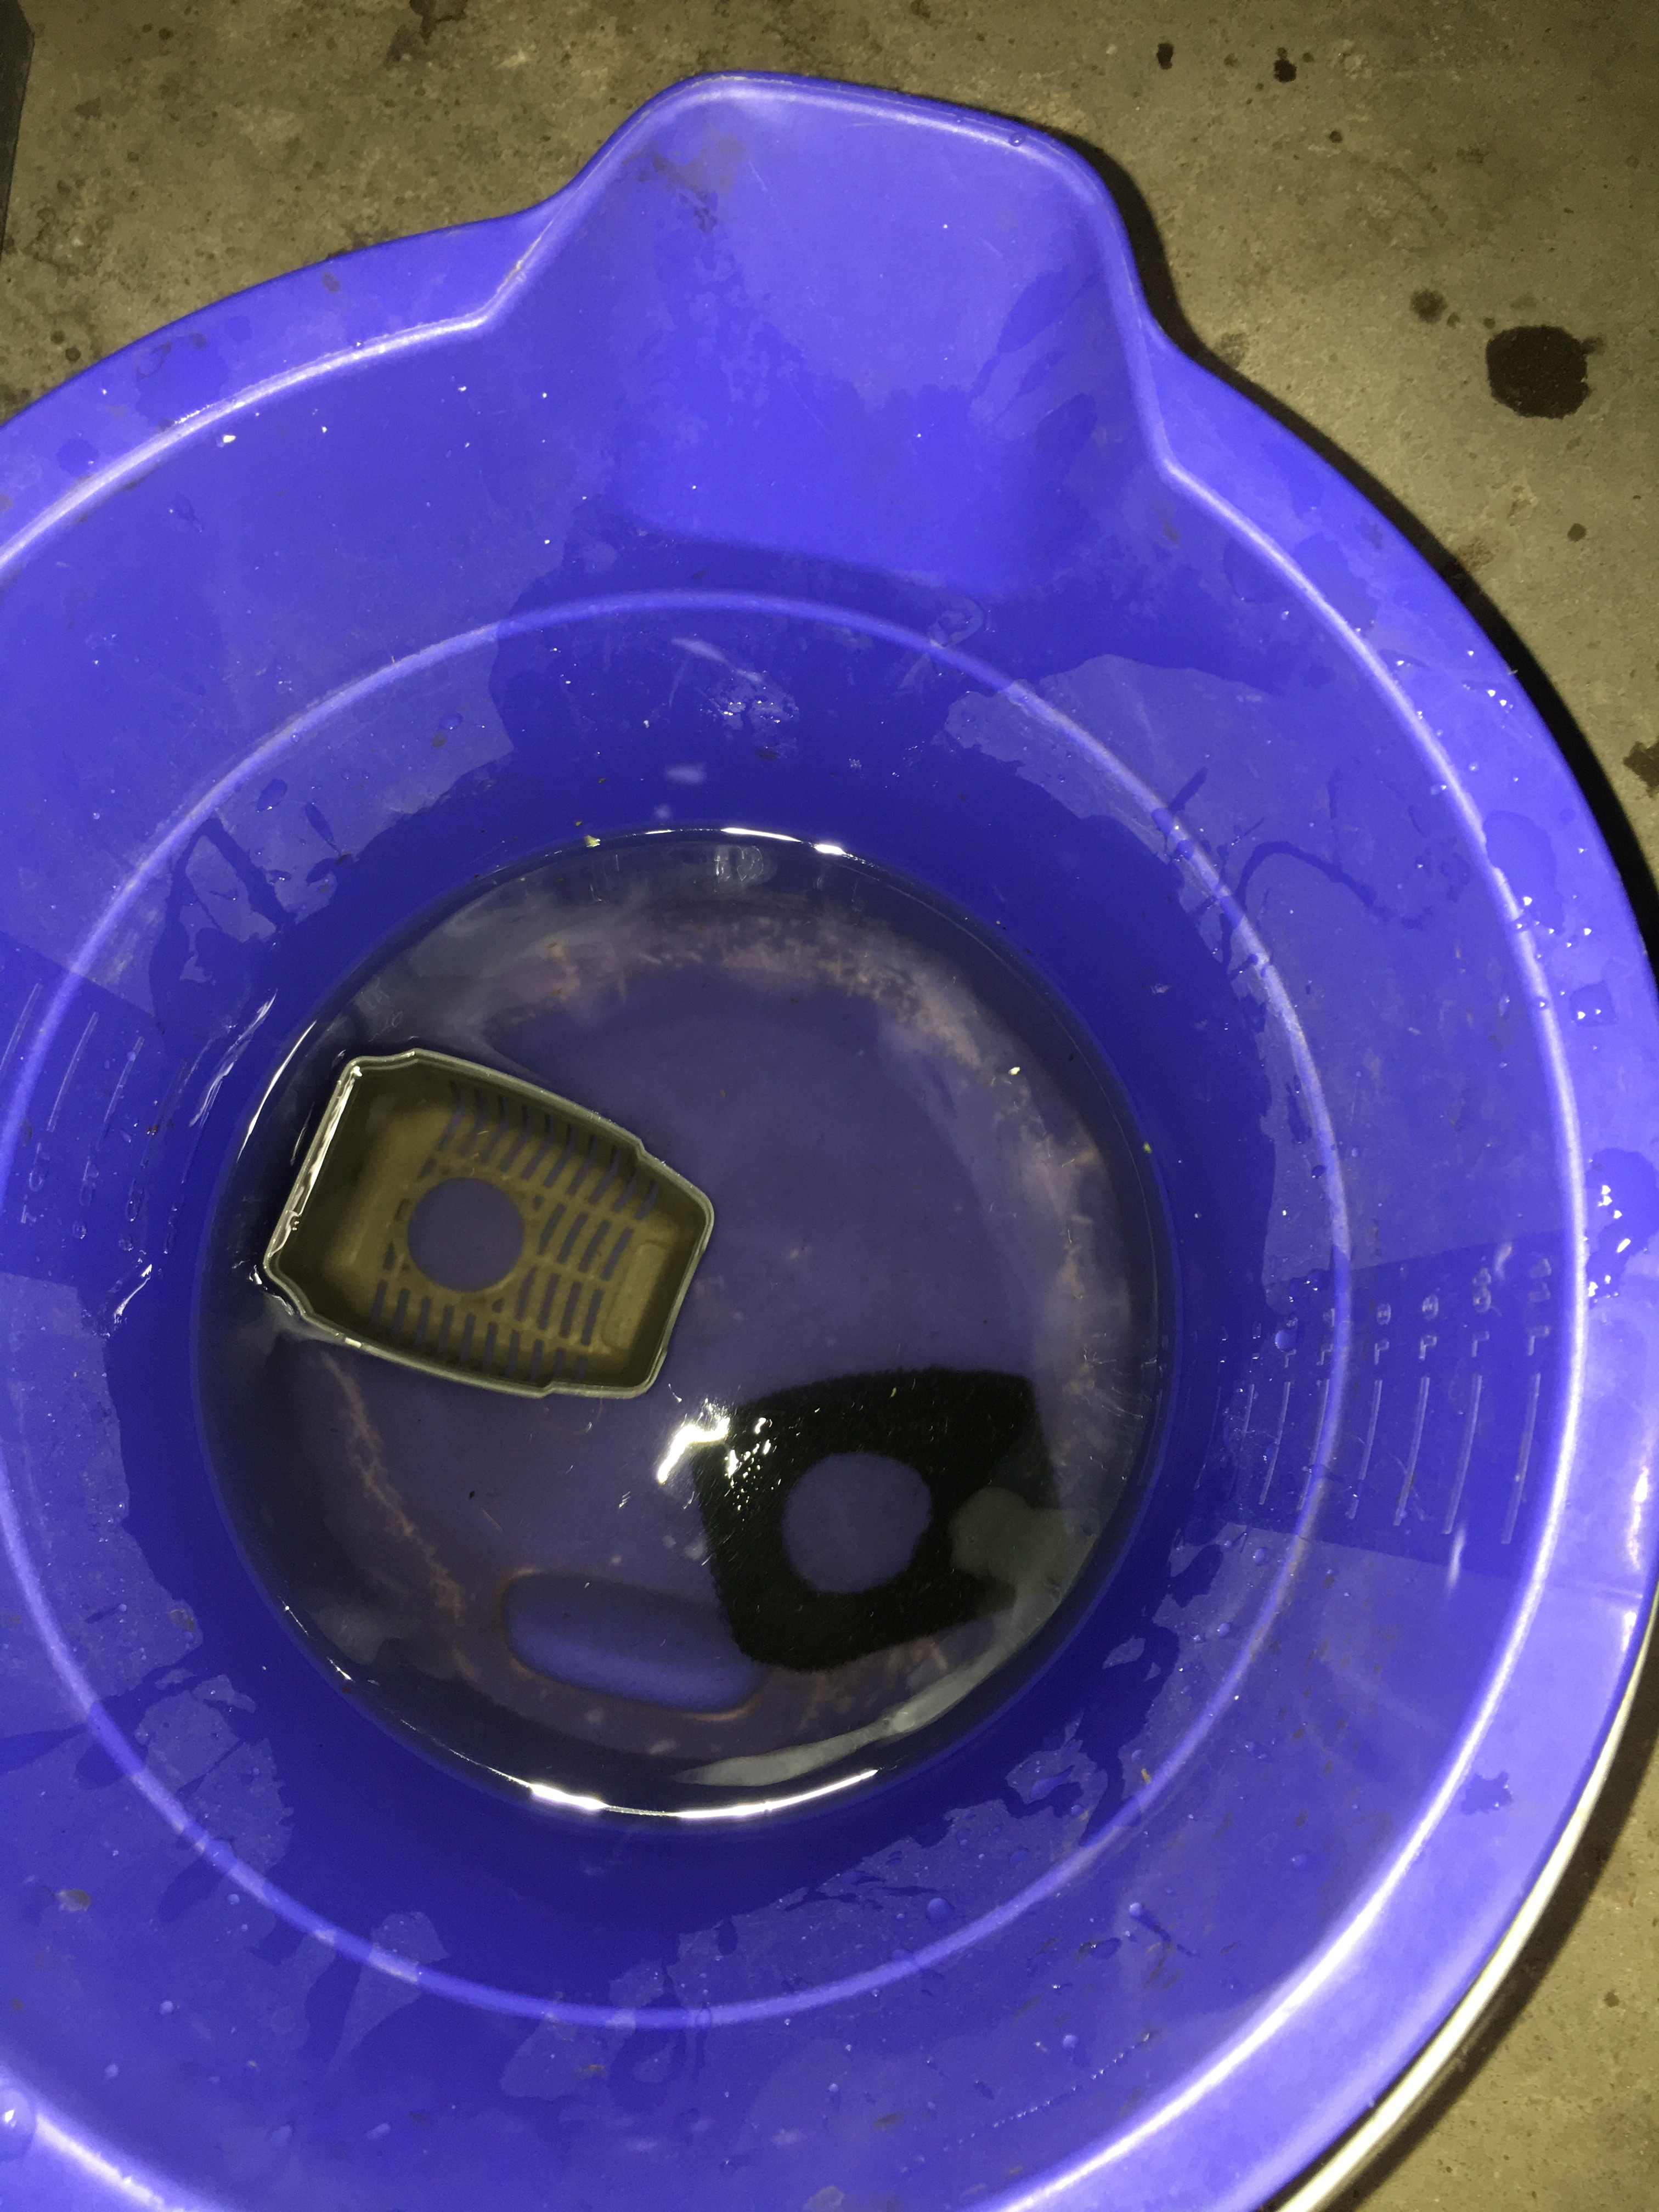
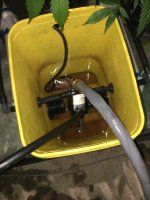
This is the reservoir when just starting to drain and refill. I've removed the lid already and disconnected the tube from the pump. The nute solution is brown because of all the tannins in the Aurora Soul nutes that I use. A nice side effect is a ring showing how high to fill it. I remove the filter and cover from the pump and rinse them out separately. This lets the pump pick up crud from the reservoir and eject it from the system. I don't have much of a problem with debris now but I did in the days when I had plants transferred from coco growing in my hydro setups.
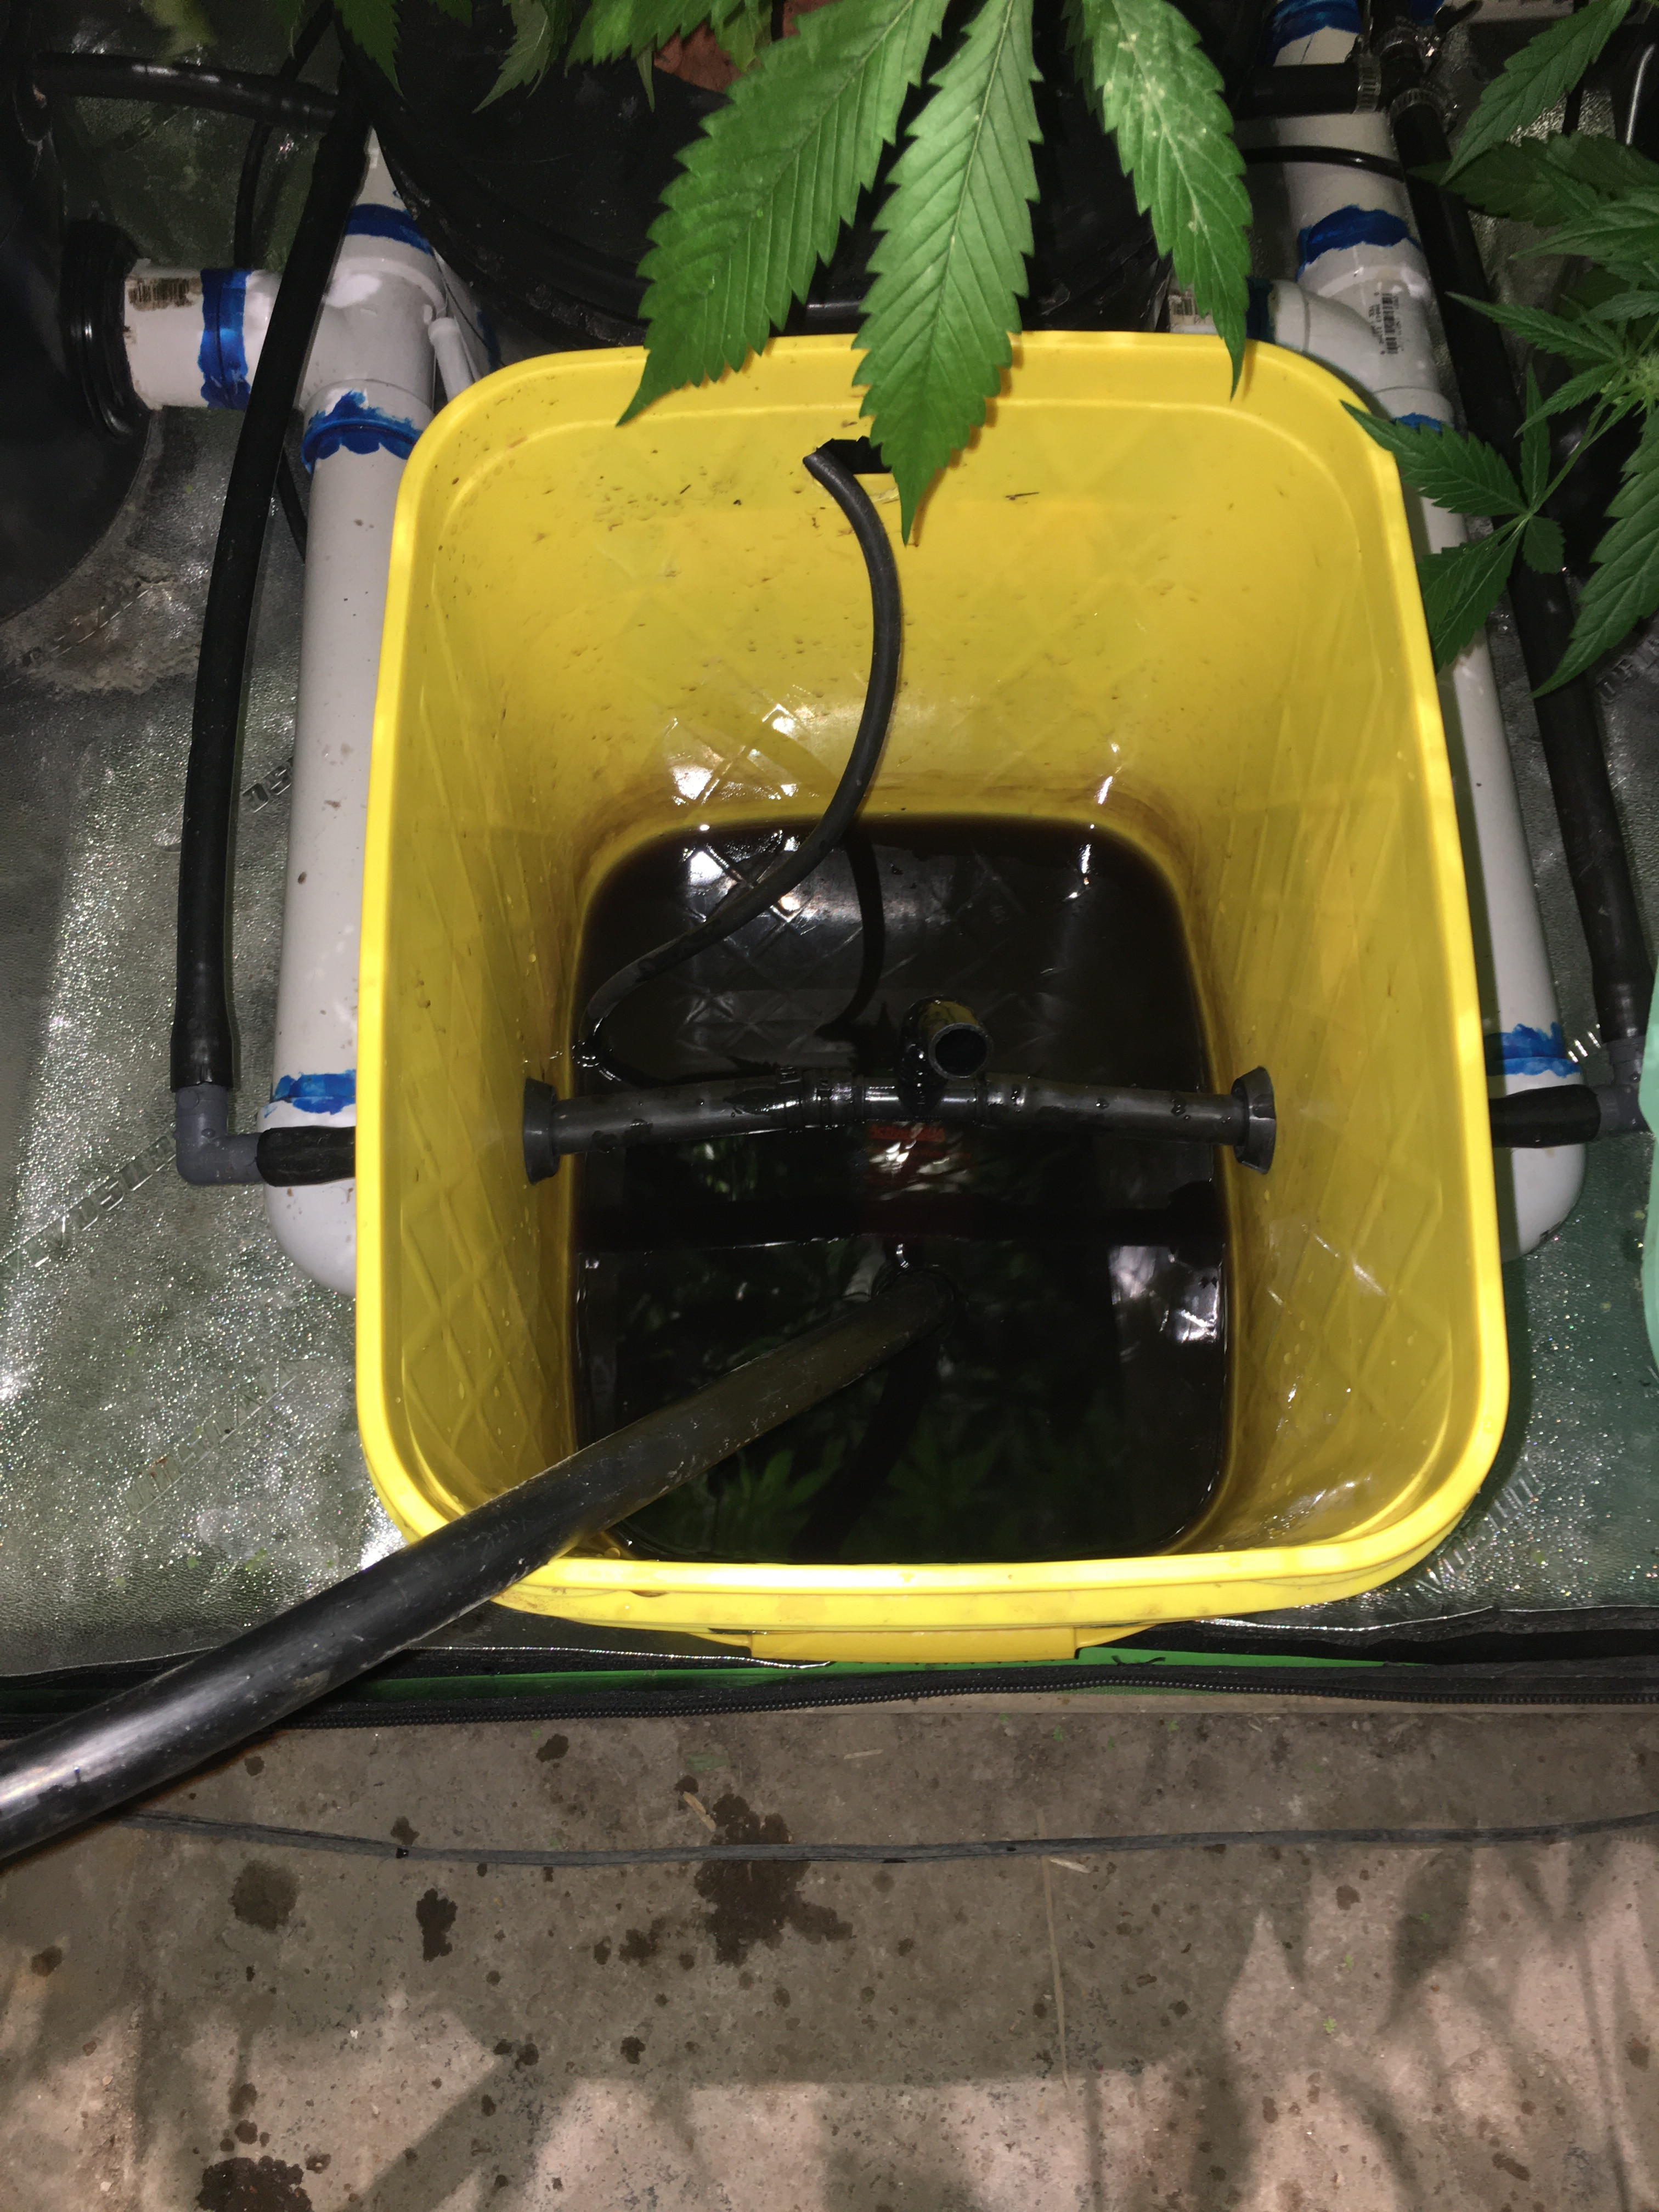
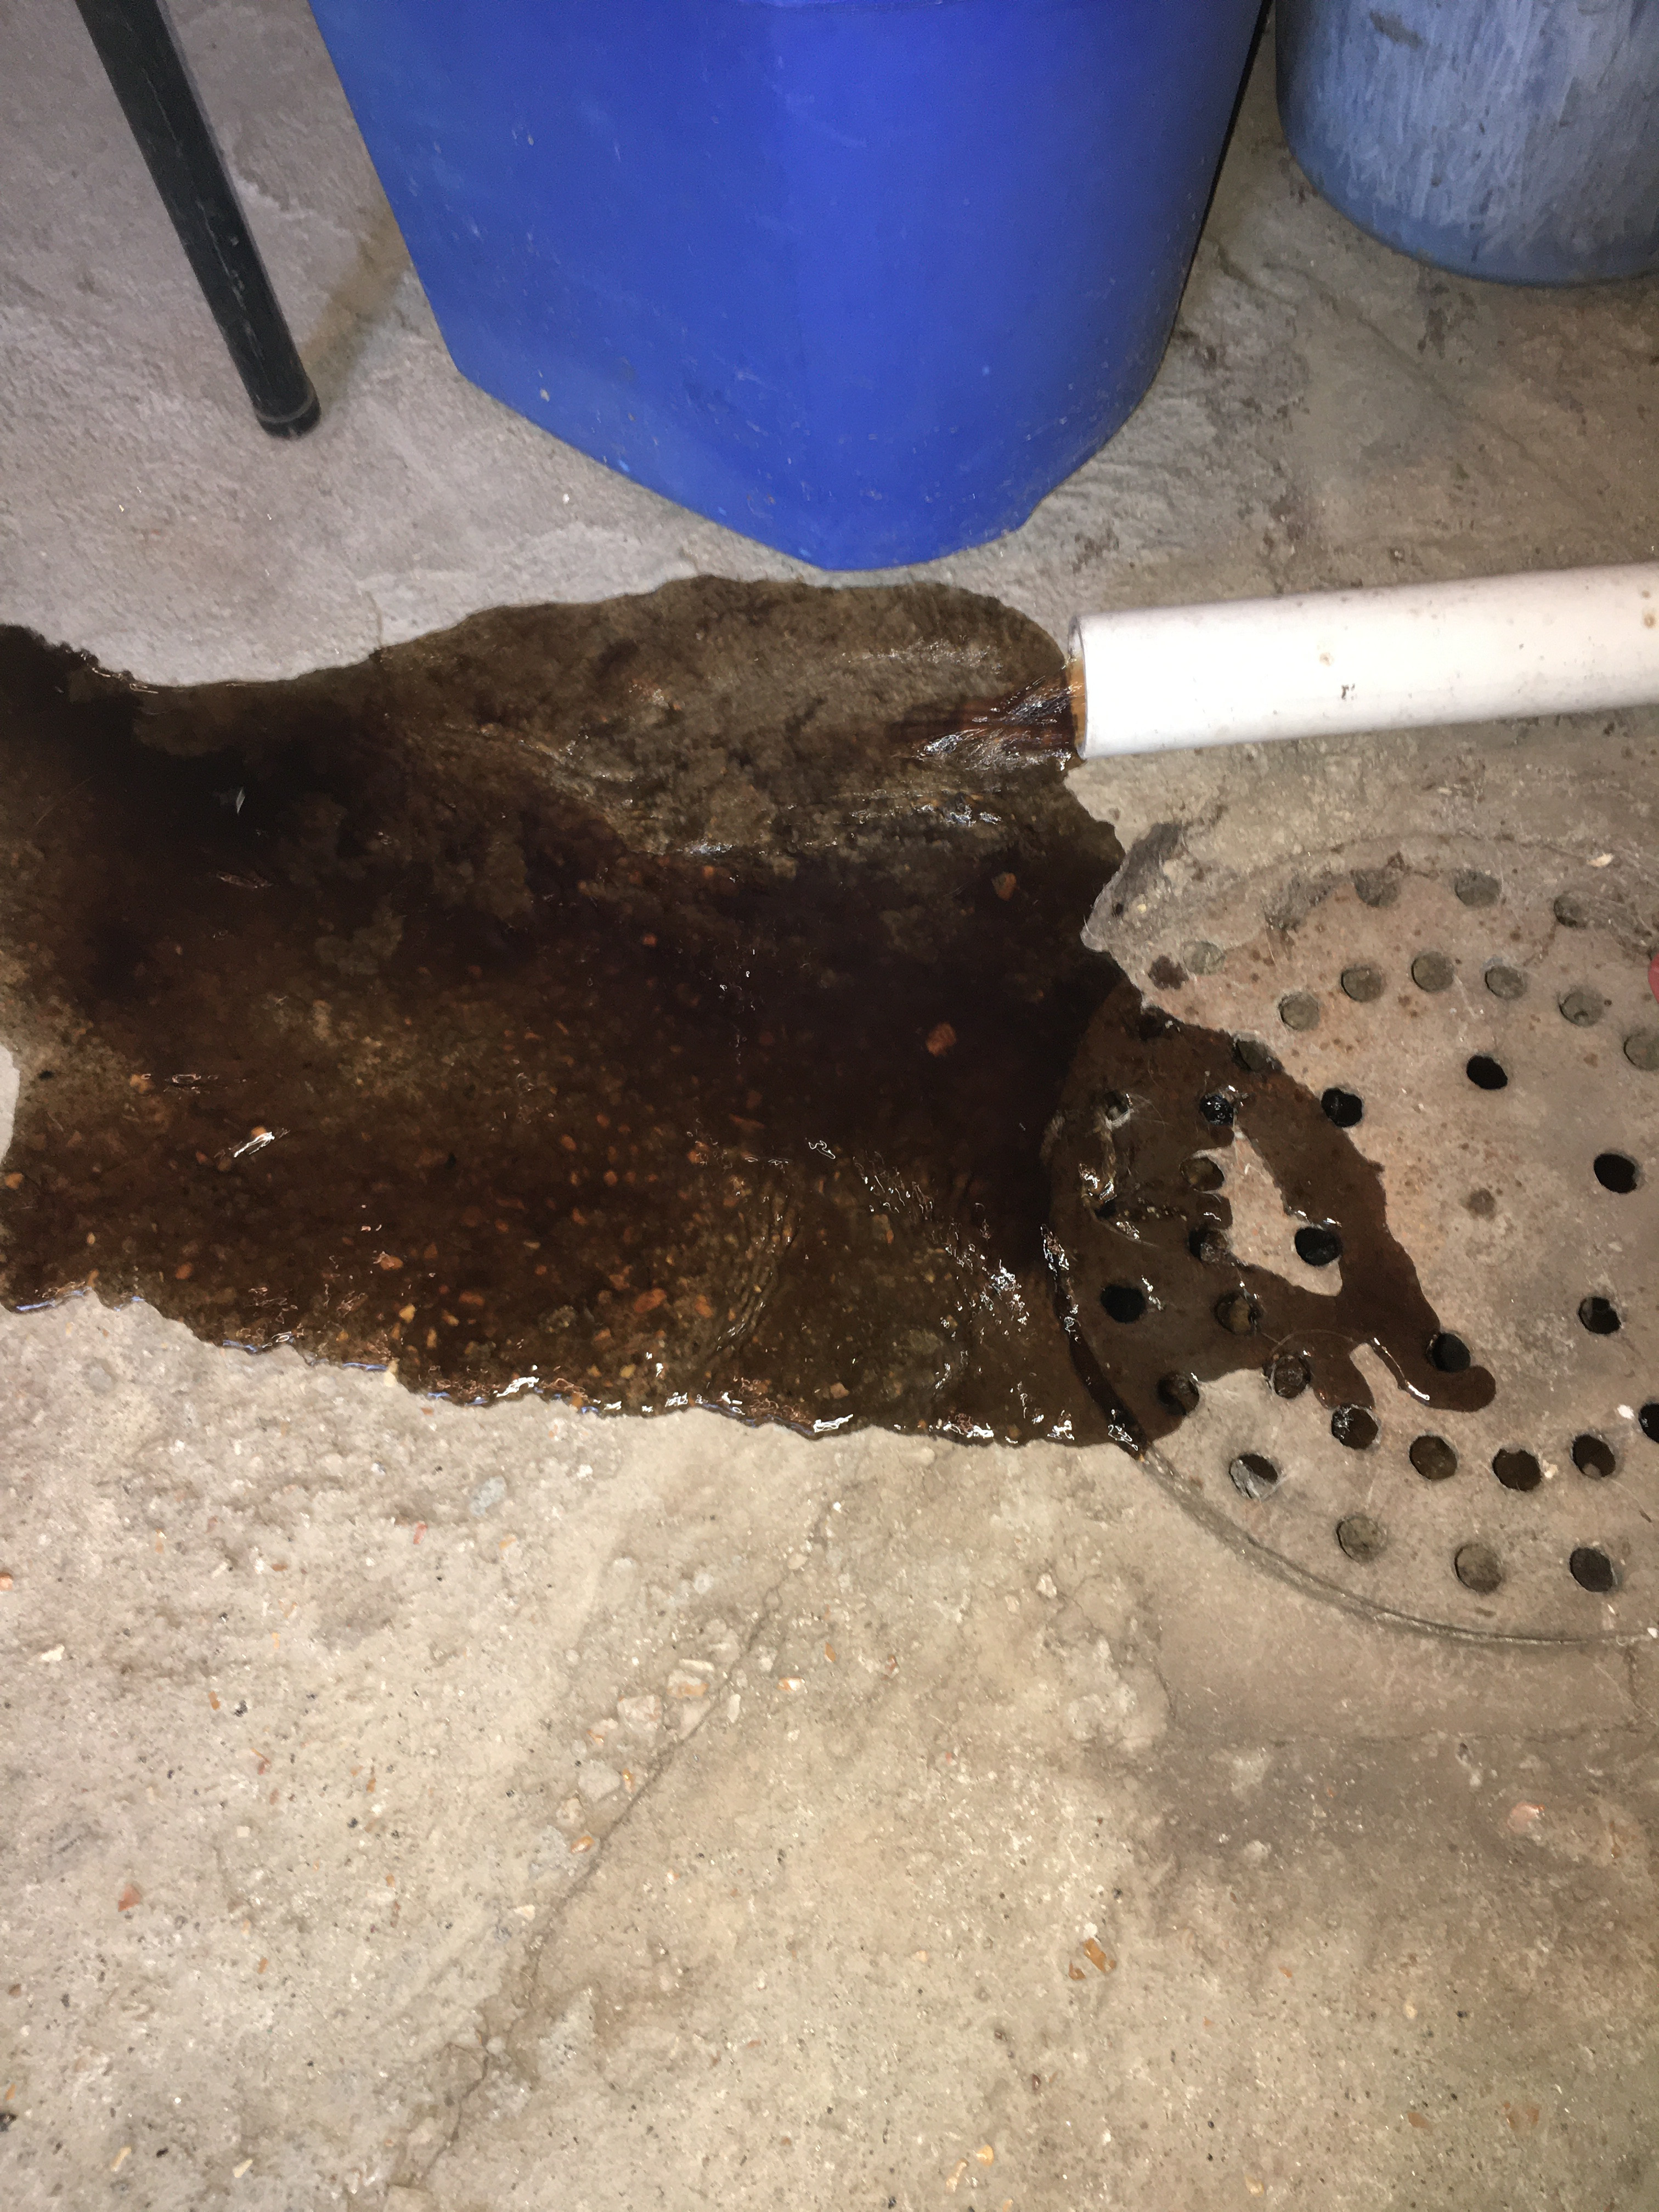
I use some flexible tubing left over from making the setup for the drain hose. It just slips over the nipple on top of the pump and the rest goes into a leftover piece of PVC pipe to my basement floor drain - another benefit of growing in a basement!
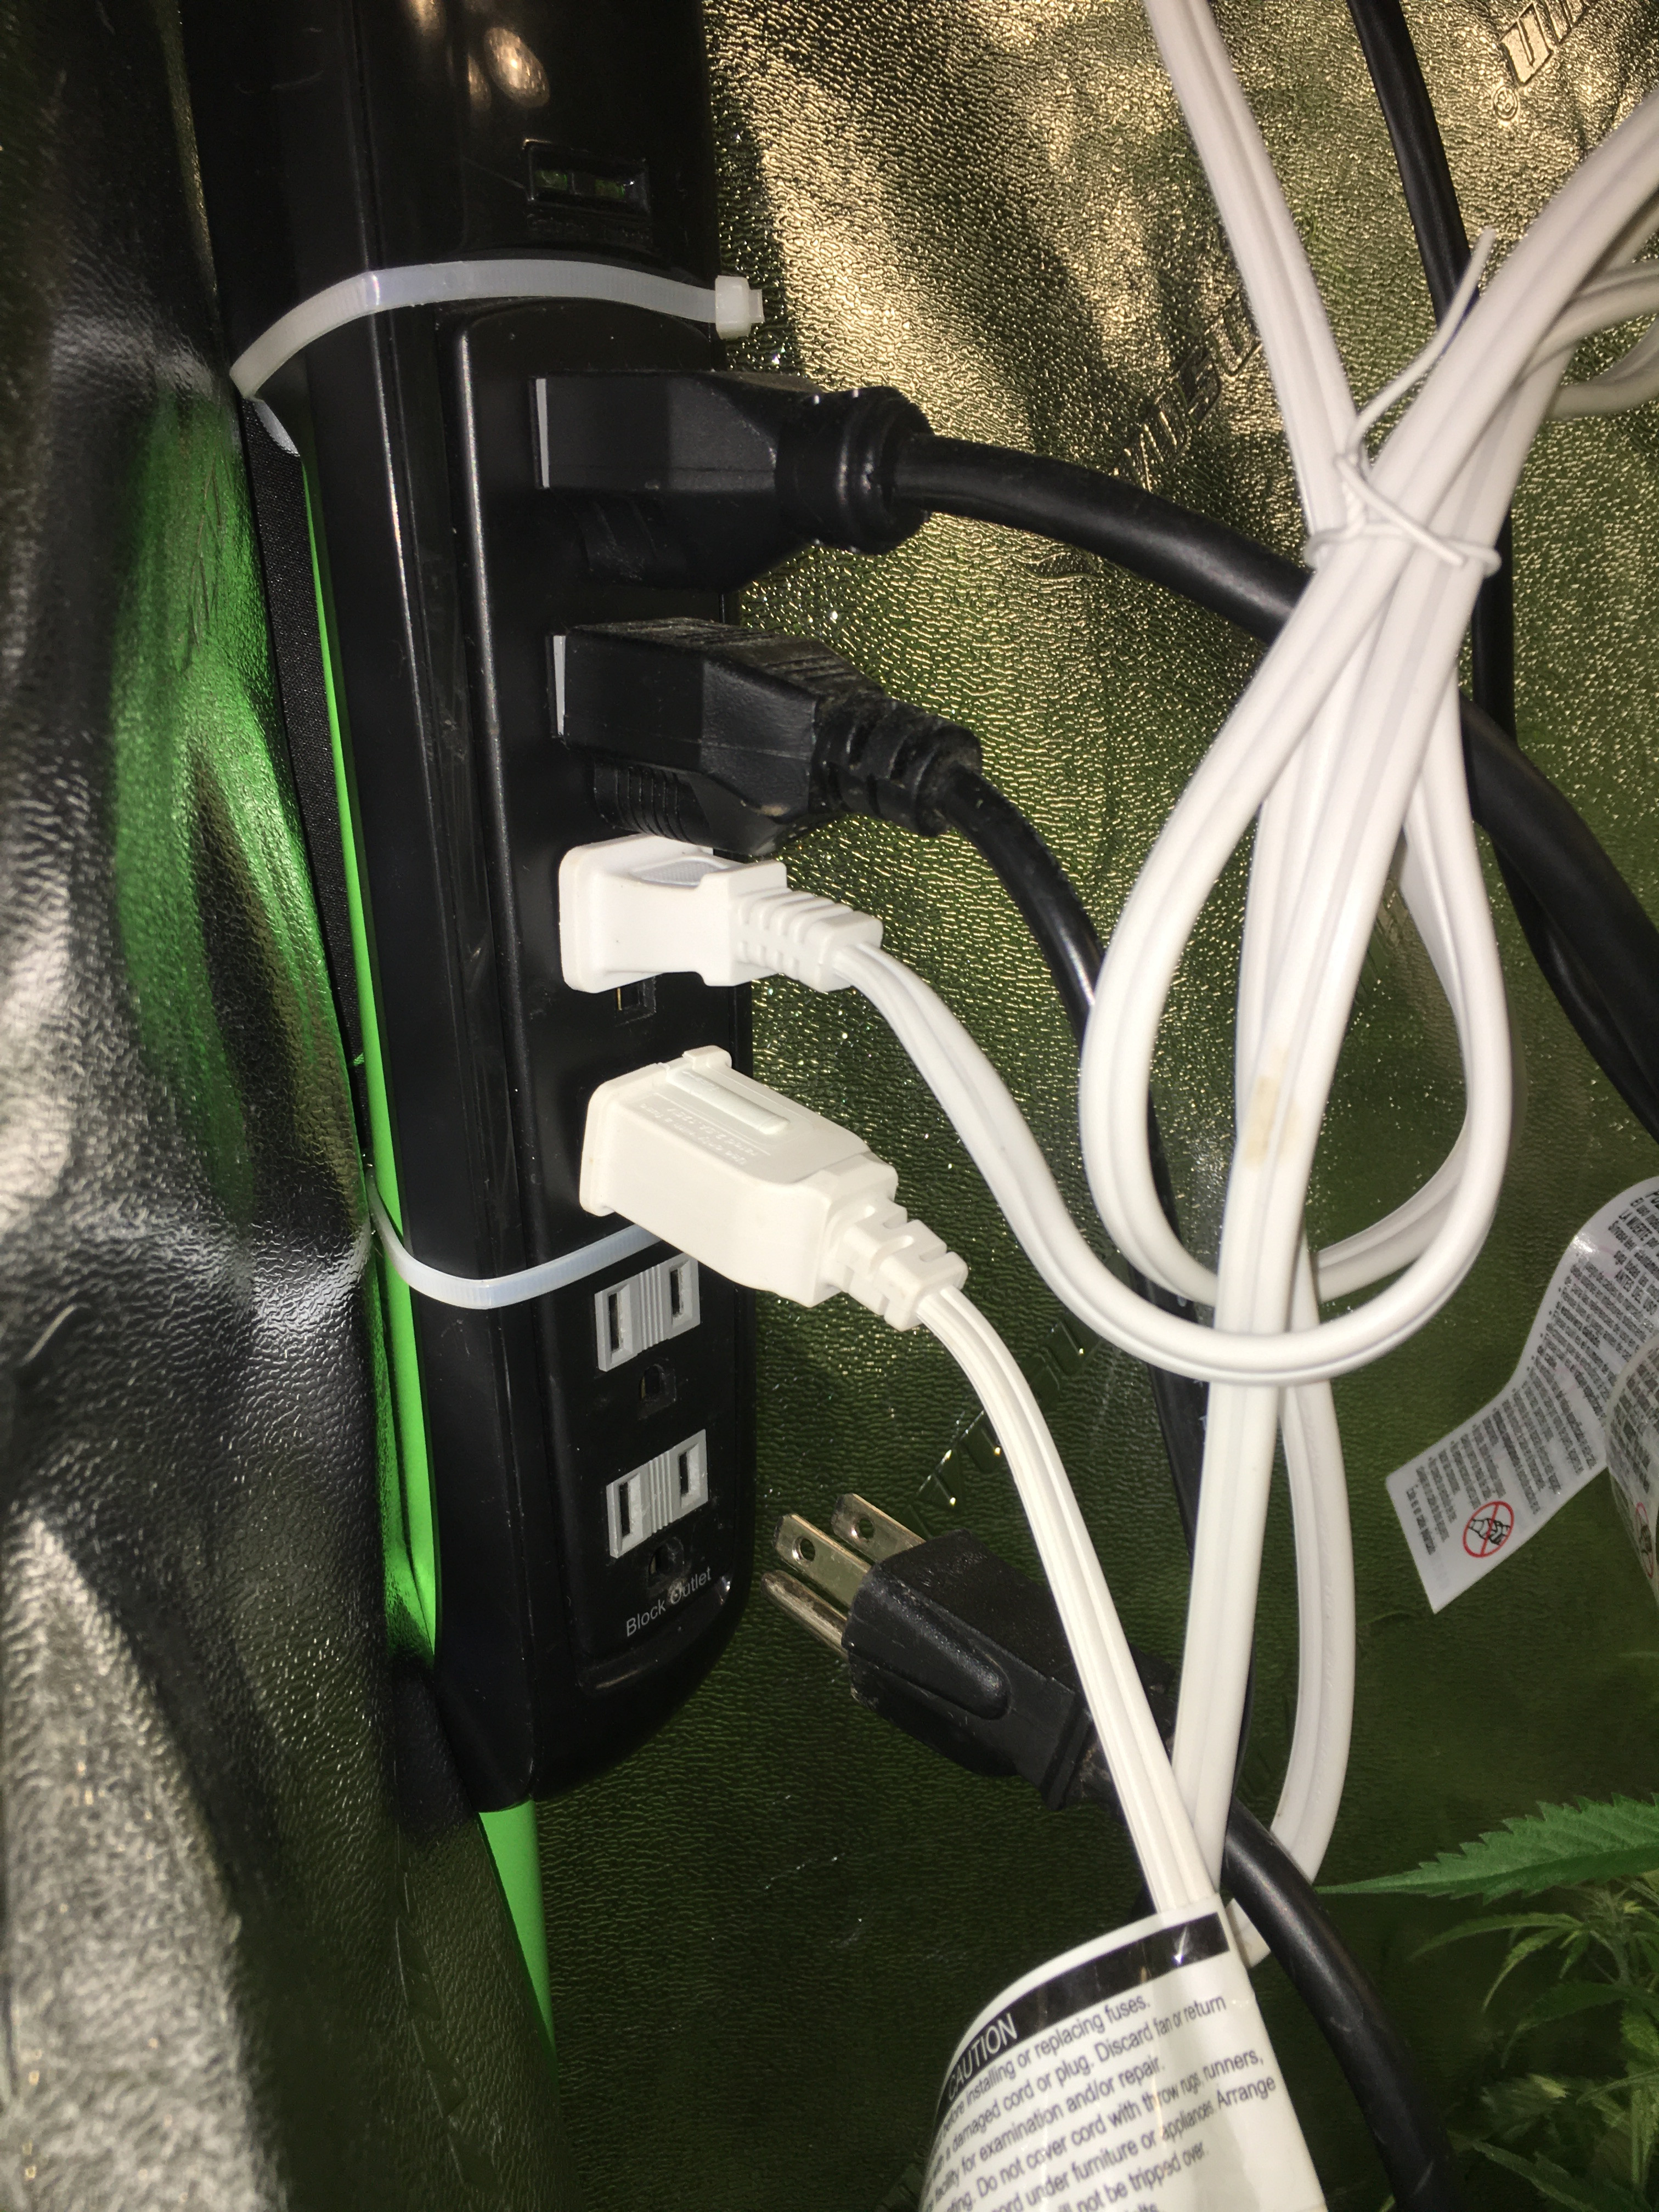
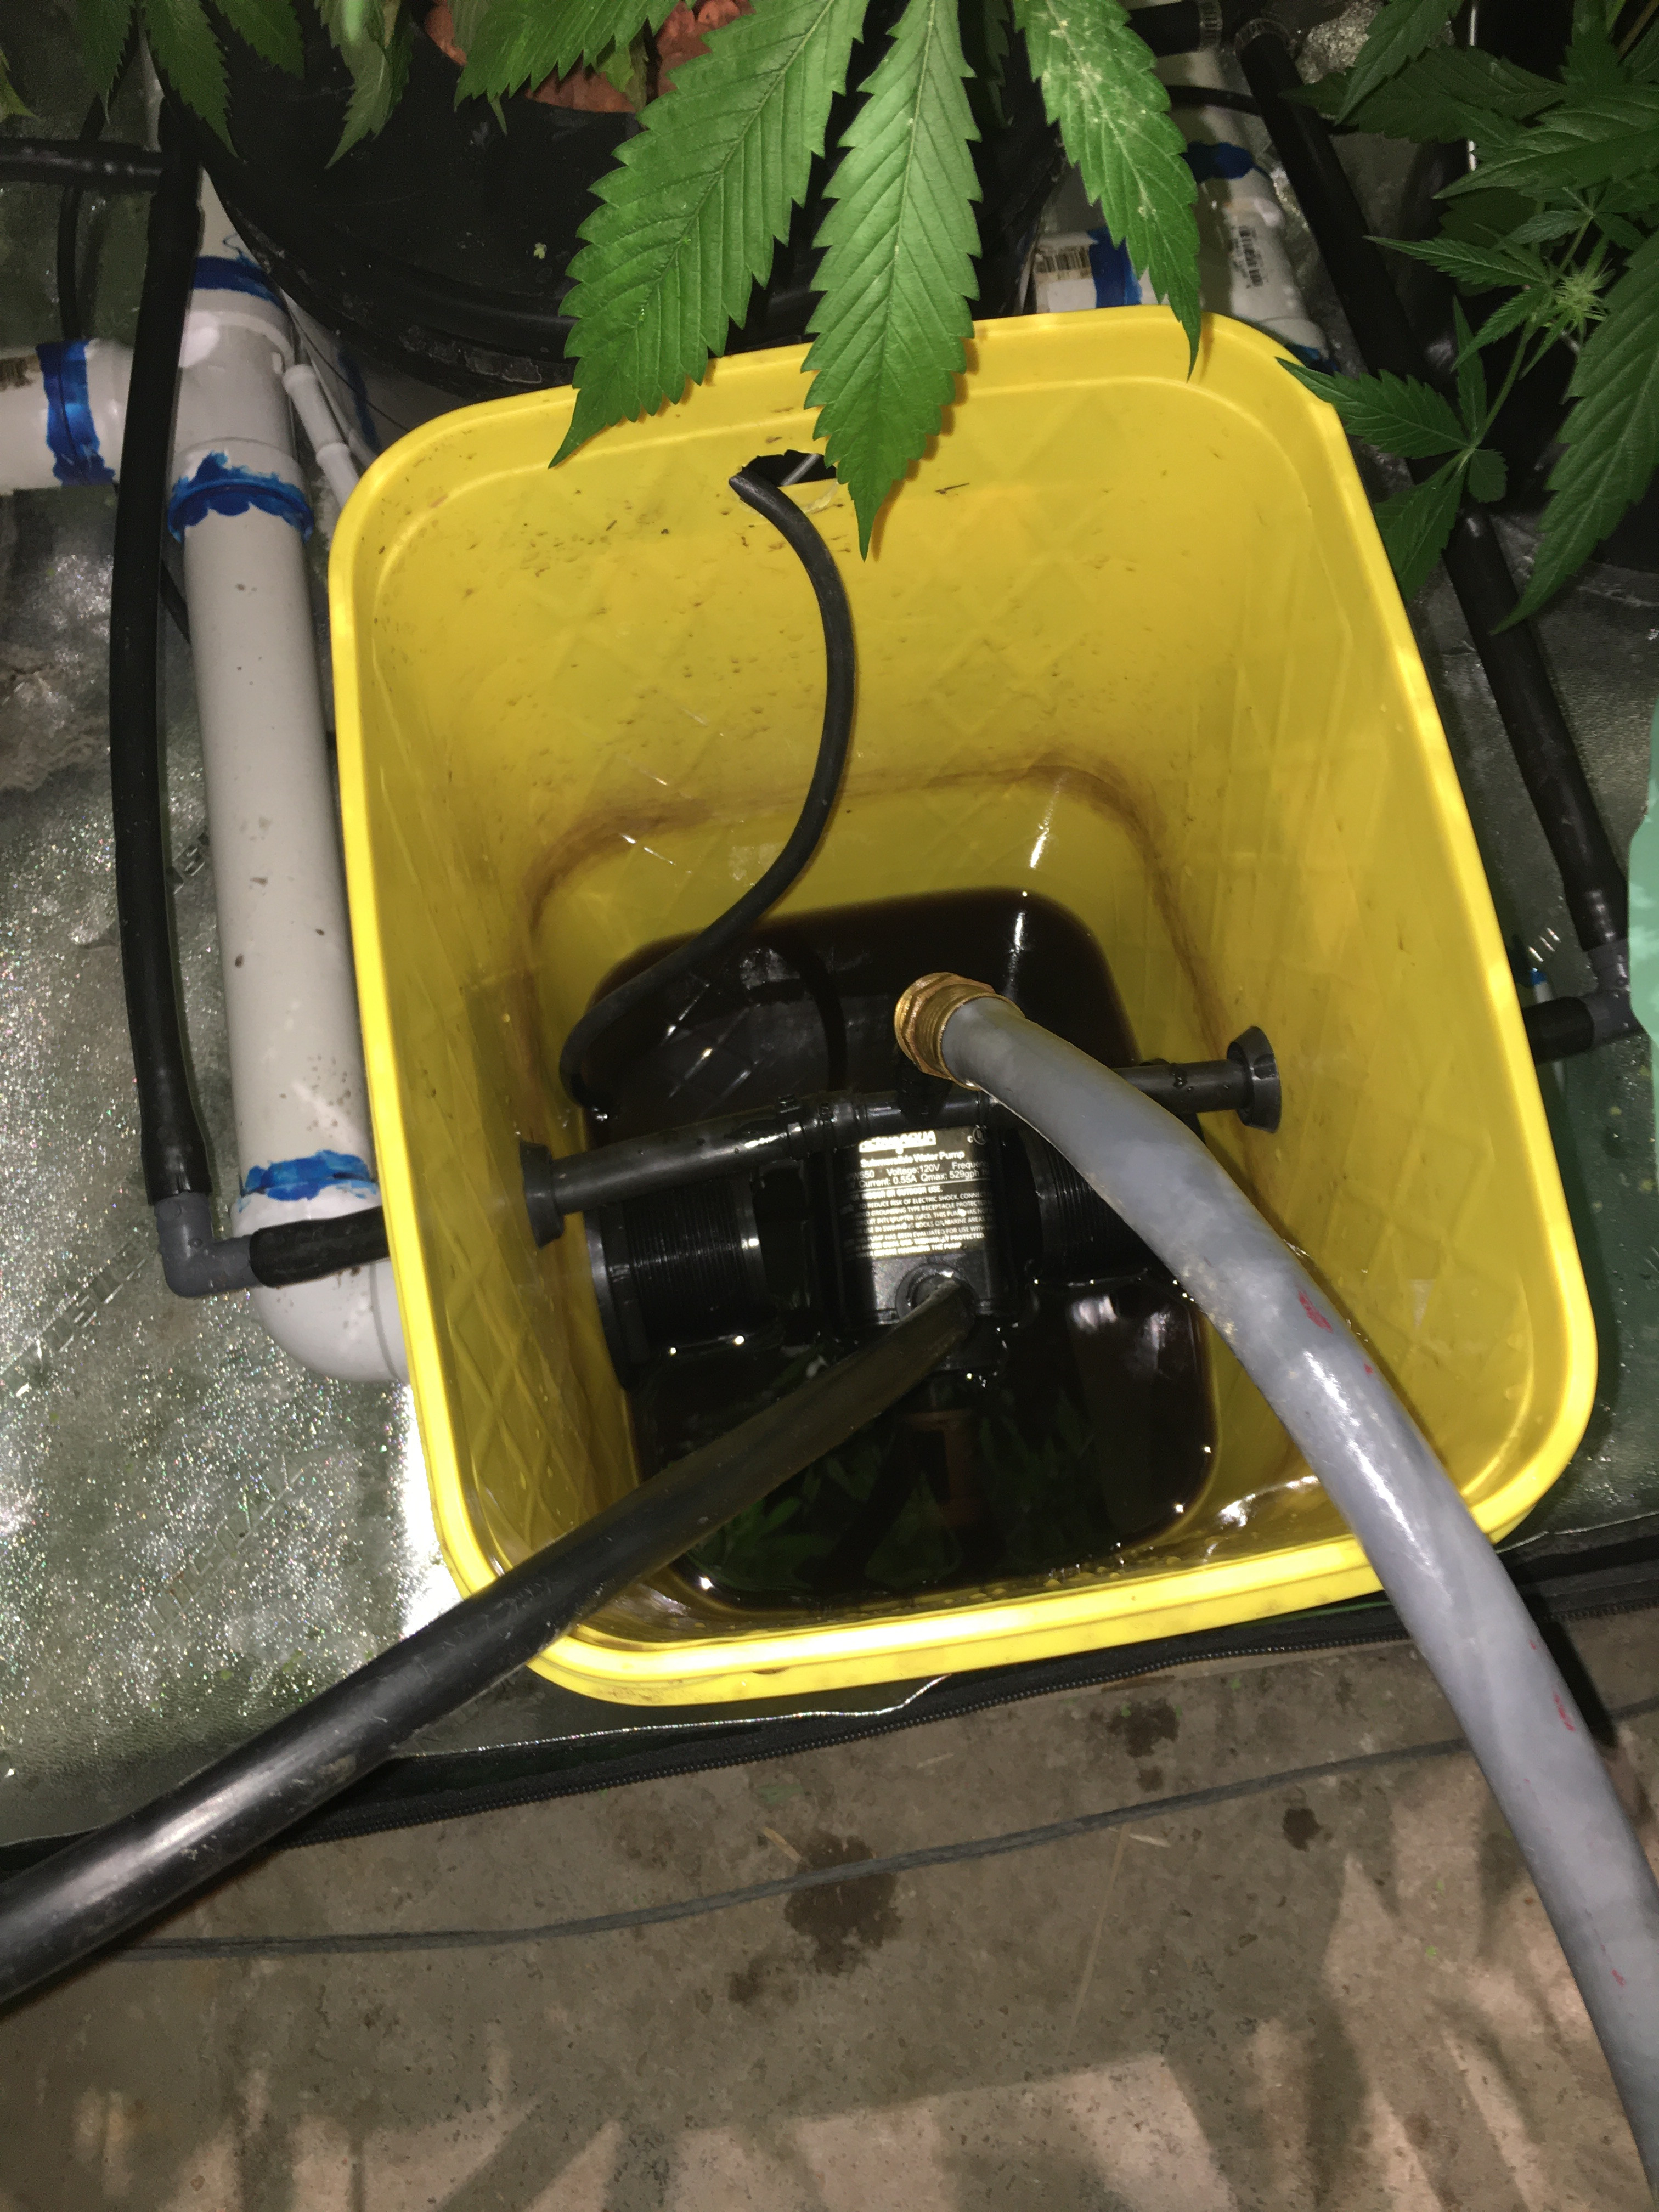
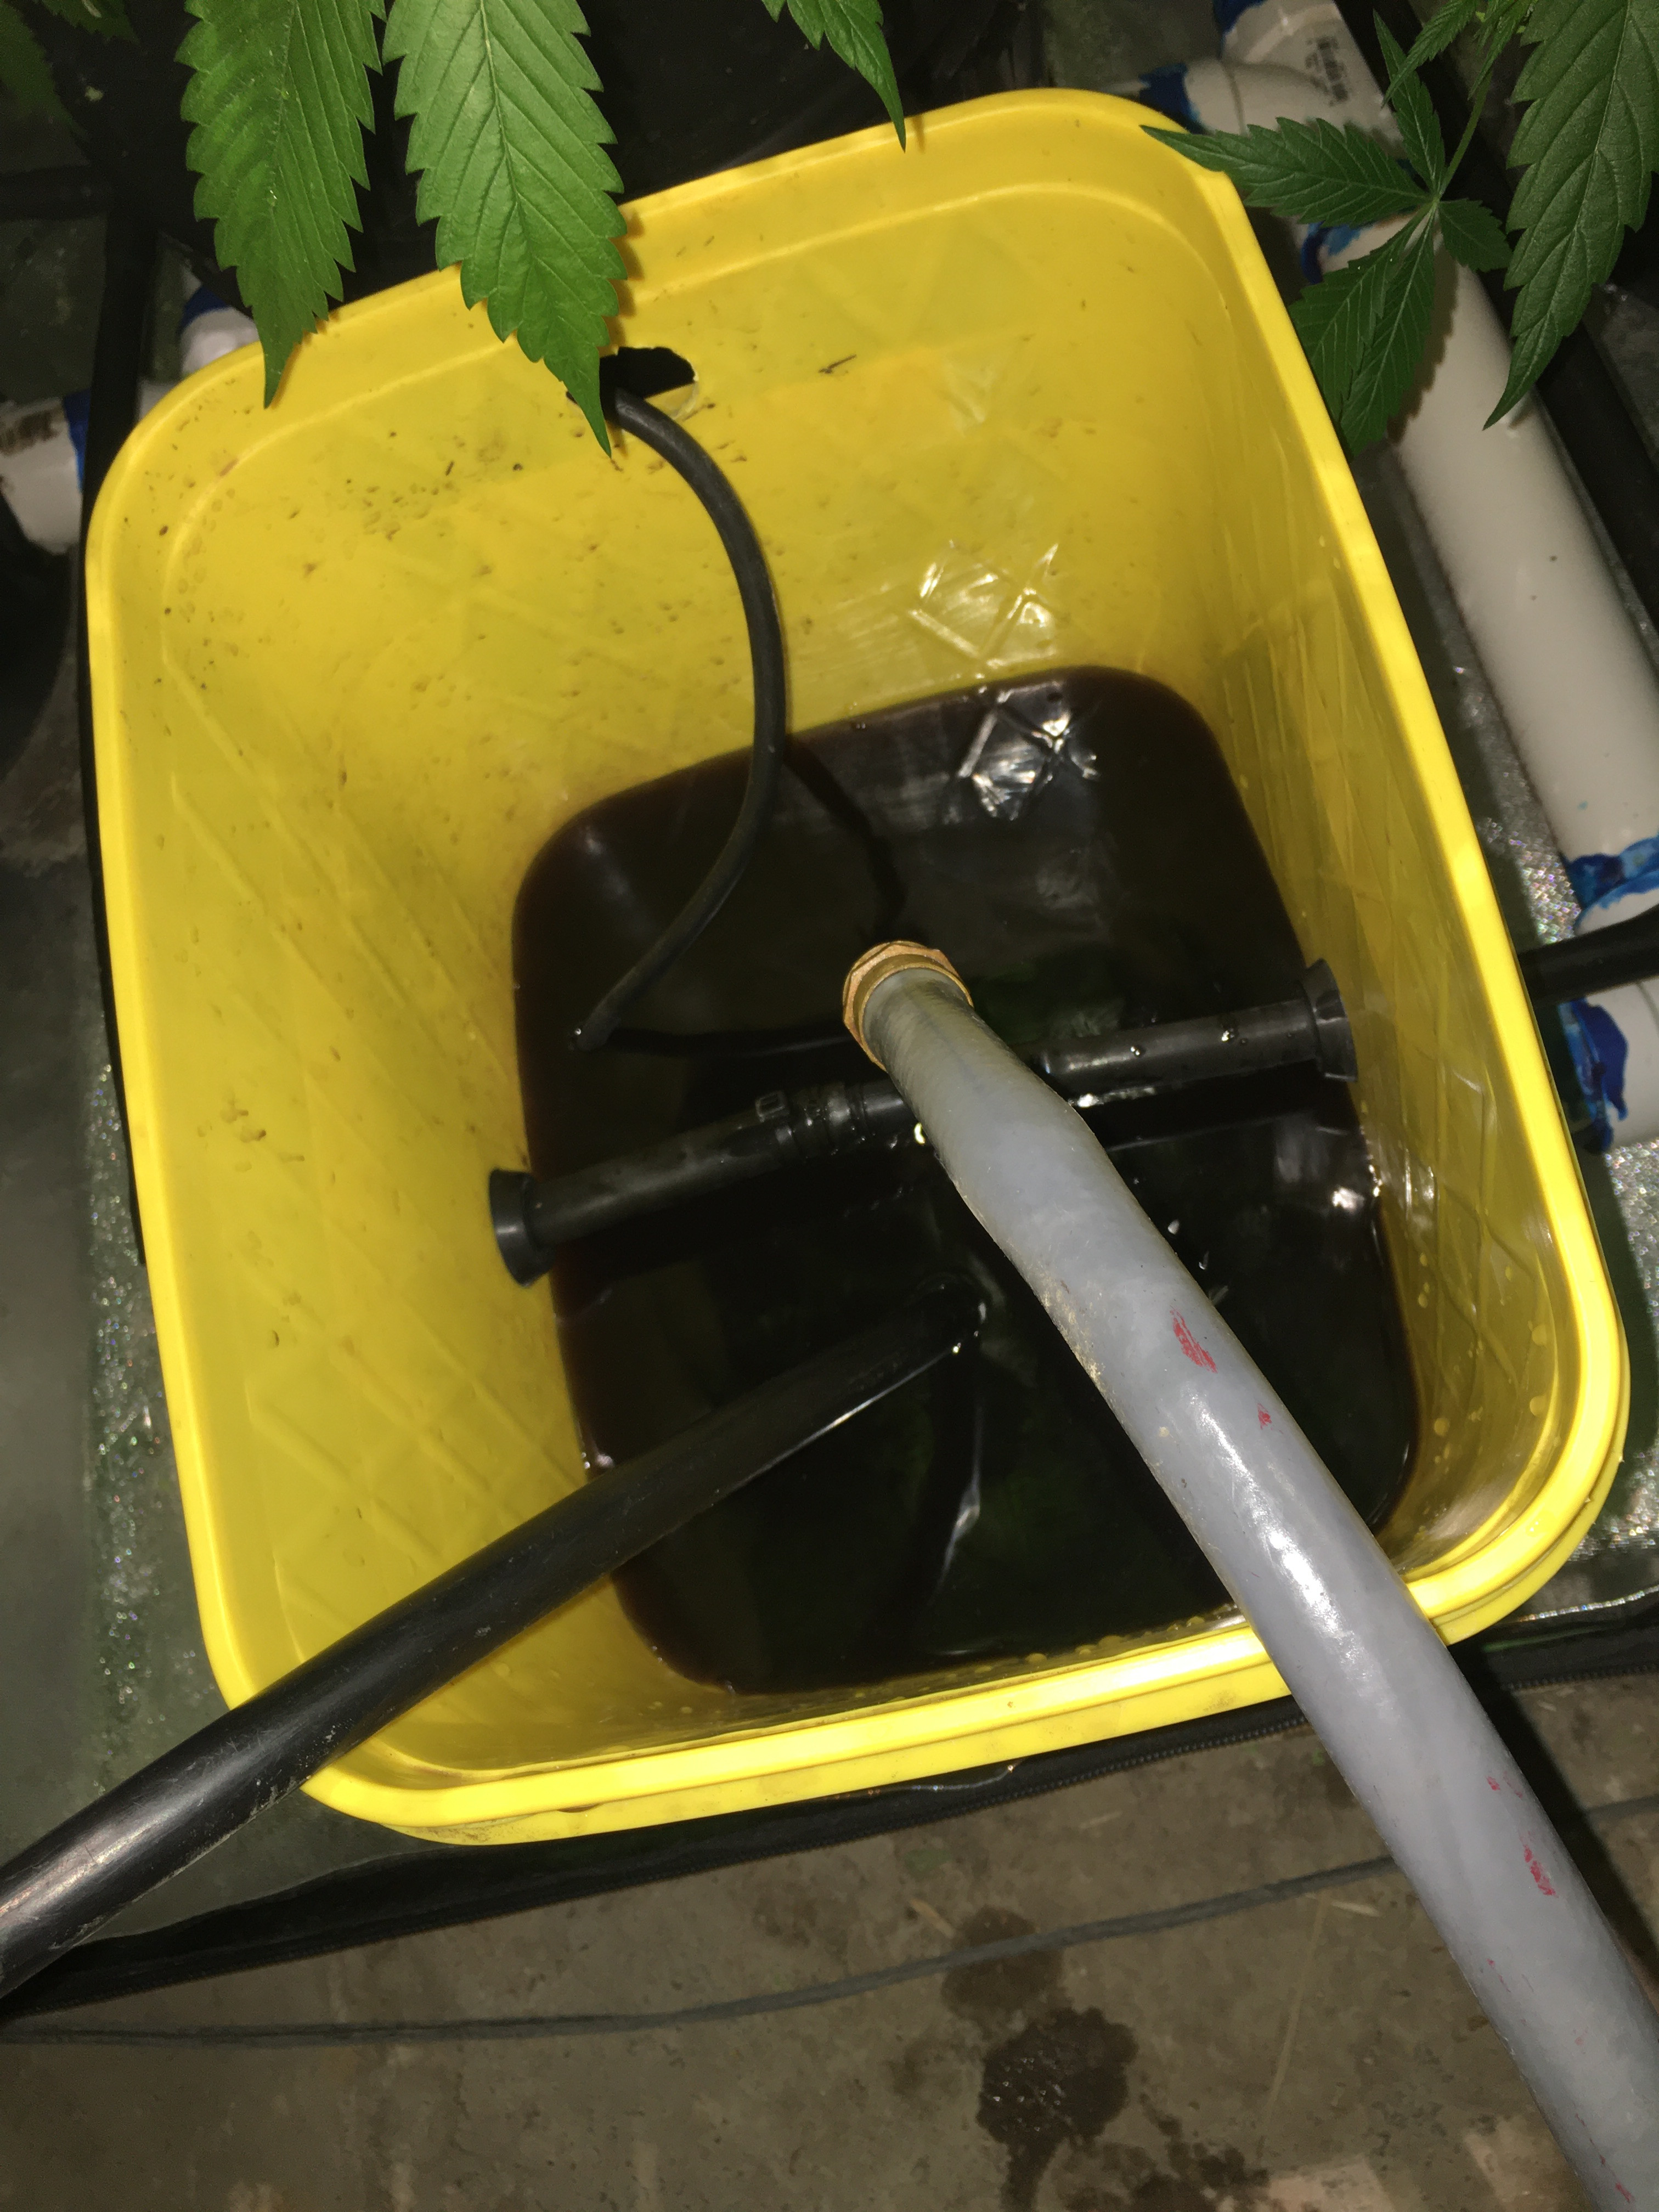
Most important before starting the whole procedure is unplugging the pump! I keep my power strip tied to a tent post way above the tent floor. I found the loop of cord from my oscillating fan is perfect for holding the pump plug in place when unplugged. By an extraordinarily convenient coincidence, the irrigation tubing I used fits neatly inside the garden hose I use for refilling. I plug the pump back in after the drain hose is ready. At center is where just about all I'm going to get out is gone, so I unplug the pump again and turn the water on. At right, I've overfilled it up to the grommets. This is to wash any clinging debris off the roots that are at or just above the normal water level. Doing this likely helped to save the lone male in Project Sam after a bout with root rot.
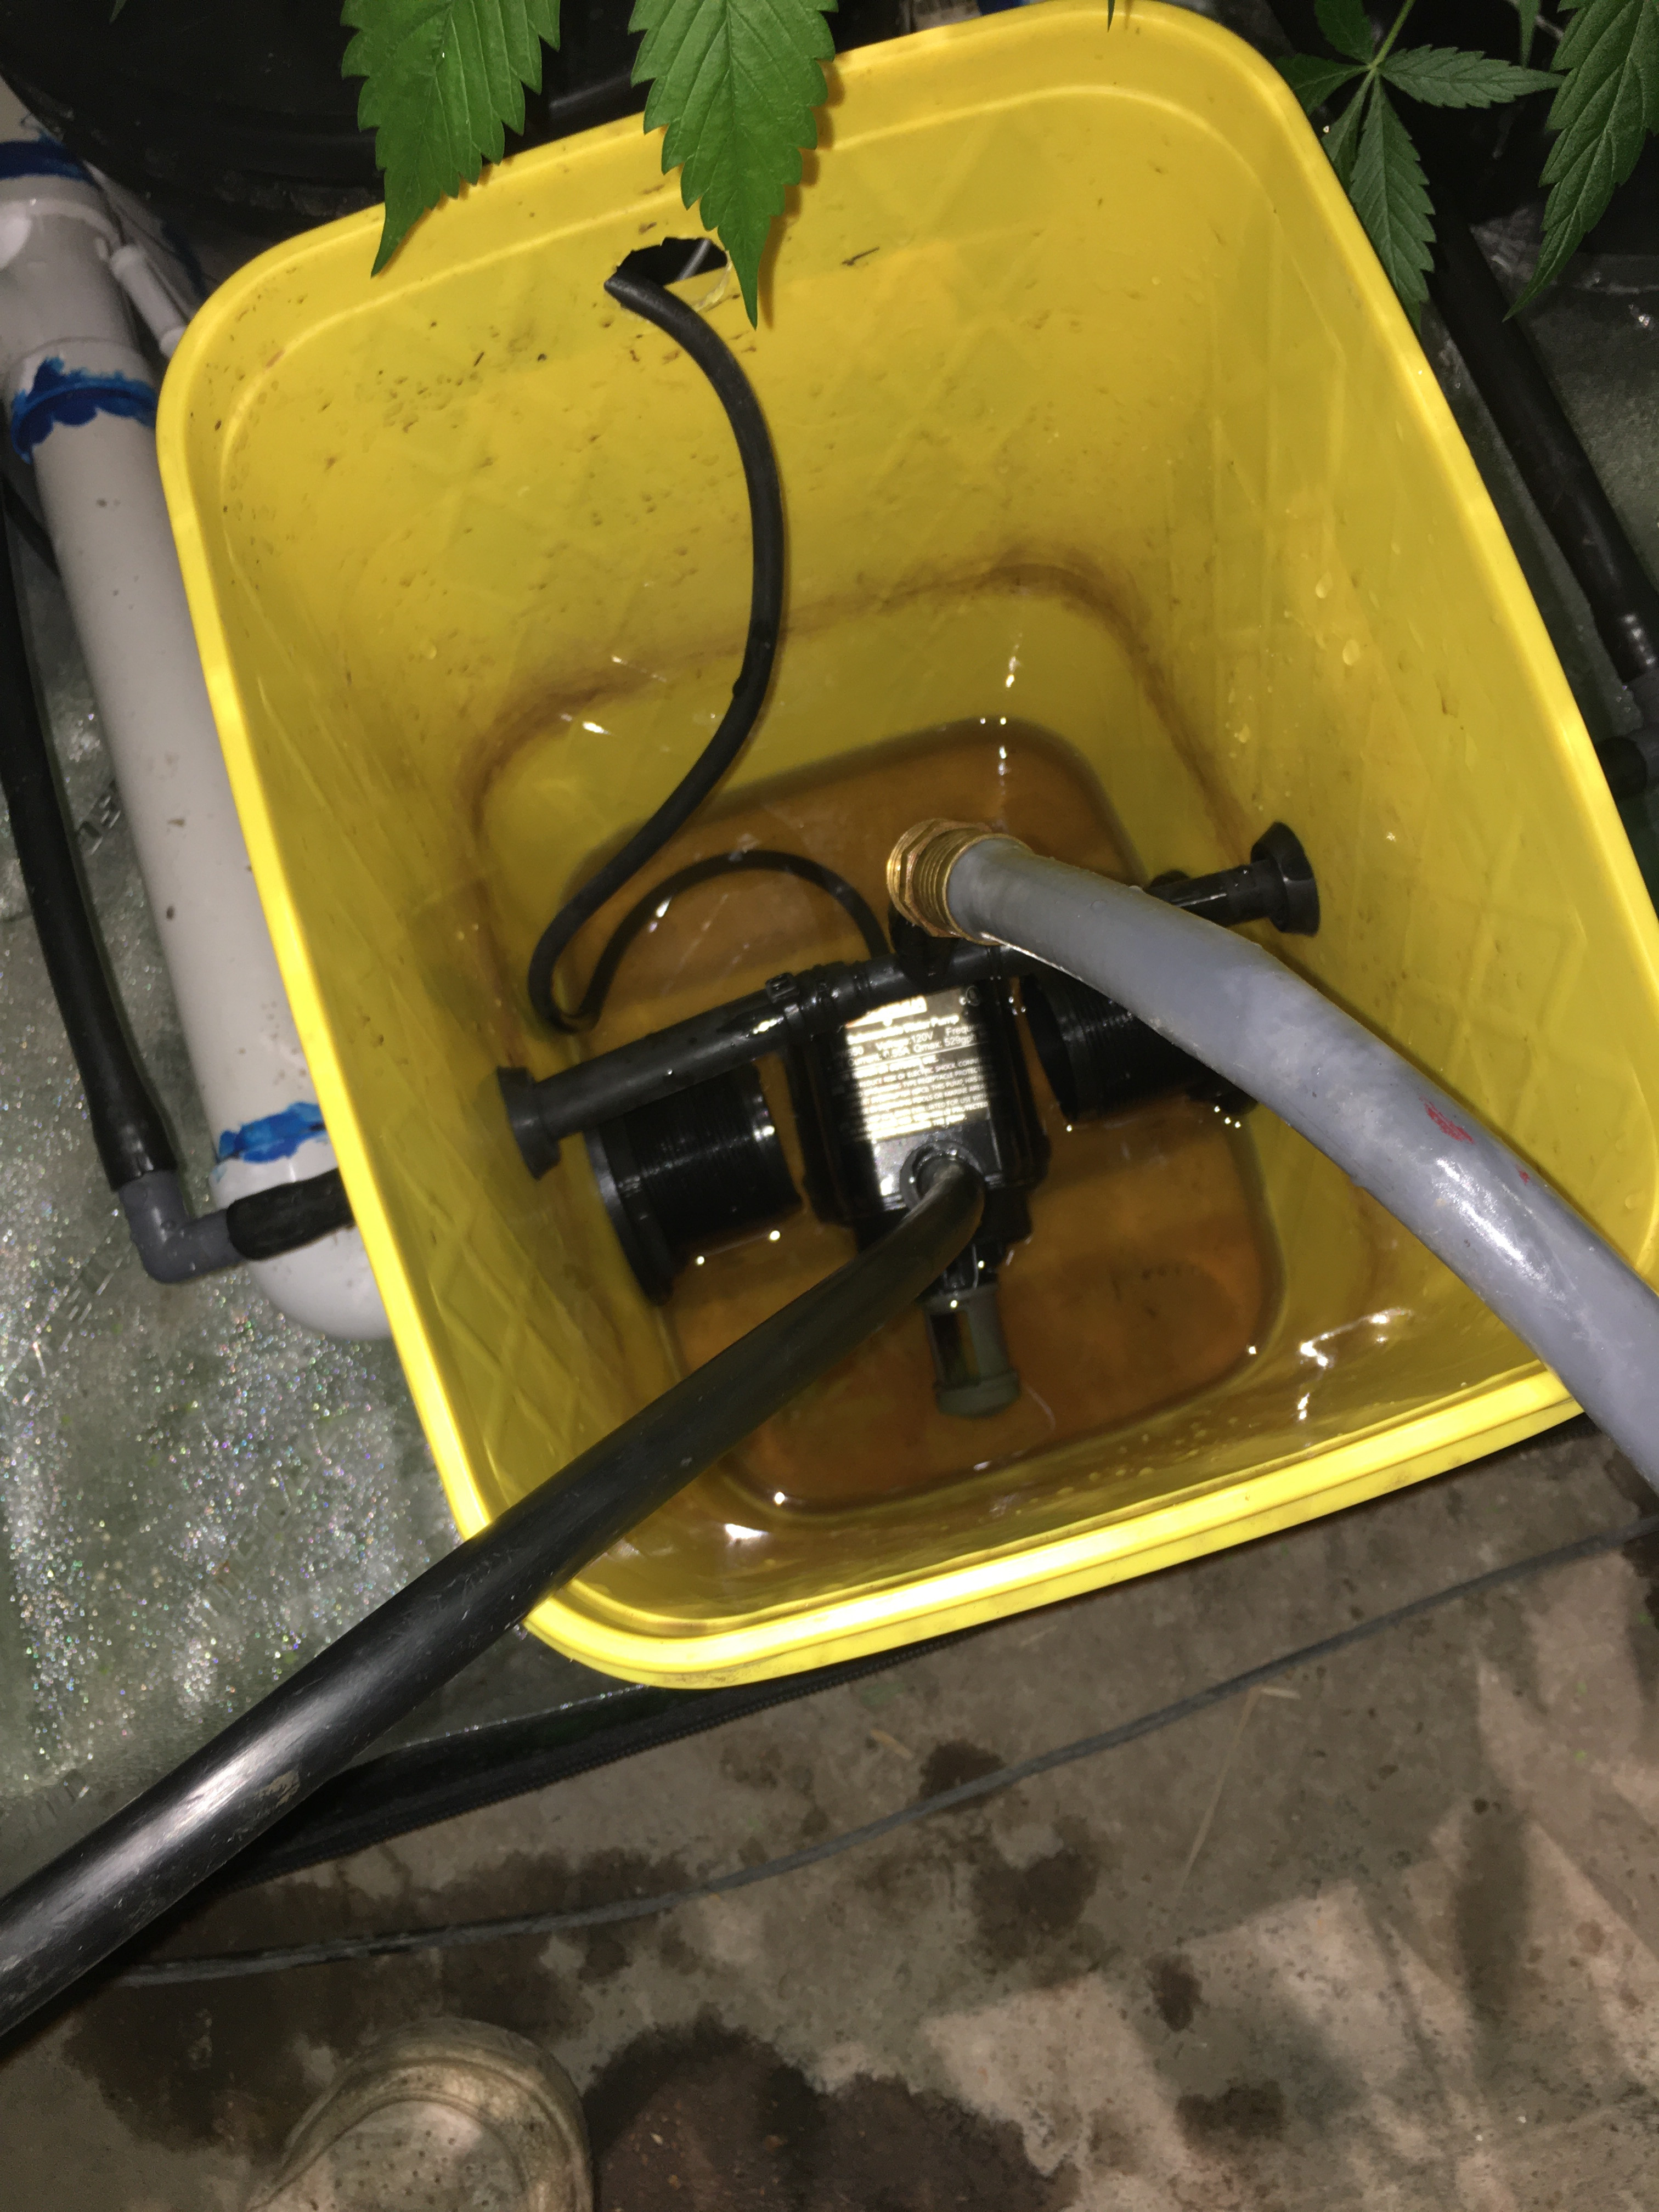
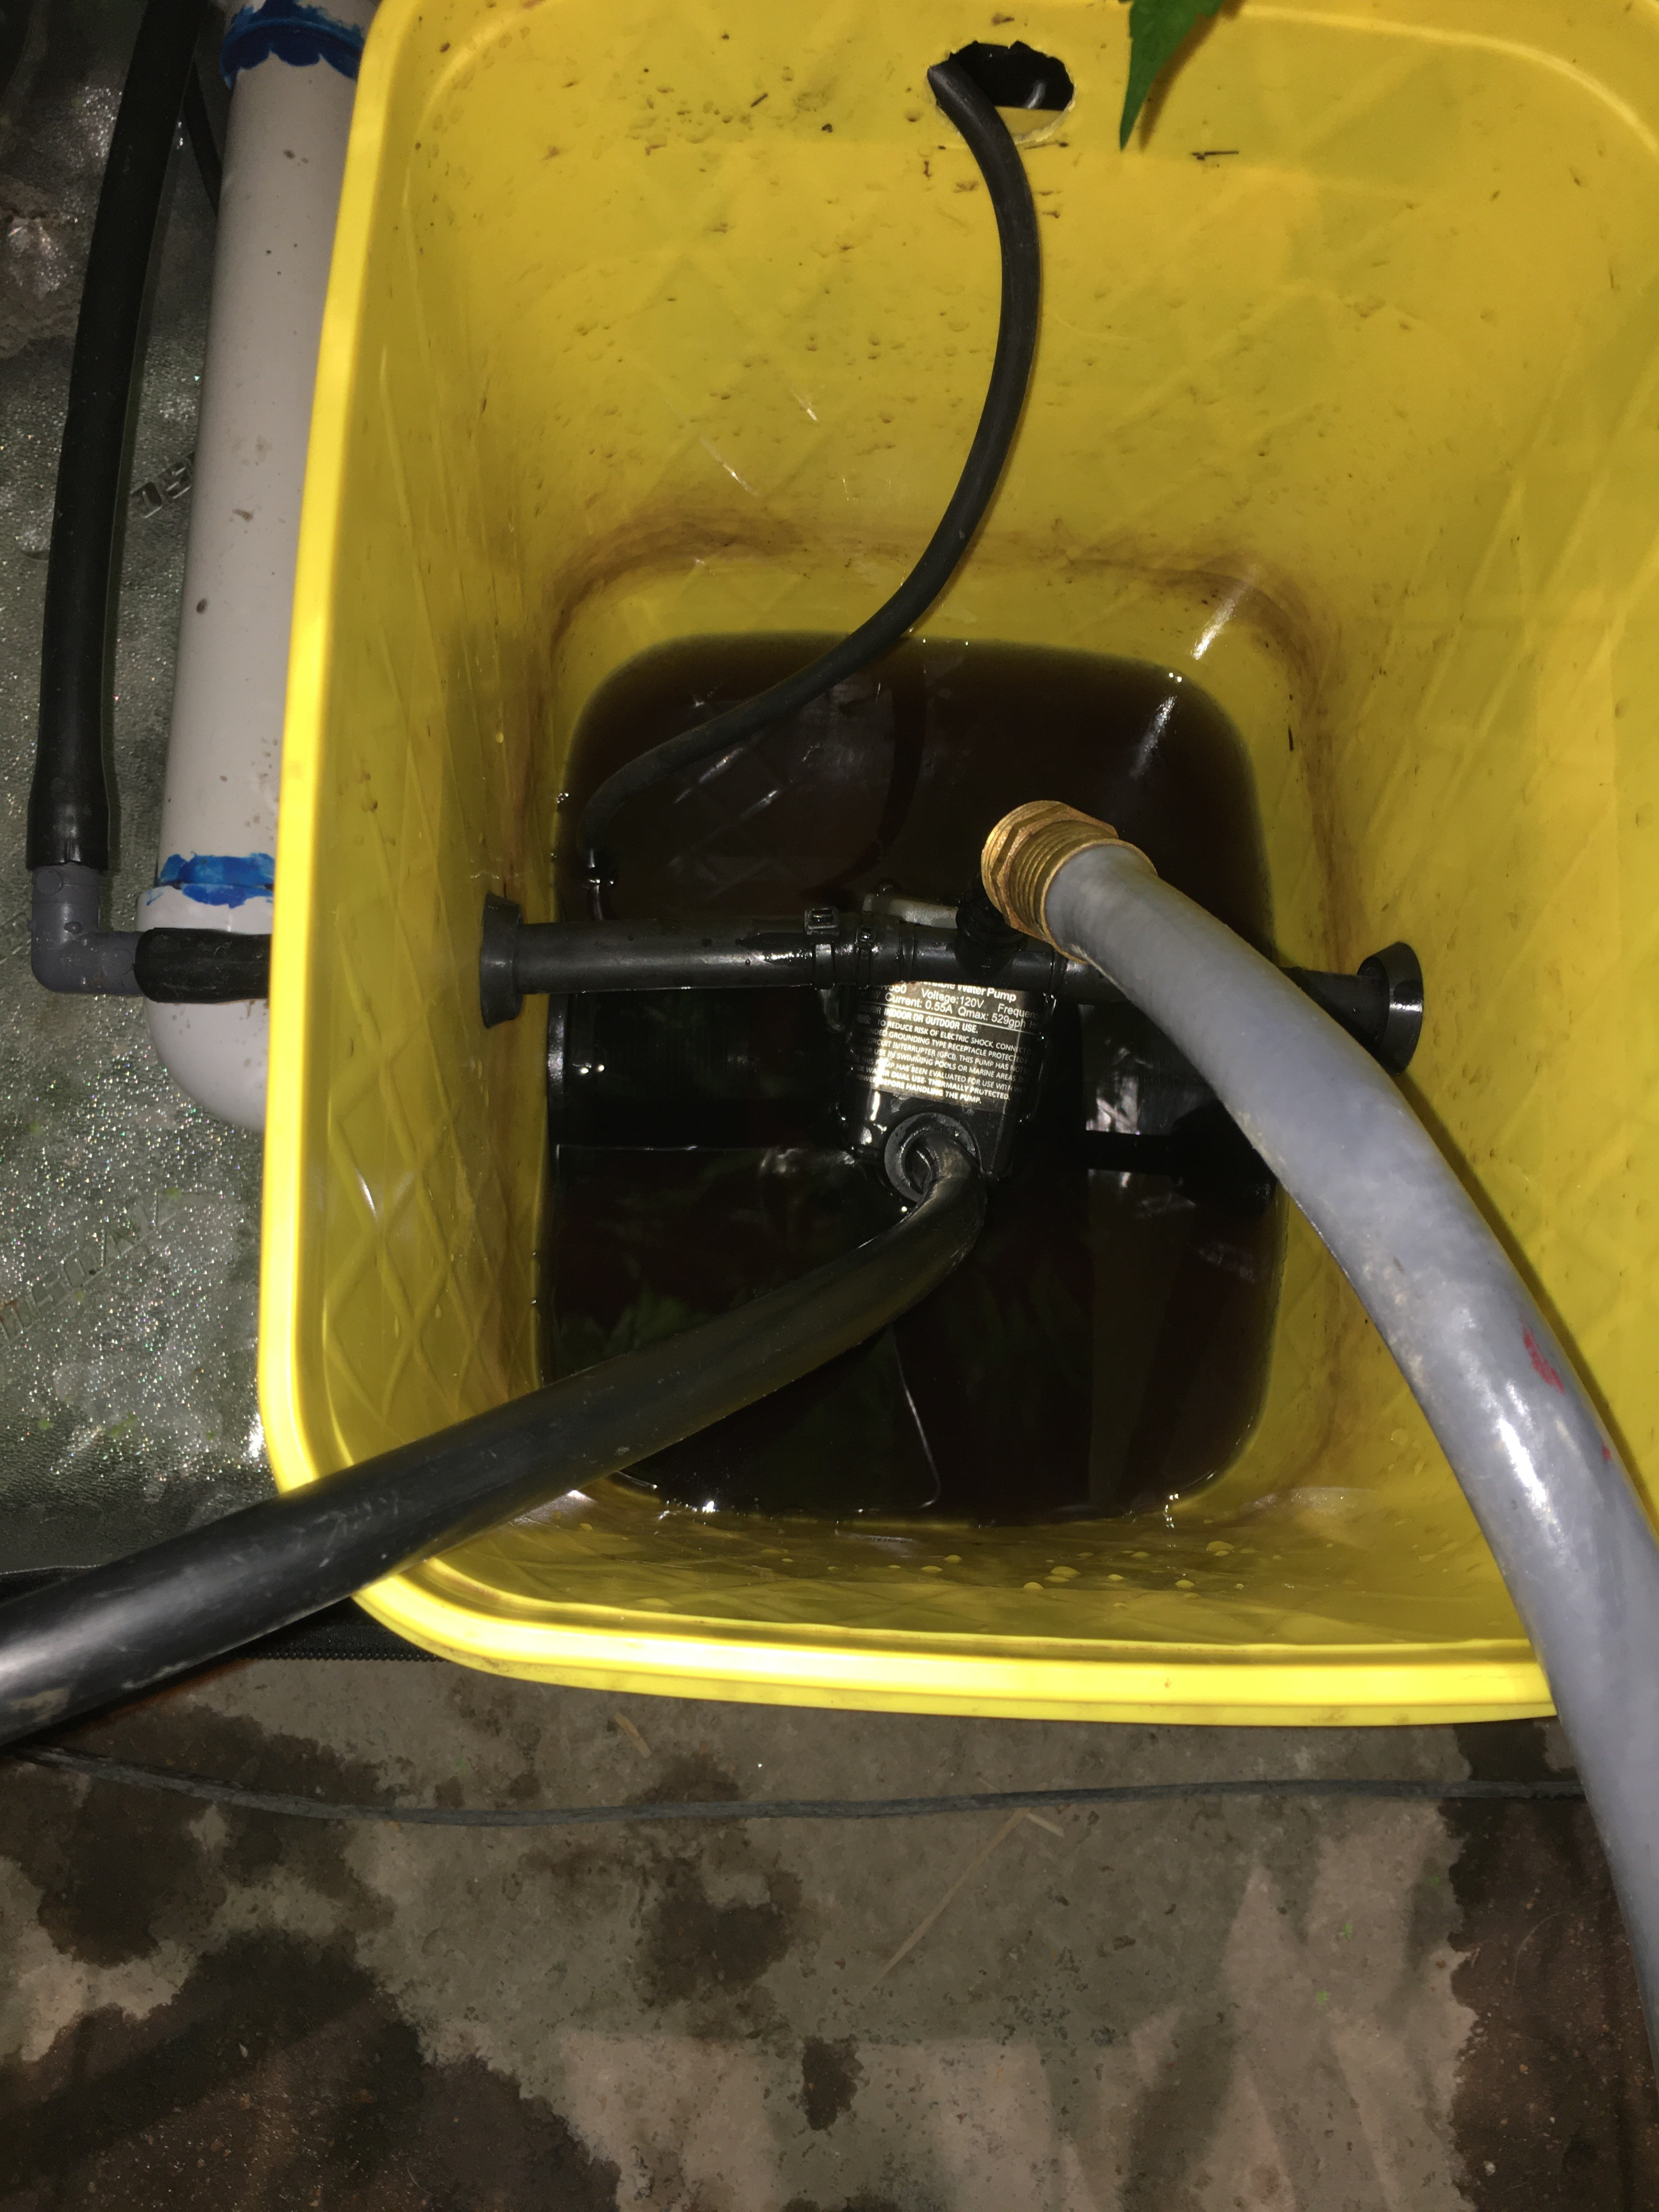
At left, I've plugged the pump back in and drained it once again. At right, I often fill it again just above the return pipes and drain again until I'm satisfied that the system is clean enough.
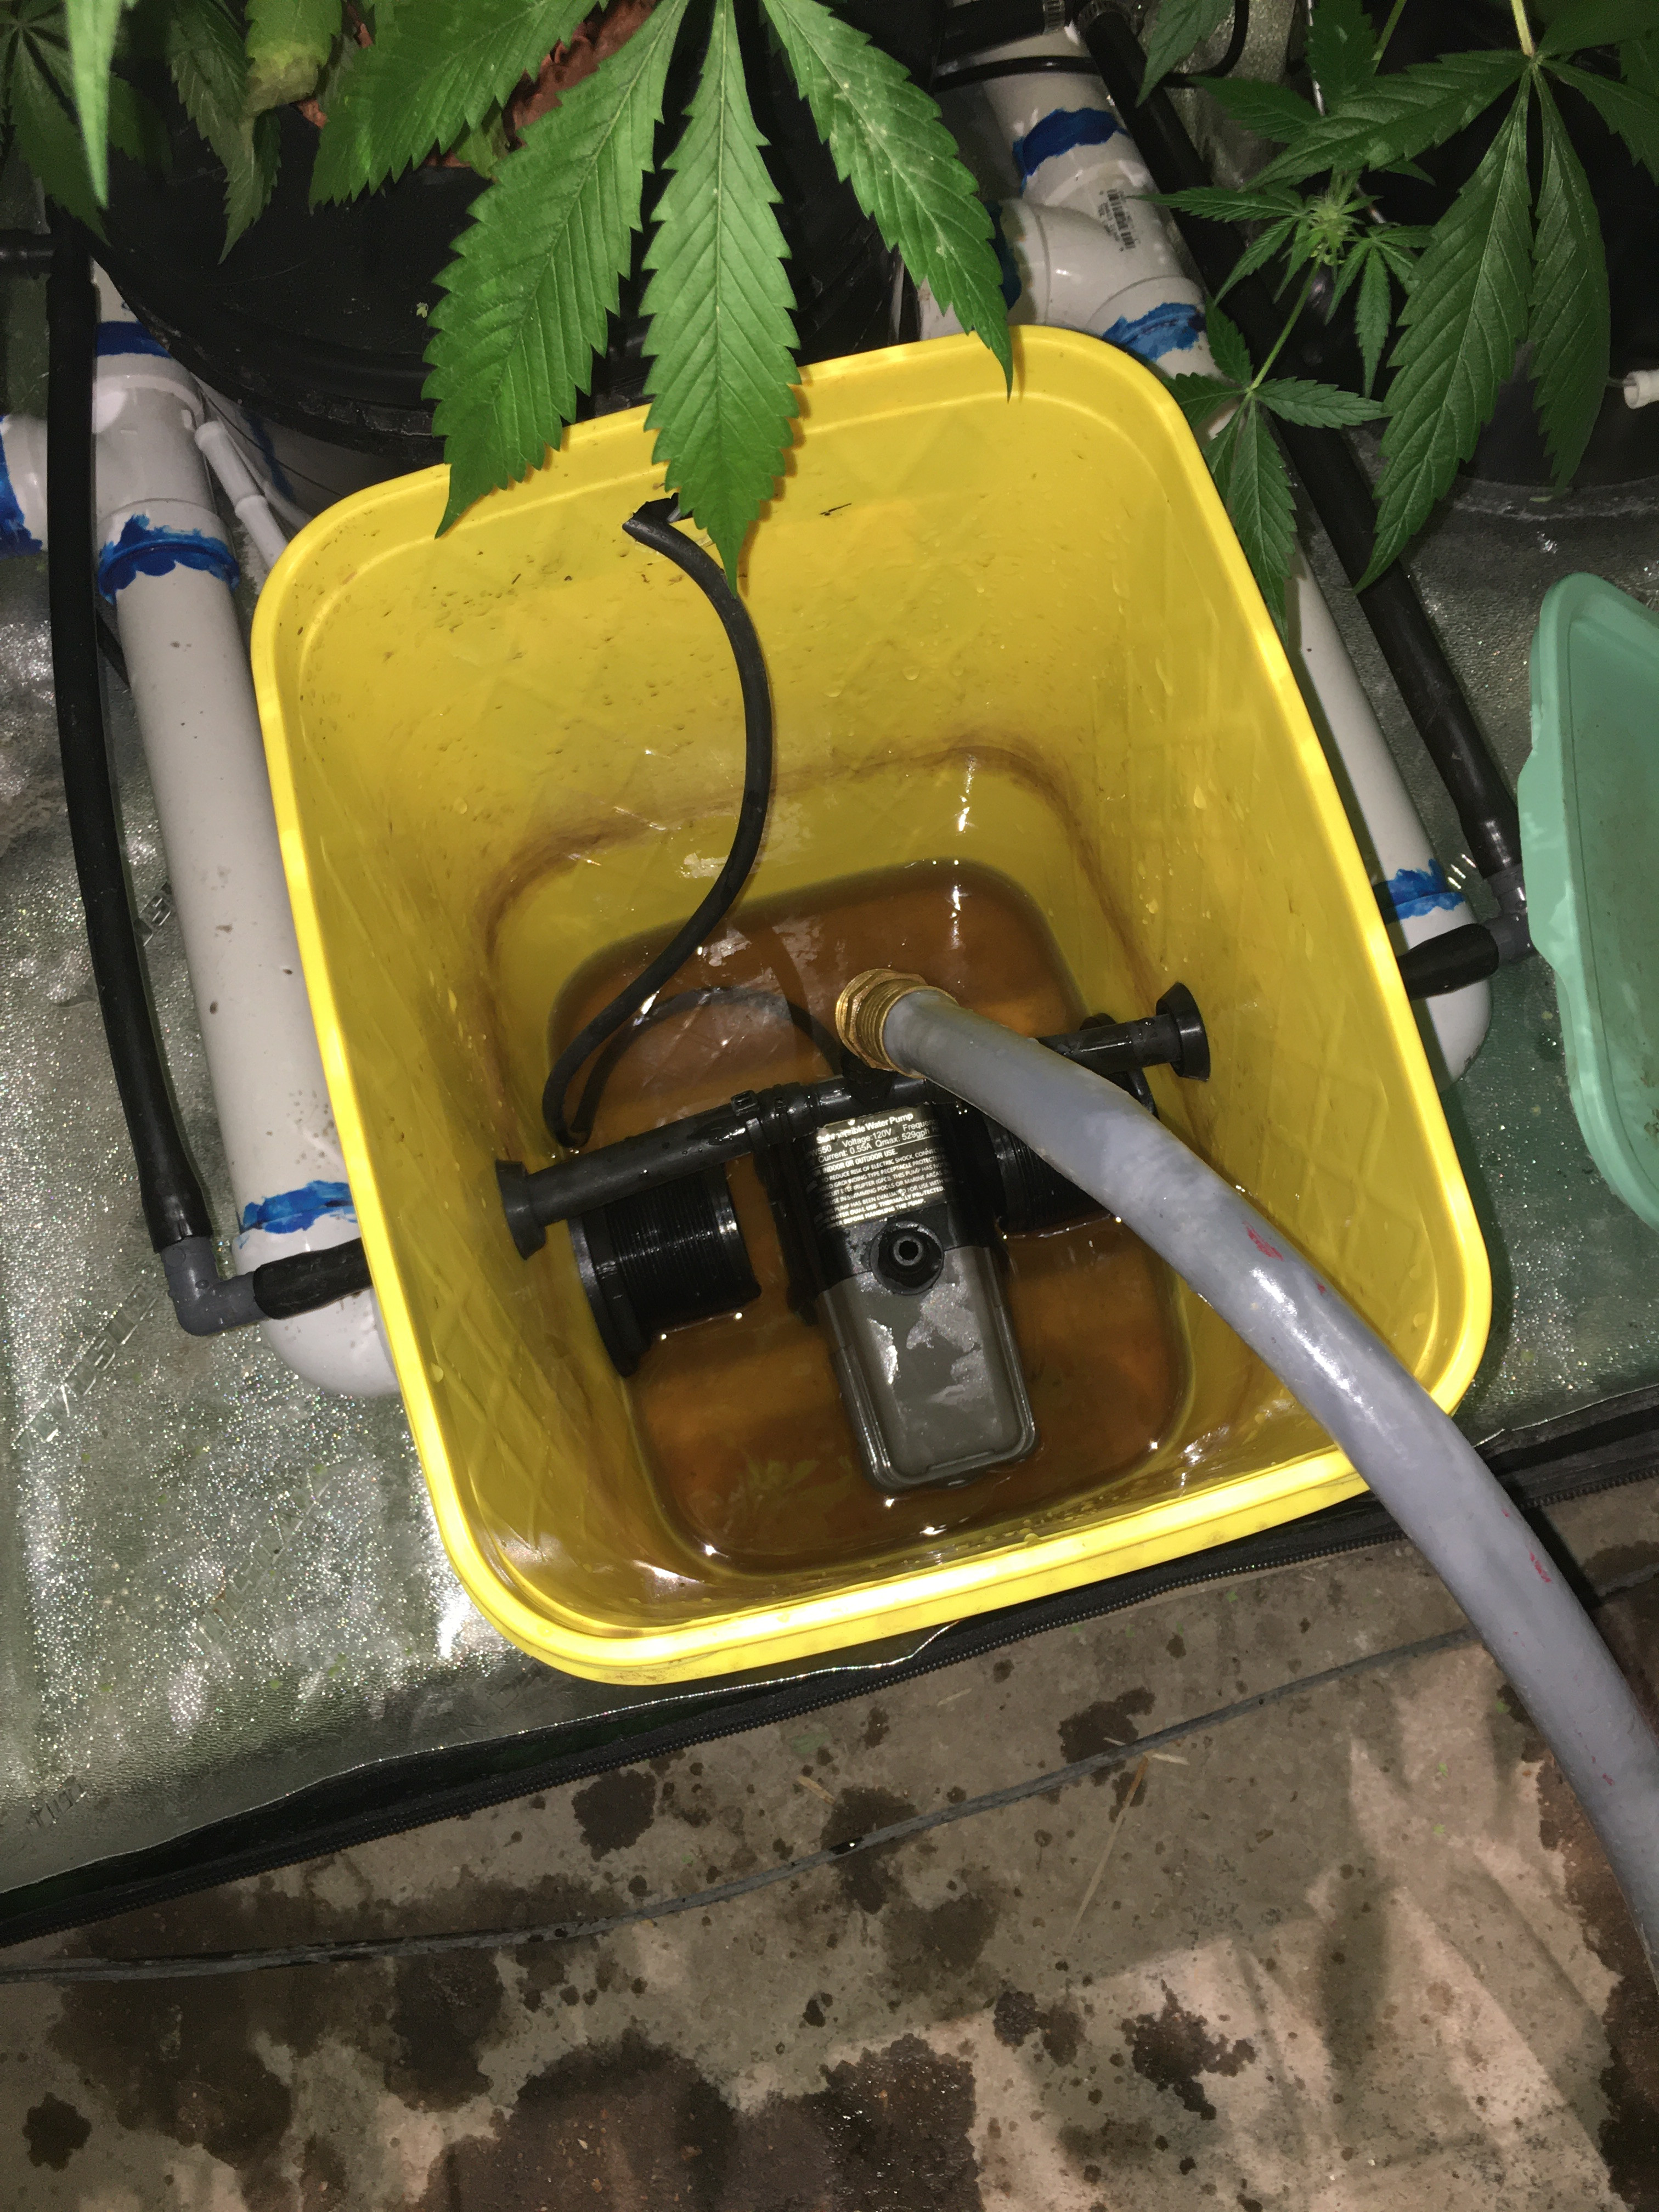
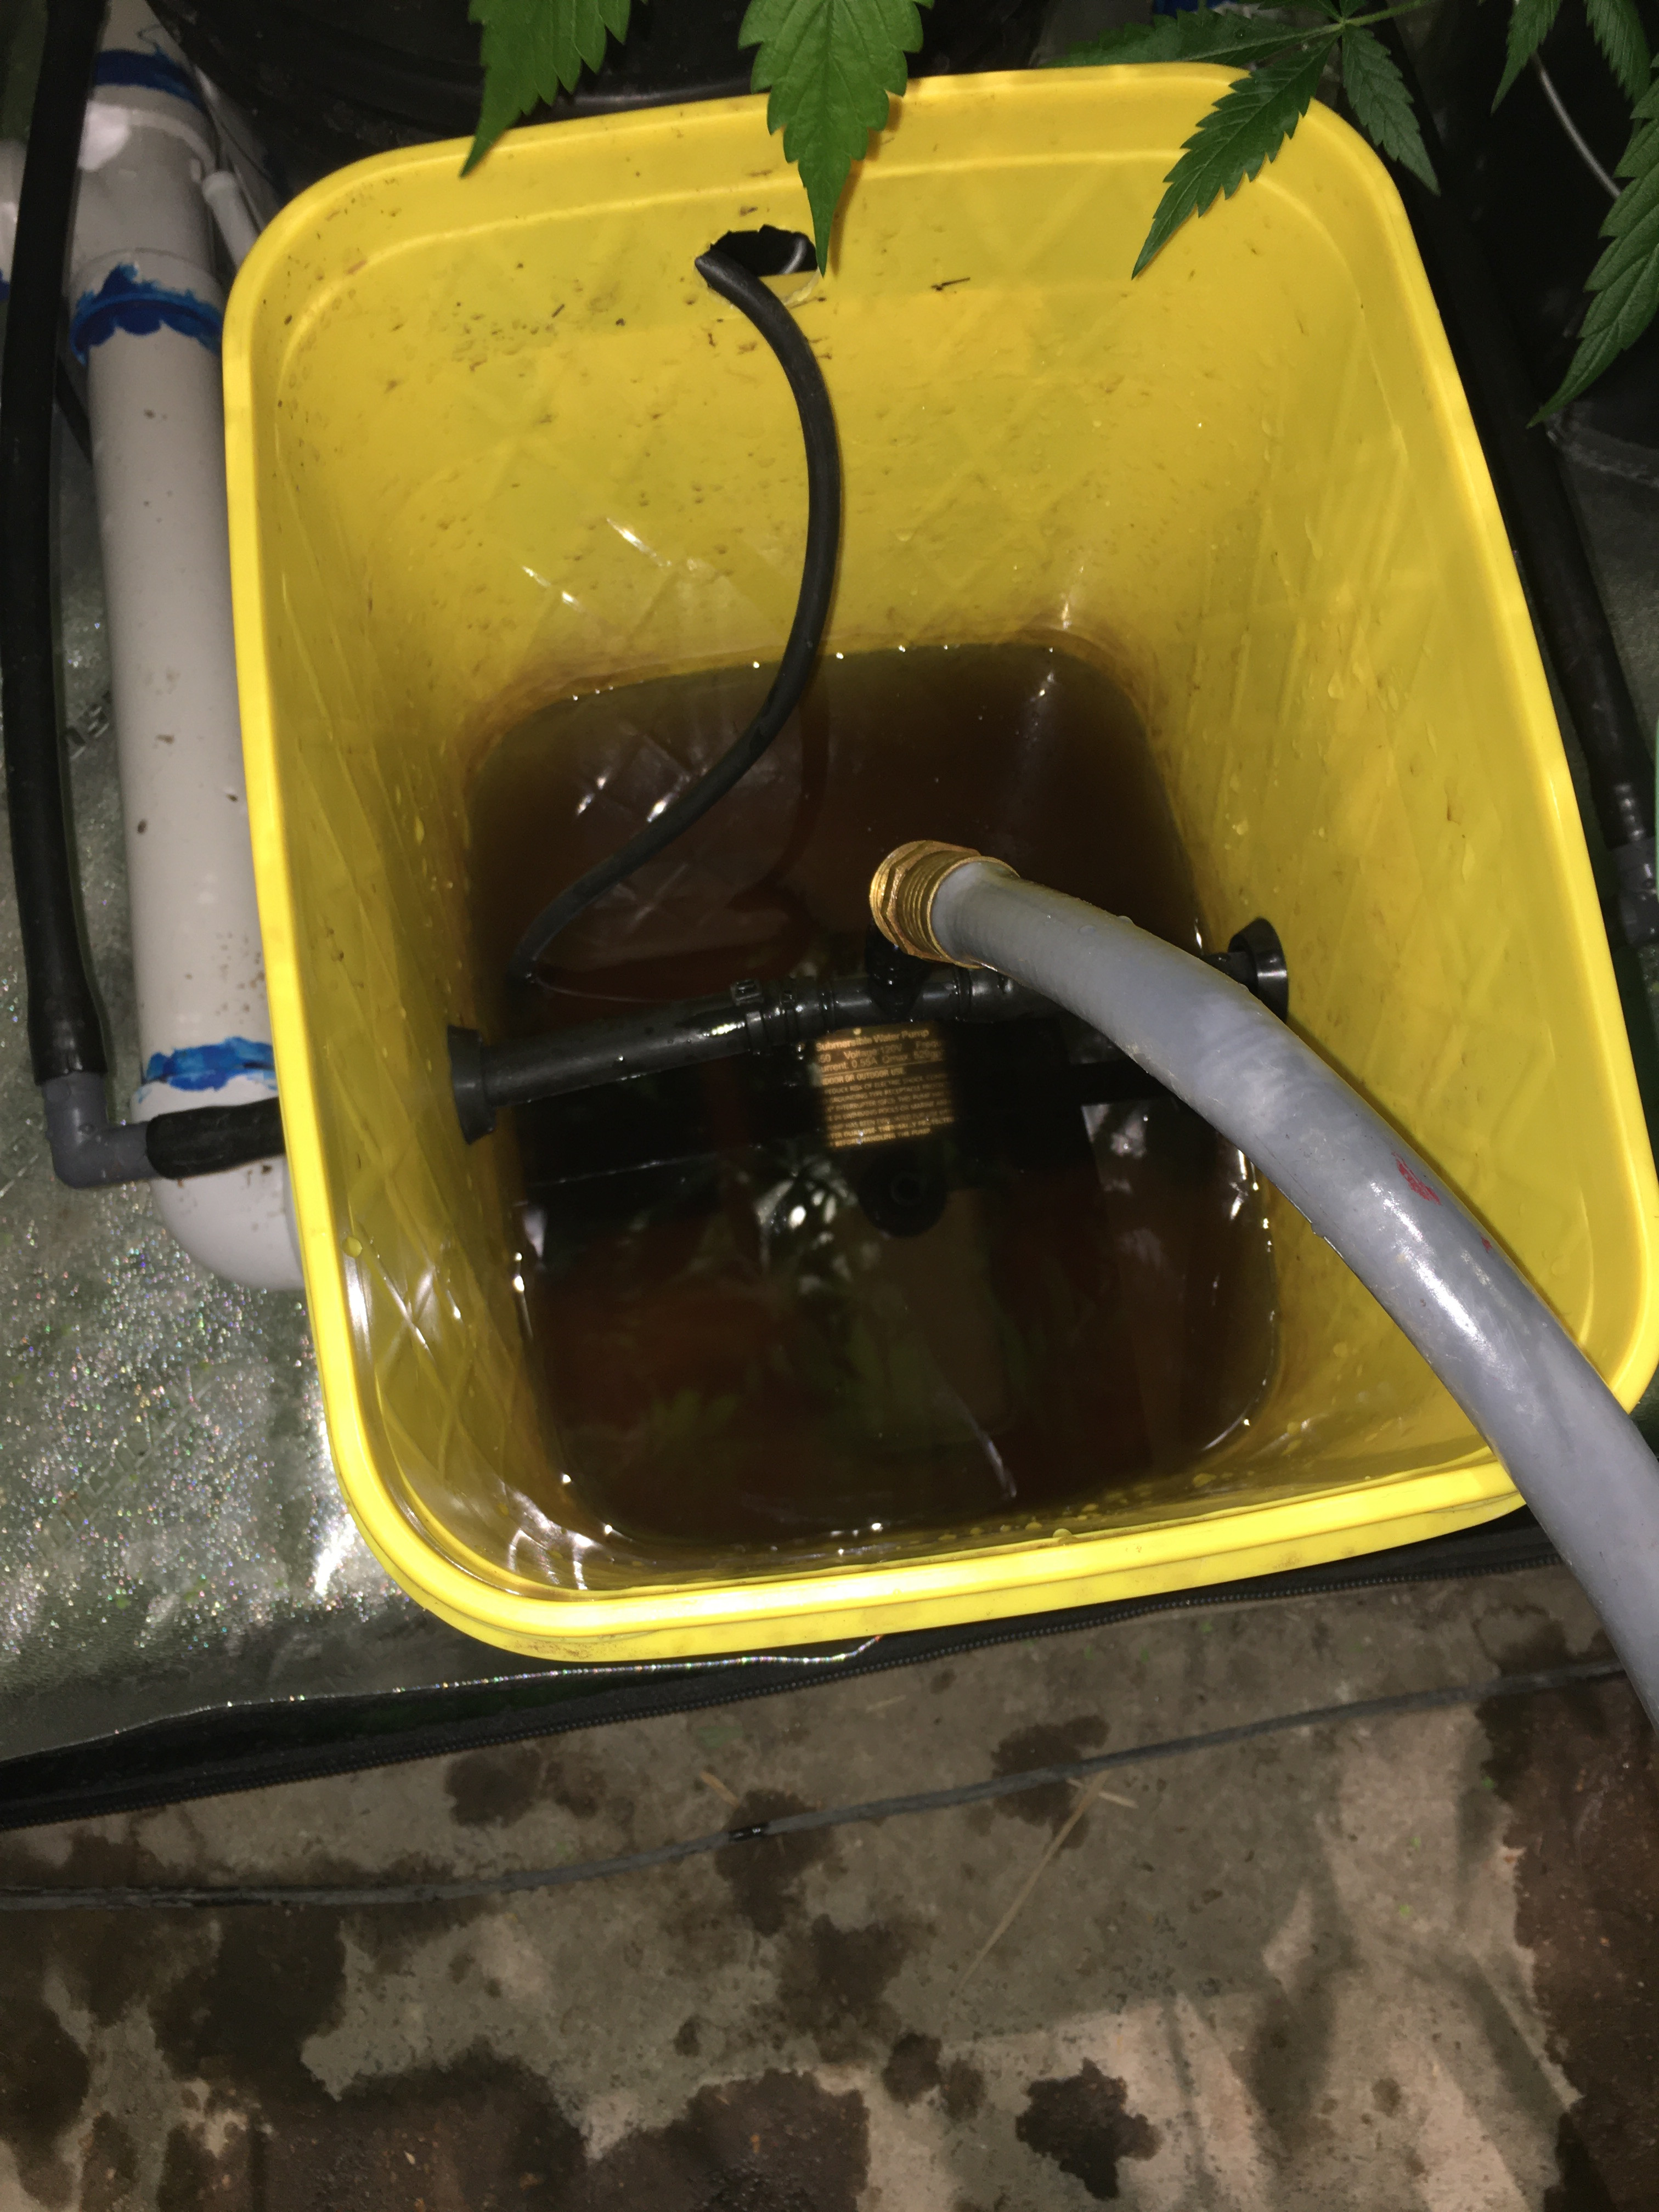
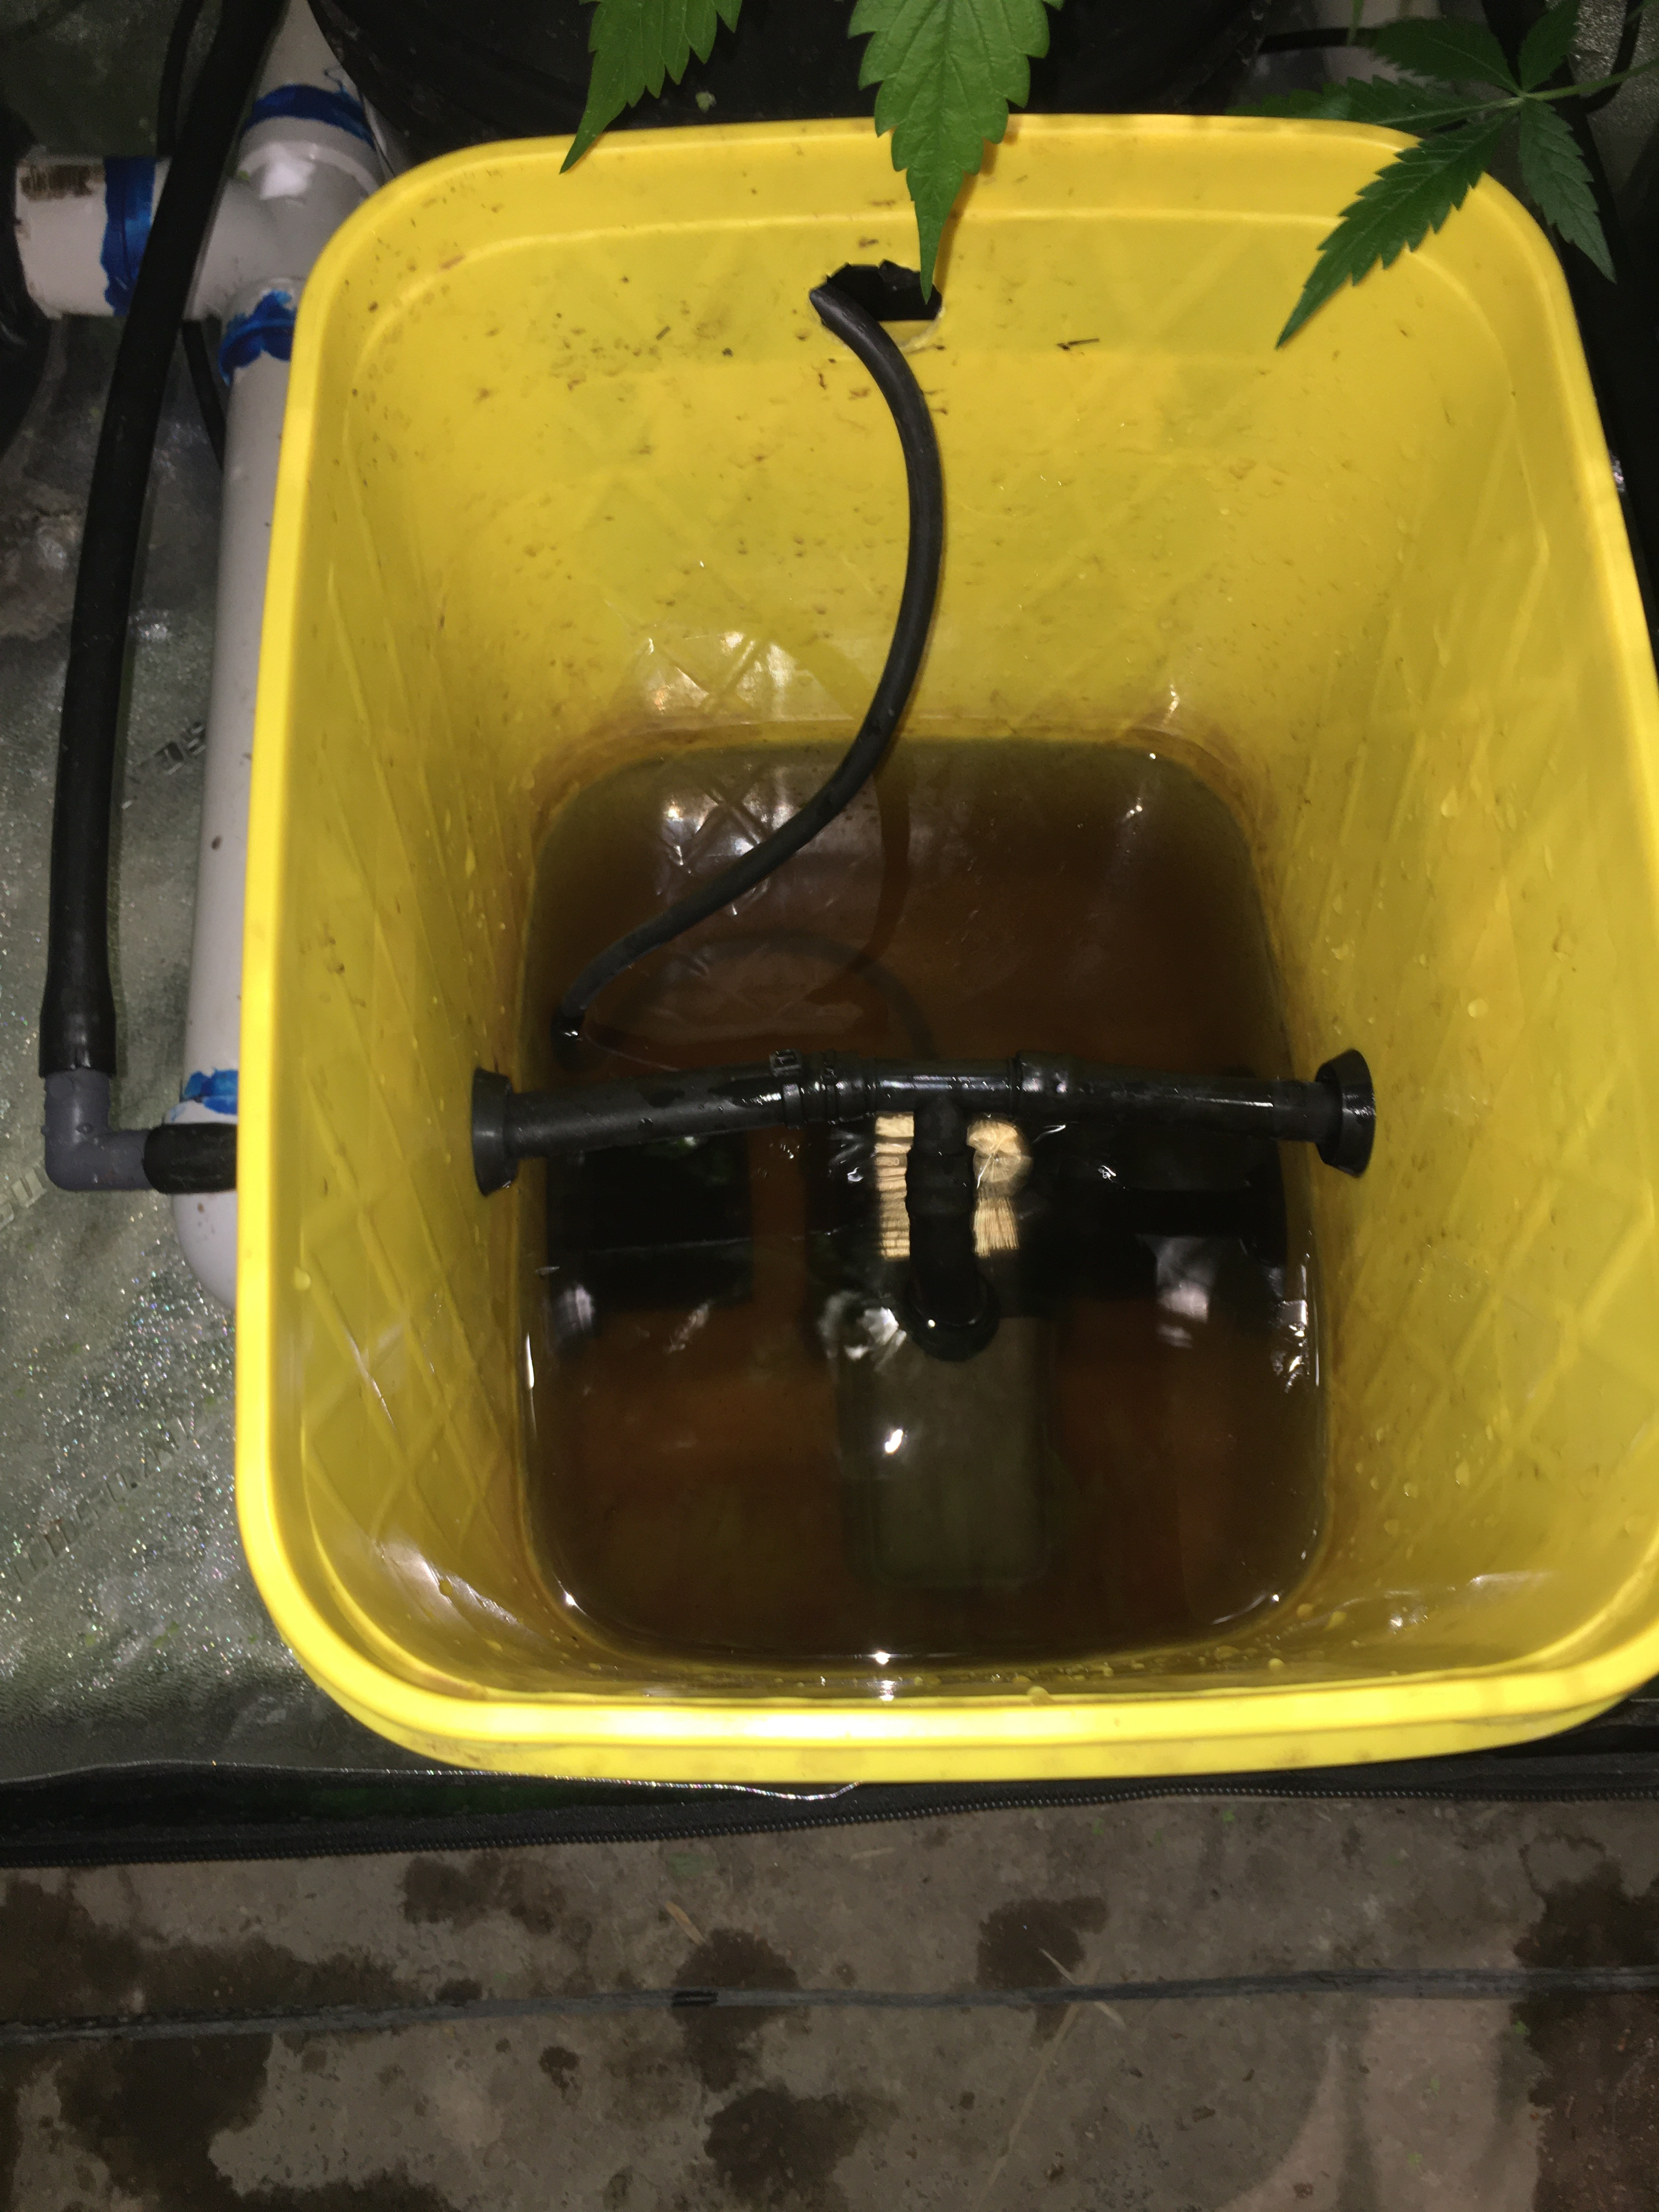
Here, I've replaced the filter and cover for final refilling after removing the drain hose. I then refill to the stain line and reconnect the tube to the pump then plug the pump in again. I'm now ready to add nutes and adjust pH.
Yes, I have a big hole for the pump's power cord. I usually keep some tape over it but it fell off before this photo shoot. I'd like to find a grommet that will work but it would have to be split so I can remove and reinsert the pump cord with its big plug end. I suspect that the tannins in the nutes help keep root rot from happening. The only cases I've had in these setups happened because of transferring plants from coco with bits of it still stuck in the root ball. The stuff collected in the tubes and polluted the nute solution until I got religious about blasting it out. It even attacked plants not started in coco until it was all gone.
This is the reservoir when just starting to drain and refill. I've removed the lid already and disconnected the tube from the pump. The nute solution is brown because of all the tannins in the Aurora Soul nutes that I use. A nice side effect is a ring showing how high to fill it. I remove the filter and cover from the pump and rinse them out separately. This lets the pump pick up crud from the reservoir and eject it from the system. I don't have much of a problem with debris now but I did in the days when I had plants transferred from coco growing in my hydro setups.
I use some flexible tubing left over from making the setup for the drain hose. It just slips over the nipple on top of the pump and the rest goes into a leftover piece of PVC pipe to my basement floor drain - another benefit of growing in a basement!
Most important before starting the whole procedure is unplugging the pump! I keep my power strip tied to a tent post way above the tent floor. I found the loop of cord from my oscillating fan is perfect for holding the pump plug in place when unplugged. By an extraordinarily convenient coincidence, the irrigation tubing I used fits neatly inside the garden hose I use for refilling. I plug the pump back in after the drain hose is ready. At center is where just about all I'm going to get out is gone, so I unplug the pump again and turn the water on. At right, I've overfilled it up to the grommets. This is to wash any clinging debris off the roots that are at or just above the normal water level. Doing this likely helped to save the lone male in Project Sam after a bout with root rot.
At left, I've plugged the pump back in and drained it once again. At right, I often fill it again just above the return pipes and drain again until I'm satisfied that the system is clean enough.
Here, I've replaced the filter and cover for final refilling after removing the drain hose. I then refill to the stain line and reconnect the tube to the pump then plug the pump in again. I'm now ready to add nutes and adjust pH.
Yes, I have a big hole for the pump's power cord. I usually keep some tape over it but it fell off before this photo shoot. I'd like to find a grommet that will work but it would have to be split so I can remove and reinsert the pump cord with its big plug end. I suspect that the tannins in the nutes help keep root rot from happening. The only cases I've had in these setups happened because of transferring plants from coco with bits of it still stuck in the root ball. The stuff collected in the tubes and polluted the nute solution until I got religious about blasting it out. It even attacked plants not started in coco until it was all gone.
Attachments
-
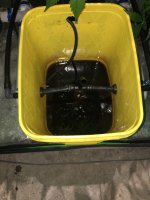 photo133994.jpg1.8 MB · Views: 17
 -
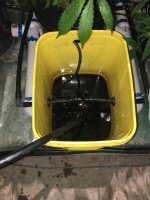 photo133995.jpg2.3 MB · Views: 17
 -
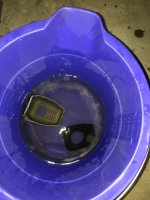 photo133996.jpg2.1 MB · Views: 17
 -
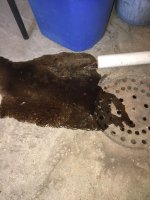 photo133997.jpg2.5 MB · Views: 16
 -
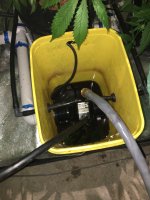 photo133998.jpg2.3 MB · Views: 19
 -
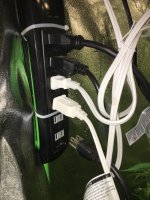 photo133999.jpg2.9 MB · Views: 32
 -
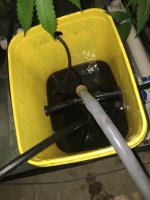 photo134000.jpg1.9 MB · Views: 17
 -
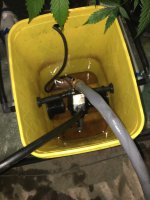 photo134001.jpg1.8 MB · Views: 15
 -
 IMG_3615.JPG1.8 MB · Views: 22
 -
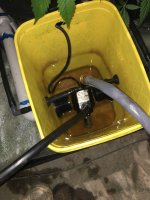 photo134002.jpg2 MB · Views: 17
 -
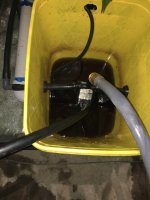 photo134003.jpg1.9 MB · Views: 18
 -
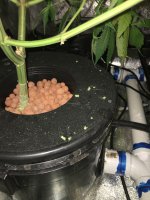 photo134011.jpg2.4 MB · Views: 17

