What's new
GrowWeedEasy.com
You're browsing as a guest. Sign up to join the conversation, share your grows, and get help from thousands of fellow growers — it's free and takes less than a minute.

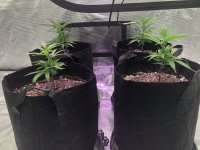
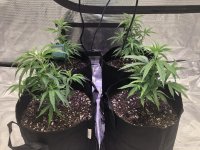
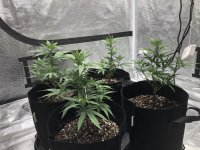
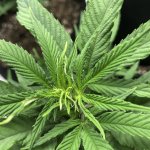
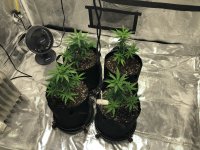
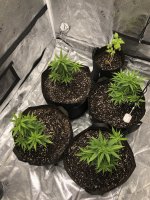
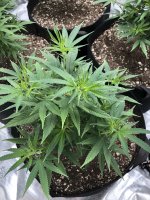
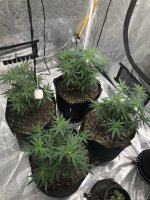
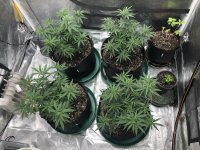
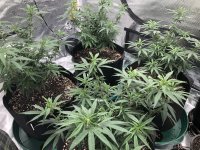
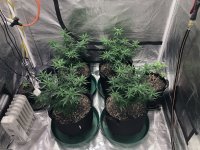
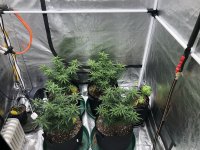
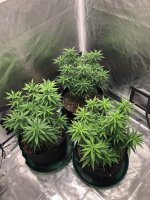
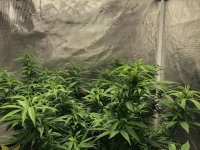
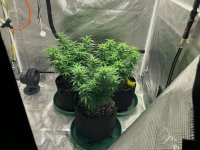
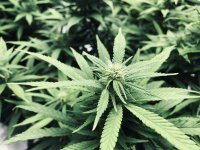
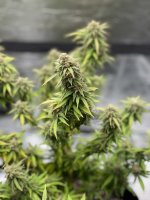
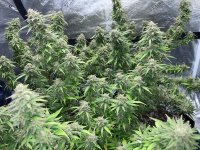
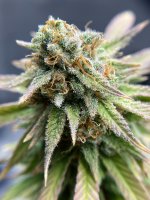
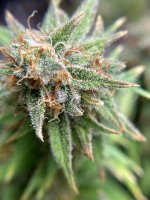
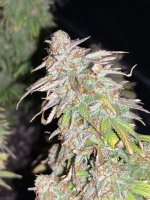
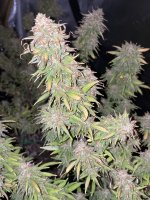
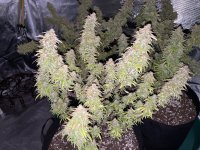
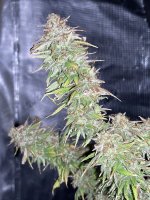
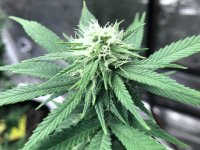
1st Grow (Oct 2020-Mar 2021) using Nature’s Living Soil

MrPNW

New member
01 Oct 2020 to 08 Mar 2021

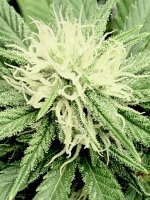
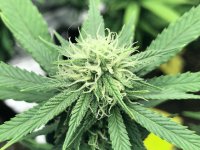
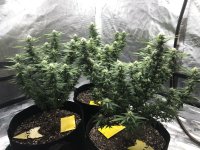
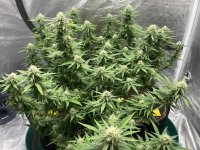
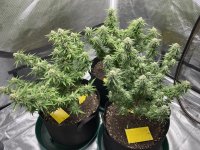
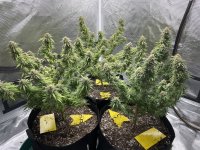
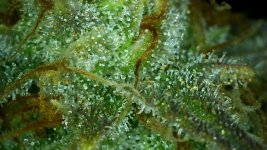
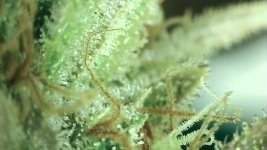
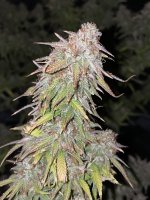
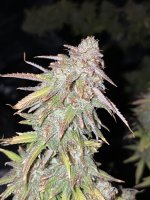
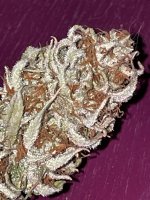
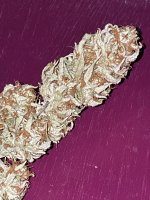
Considering the many mistakes I made the first 2-1/2 months of this grow, I’m very pleased with the outcome.
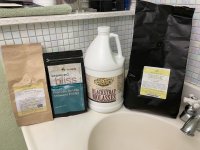
These were the only products I used. I mixed Nature’s Living Soil Original with Sungro Black Gold Organic Potting Soil in the pots.
I followed NLS’s compost tea recipe using the living soil, unsulphured molasses and plus dry kelp extract. I used the tea early in veg whenever the plants looked like they needed a boost and at every watering at the end of veg (2-3 days) and flower (3-4 days). About two weeks into flower I switch to newly released NLS’s Girl Flower Power for tea watering and one top feeding. No other nutrients were used.
 

Attachments
  • photo133350.jpg
    photo133350.jpg
    521.6 KB · Views: 0
  • photo133349.jpg
    photo133349.jpg
    817.1 KB · Views: 0
  • photo133351.jpg
    photo133351.jpg
    133.6 KB · Views: 0
  • photo133348.jpg
    photo133348.jpg
    203.8 KB · Views: 0
  • photo133347.jpg
    photo133347.jpg
    162 KB · Views: 0
  • photo133352.jpg
    photo133352.jpg
    168.8 KB · Views: 0
  • photo133377.png
    photo133377.png
    118.5 KB · Views: 0
Last edited:
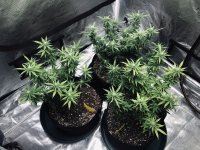
Well done! I just finished my first grow in the same time frame as you and your yields blow mine absolutely out of the water. My next grow will be an auto using Nature’s Living Soil so I’ll likely take some notes from you here.
 
Nice first grow. I really like the month by month photos. Thanks for posting!

I am curious if there is anything you would do differently next time?
 
RetiredGuy
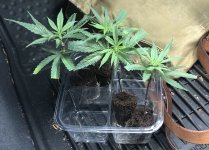
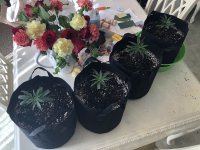
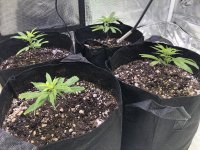
I was unaware of super soil, living soil when I started and planted straight into 3 gallons of the plain black gold (yeah lack of research). I feel I lost at least 1.5 months of really good growth. You can see the jump from 3 to 7 gallon pots. That’s when I surrounded the original 3 gallon soil/rootball with the NLS living soil mix. I probably would not have had to use so much tea or play catch up had I started out with the living soil.

NLS has 2 recipes, living soil and super soil. On my next grow I think I will try this.
1. 7 gallon pots to start
2. Bottom 1/3 super soil mix
3. Top roughly 2/3 living soil mix
4. Use plain black gold in large Solo cups to drop my seedlings or clones started in my rapid rooter/Hormex cubes.
5. Make a hole in the middle of the pot for the Solo cup to drop in. I saw someone using an empty solo cups to create a hole in the soil to be ready to pull out and drop in the plants. Perfect fit, smart.

Equipment
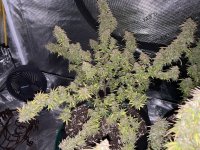
I need to rearrange my exhaust system to be snug in the opposite side to the heater side. Being up the middle got in the way of hanging my large light which I bought a couple weeks in. I want to really think out my whole layout for better access to controllers. I’ll probably try to hang all my controllers outside the tent for a quick glancing.

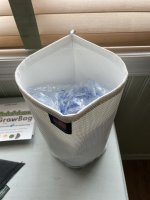
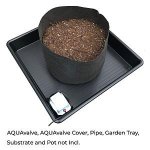
Look into automating watering using my new 7 gallon Rain Science bags in trays with AQUAvalve5.

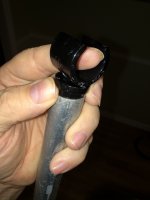
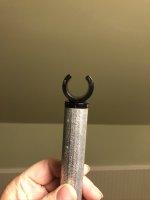
I got some camping tent c-clips 22mm x 22mm that nearly fit into 3/4” electrical conduit. I’m going to secure them in with a little bondo to make custom length poles to add more hanging or tool mount poles throughout the tent. The “C” end fits very snug onto the 22mm poles of my Gorilla Grow tent. I’ll also be able to use them for more CFM support poles. The CFM kits, which I bought 2 of, have c-clips that aren’t quite as snug as the camping ones, so these should shore up those better.

Considering my tent is in an unheated shop I would like to find some sort of wrapped insulation blanket I could drape over the top and down the sides. I’ll be comparing my monthly shop electrical useage to the year before to see how they compare. The shop is on its own meter which is handy.

The above might sound like a lot but its really just minor teaks to what ended up working well by the end months.

Doing another grow going from spring to fall I’m sure will have its own challenges. We can get some very hot weeks during the summer and with the shop having a metal shell its even hotter in there, so I will need to figure out how to dial in my portable air conditioner and a humidifier.

This is a fun and rewarding endeavor!
 

Attachments

  • photo128356.jpg
    photo128356.jpg
    370.1 KB · Views: 0
  • photo128355.jpg
    photo128355.jpg
    305.7 KB · Views: 0
  • photo133454.jpg
    photo133454.jpg
    447 KB · Views: 0
  • photo133455.jpg
    photo133455.jpg
    442.8 KB · Views: 0
  • photo133664.jpg
    photo133664.jpg
    985.5 KB · Views: 0
  • photo133665.jpg
    photo133665.jpg
    853.7 KB · Views: 0
  • photo133666.jpg
    photo133666.jpg
    804.6 KB · Views: 0
  • photo133667.jpg
    photo133667.jpg
    526.4 KB · Views: 0
  • photo133668.jpg
    photo133668.jpg
    613.8 KB · Views: 0
  • photo133670.jpg
    photo133670.jpg
    22.9 KB · Views: 0
  • photo133671.jpg
    photo133671.jpg
    23 KB · Views: 0
  • photo133672.jpg
    photo133672.jpg
    4.1 KB · Views: 0
Last edited:
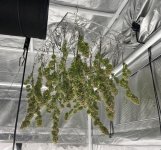
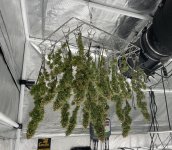
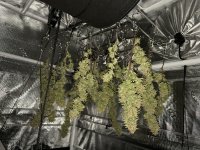
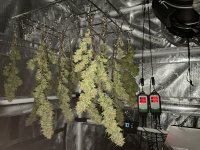
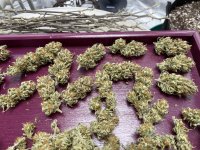
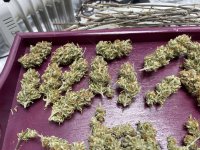
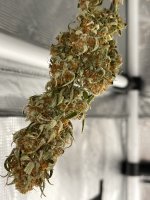
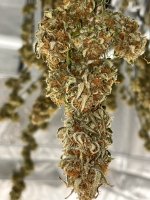
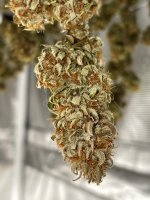
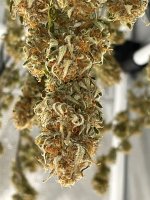
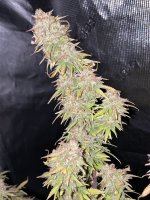
Drying Day 6, 13 March 1021
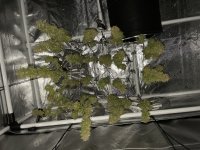
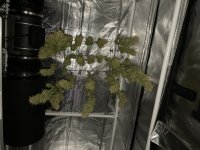
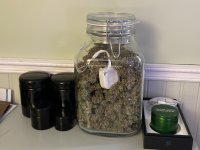
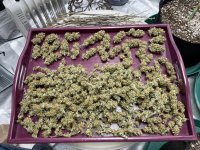
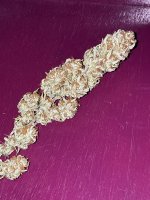
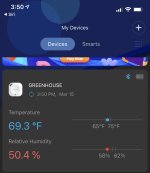
We have been having cold dry days this week. I found that the small branches easily snapped so decided to jar up half the weed. I snipped all branches off at their stalks, leaving only the top bundle of flowers together. I left the lower buds on their branches to make them spread out more in the jar. Smaller buds below and the top buds are above. I took the Govee hygrometer from the tent and set it on top. Now I can get Bluetooth reading on my app. Tomorrow if the readings look good I will jar the rest.
 

Attachments

  • photo133590.jpg
    photo133590.jpg
    653.3 KB · Views: 0
  • photo133593.jpg
    photo133593.jpg
    1.6 MB · Views: 0
  • photo133591.jpg
    photo133591.jpg
    1.4 MB · Views: 0
  • photo133592.jpg
    photo133592.jpg
    1.4 MB · Views: 0
  • photo133596.jpg
    photo133596.jpg
    712.3 KB · Views: 0
  • photo133595.jpg
    photo133595.jpg
    784.2 KB · Views: 0
  • photo133594.jpg
    photo133594.jpg
    964.7 KB · Views: 0
  • photo133599.jpg
    photo133599.jpg
    909.2 KB · Views: 0
  • photo133598.jpg
    photo133598.jpg
    1.1 MB · Views: 0
  • photo133597.jpg
    photo133597.jpg
    940 KB · Views: 0
  • photo133600.jpg
    photo133600.jpg
    851.8 KB · Views: 0
Relative Humidity

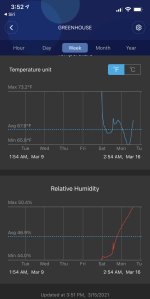
On Saturday when I harvested the first jar, that contains the Govee hygrometer, the rh was about 44%. The following day the level had not risen, so I harvest the rest. I put in a total of three Boveda packs in each jar, on three of the flat sides. Today the rh is slowly rising.

You can see the downslide/upslide in the red rh line on Sunday when I added the extra Boveda packets.
 

Attachments

  • photo133781.jpg
    photo133781.jpg
    142.2 KB · Views: 0
  • photo133782.jpg
    photo133782.jpg
    221.8 KB · Views: 0
Thanks

Do you know if drying them to 40s % rh hurt them or will bringing the rh up tp 58% using the Boveda fix any issues?

I was surprised how dry they were at 7 full days of drying. Harvested on Saturday/Sunday prior and jarred on last Saturday/Sunday. All the small branches snapped easily. The only branches with water showing (darker bark) was at the largest/tallest colas. Only a few buds up top had any moisture in them, but they were dry on the outside so I figured this would all suck back into the dryer buds while in the jars.
 
Back
Top